->I'm moving my blog; the new location of this post is Studio Paars - DIY: sew an embroidered patchwork pincushion
->Mijn blog verhuist; de nieuwe locatie van deze post is Studio Paars - DIY: maak een geborduurd patchwork speldekussen
+=+=+=+=+=+=+=+=+=+=+=+=+=+
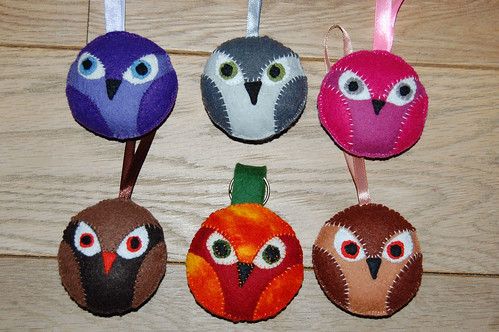
Lately I have been making lots more of my little
patchwork pincushions (will show them all here soon) and had a lot of fun with them, in choosing the prints, embroidery and buttons for each one. So I thought maybe it would be nice to make a tutorial for them. They're not hard to make at all so they would make a perfect beginners DIY project.
What you will need:
- some fabric scraps
- regular needle
- regular thread
- large tapestry needle
- extra strong thread
- embroidery floss
- ruler
- small piece of thin cardboard
- pen or pencil
- scissors
- filling
- 2 buttons
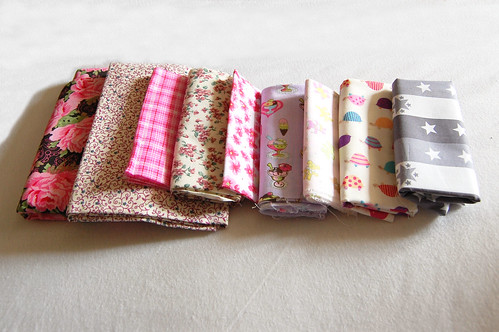
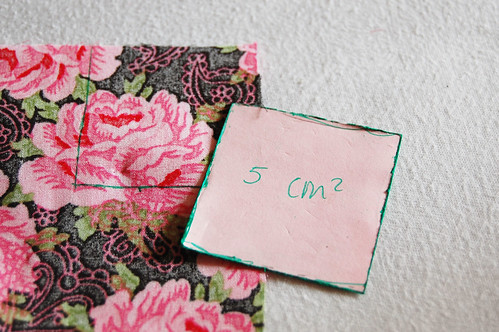
Pick your fabrics. You will need 9 squares of app. 5 cm2 (about 2") and one larger square for the back. You can use small scraps for this, but I didn't have any so I just picked out some matching colours from my stash.
Use your ruler to mark out a 5 cm2 square on your cardboard and cut to create a template (I already made mine some time ago so there's no picture of this step).
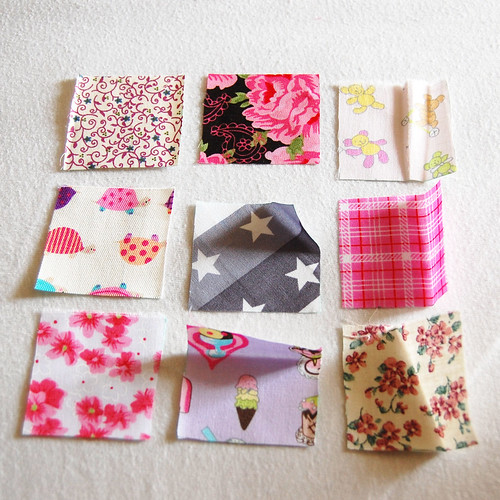
Lay out your fabric, right side down. Position the template on the wrong side of the fabric and trace around it. Now cut it out (don't bother with seam allowances or complicated stuff like that).
Repeat this step until you have 9 squares.
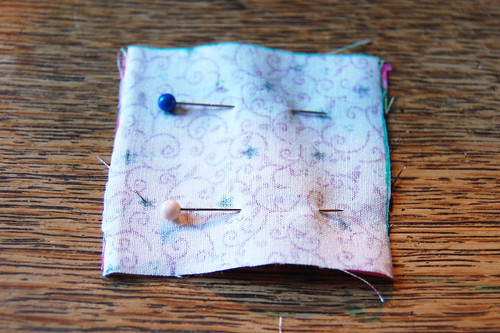
Carefully line up 2 of your squares
wrong sides out and pin.
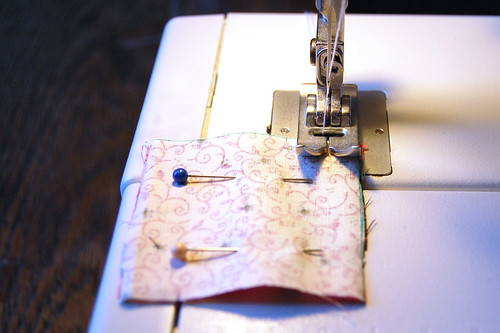
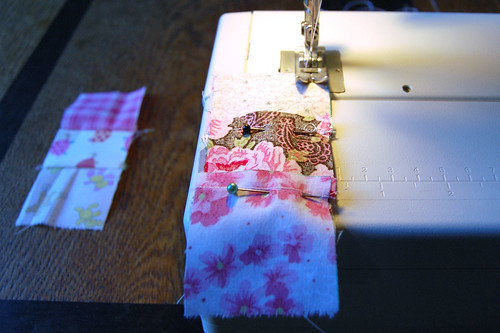
Now sew them together.
NOTE FOR MACHINE SEWING: position your fabric with the starting point right underneath the needle (no backstitching required) and with the side of your fabric lining up with the side of your foot. This way it is easy to keep a constant seam width.
NOTE FOR HAND SEWING: the simplest way to keep a constant seam width is to measure and mark out a line over which to sew.
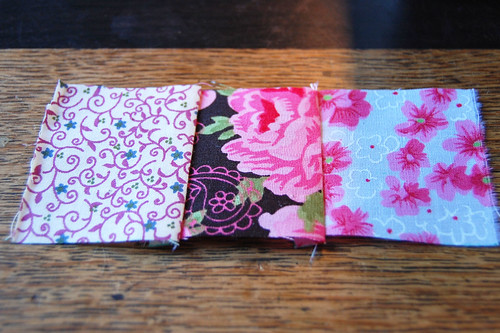
Add another square to the 2 you've just sewn to make a strip of 3 squares.
Repeat the above steps to make 2 more strips so you have a total of 3 (all 9 squares used up).
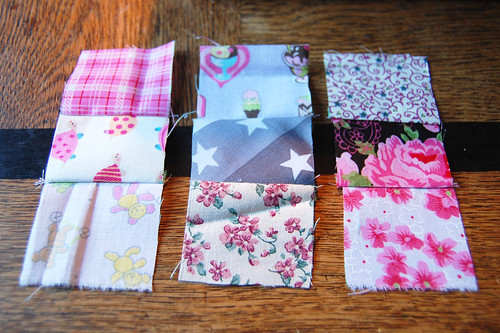
Lay 2 of the strips side by side, right sides down. Finger-press the seams flat, making sure you press the seams of one of the strips up and the other one down.
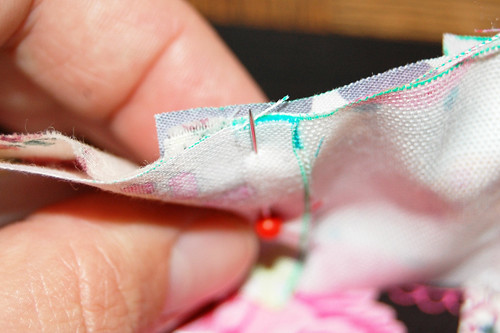
Now position the strips
right sides together and position and pin
very carefully like instructed in the images below:
(this is to make sure the edges of your squares will line up neatly later)
Sew together in the same way as before.
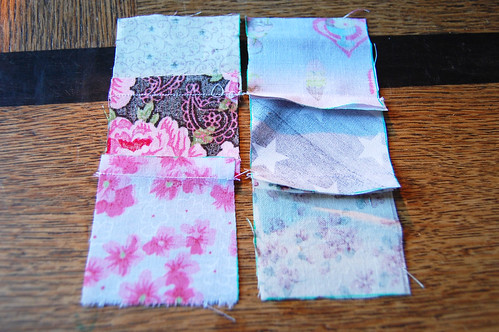
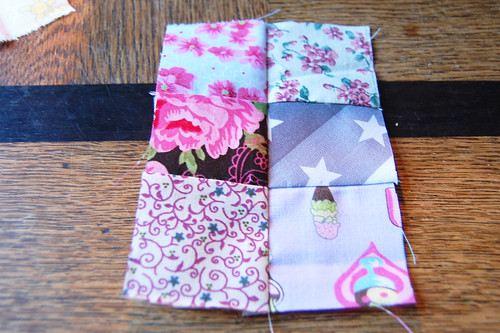
Now you have 2 strips attached like this. Repeat the previous steps...
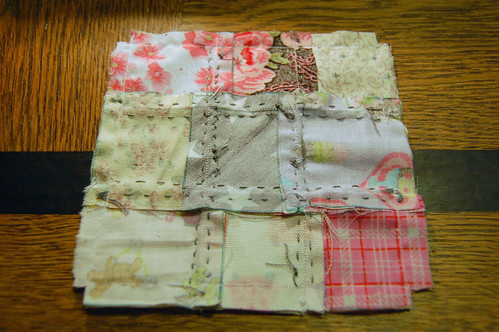
... and you have all 3 strips sewn together.
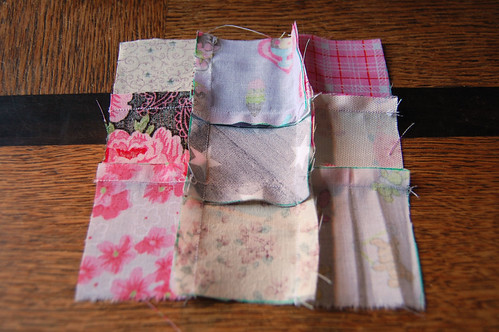
Finger press the seams outward like pictured here.
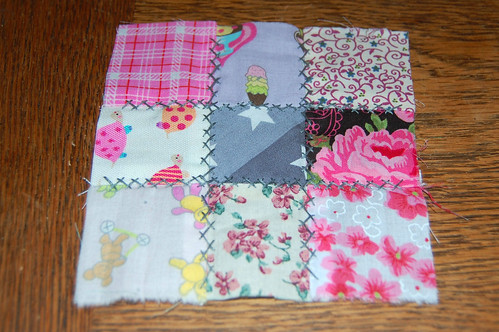
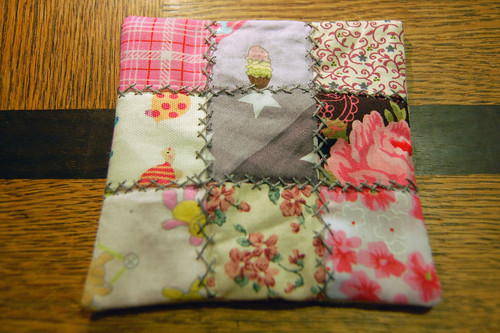
And now for the really fun part: pick out some embroidery floss, choose a stitch pattern and embellish the patchwork squares any way you like! Take a look
here to see some of the patterns I've used.
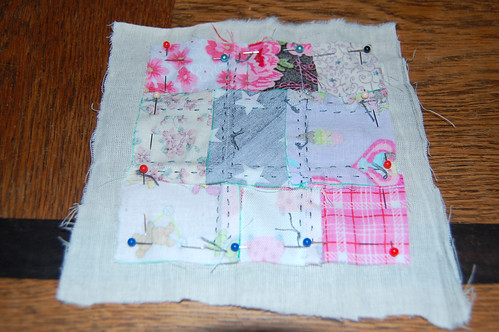
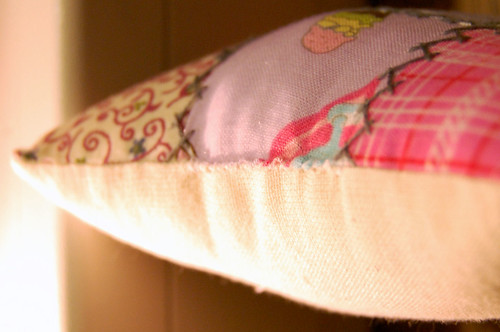
Next, take a piece of plain fabric (for the back) and cut out a rough square, slightly larger than your patchwork piece. Pin
right sides together and stitch, making sure you
leave an opening for turning.
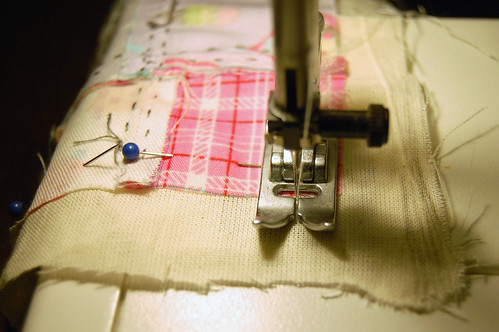
Backstitch at the start and at the end.
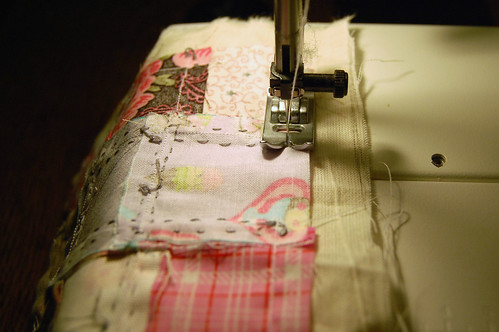
When you reach a corner, stitch all the way to the end of your top fabric as shown here, and backstitch to where you need to make the turn.
Backstitching at the end.
Don't forget to leave a gap!
Cut away the excess backing fabric and snip away little squares at the corners.
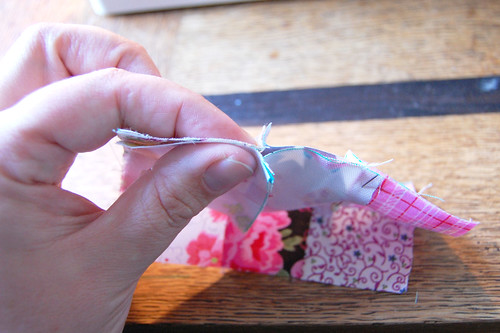
Turn right side out. This step may be a little fiddly: use a pencil to help push the fabric out if needed. If it looks a bit wrinkled that's OK! It will smooth out later all by itself.
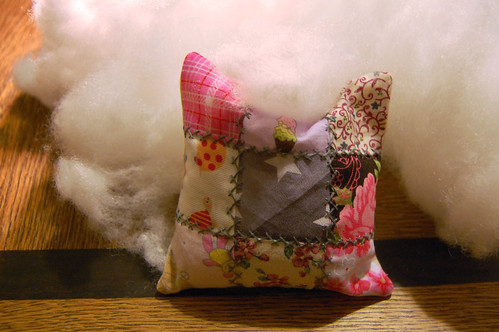
Stuff it! A pincushion needs to be nice and firm so don't hold back on the stuffing. Just make sure you have a little room left for closing.
Thread a needle and close the remaining gap. There are lots of tutorials out there for invisible closings so feel free to use those; however they don't work for me so I just close with a small overhand stitch instead.
This is what it looks like.
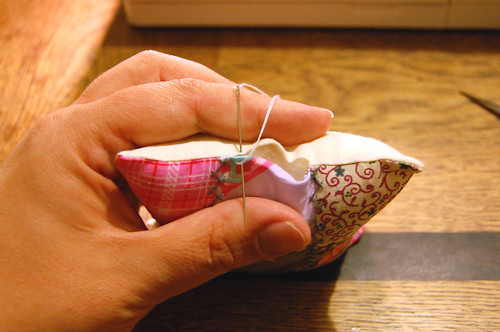
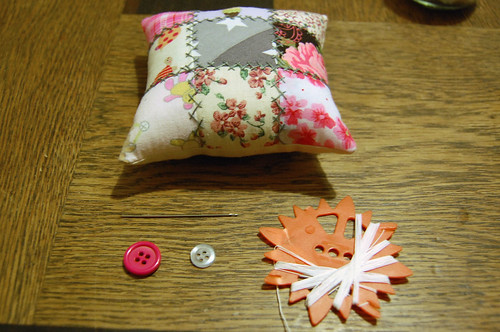
Now for the last step: take your tapestry needle, heavy duty thread and buttons.
Position your pretty button in the middle of the top.
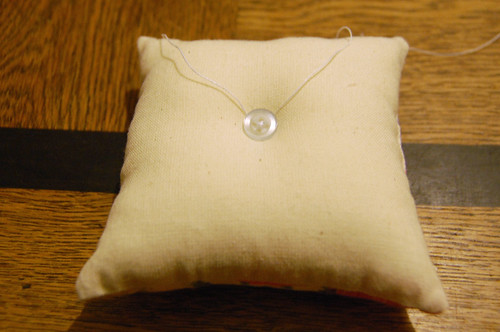
And your plain old button in the middle of the bottom. Stick your needle all the way through the pincushion so that you fix both buttons in place at the same time. Make 2 passes, then pull the thread really
really tight and secure it with a bunch of knots (hide these behind the bottom button).
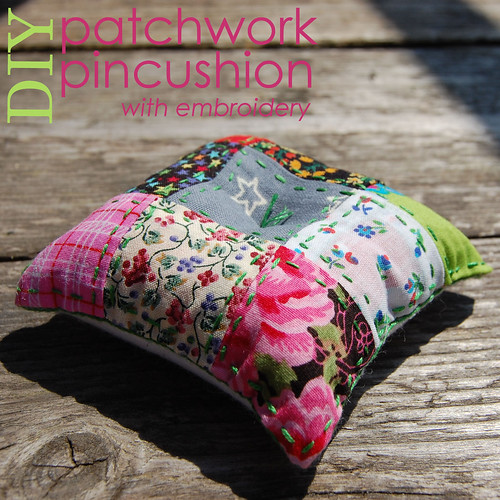
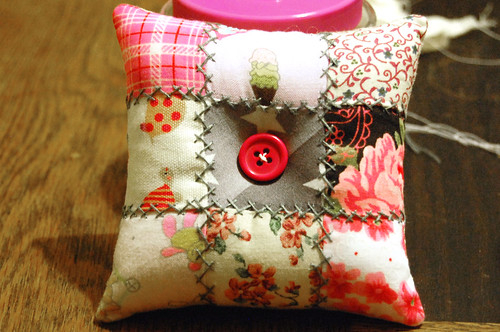
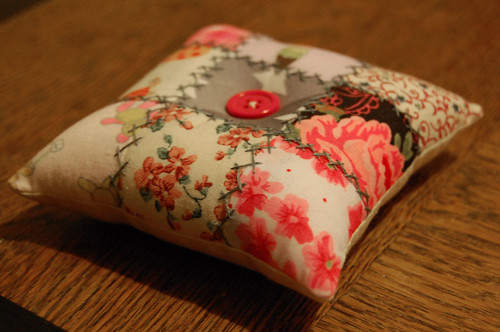
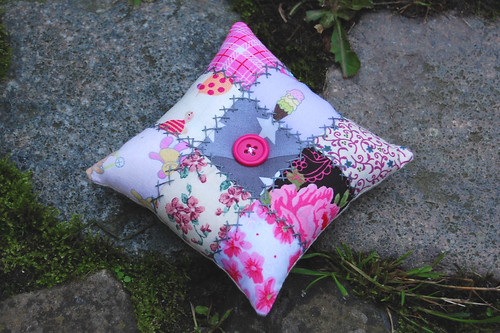
And it's done! One pretty little pincushion :)
(I will make some better pics when it's light out tomorrow!)
EDIT: new pics added - since it's so gloomy outside still a bit dark though...
I would love to see what you make with my tutorials so please let me know if you've used any!
Any questions about this tutorial: post them in the comments section and I will do my best to answer.
The small print: do not copy any of my text or pictures and claim them as your own. Do not sell my patterns and/or tutorials. Pinning and linking is fine, wonderful even, but please make sure there is a link back to me.