


I'm moving my blog; the new location of this post is: Studio Paars
Mijn blog verhuist; de nieuwe locatie van deze post is: Studio Paars
======================================================
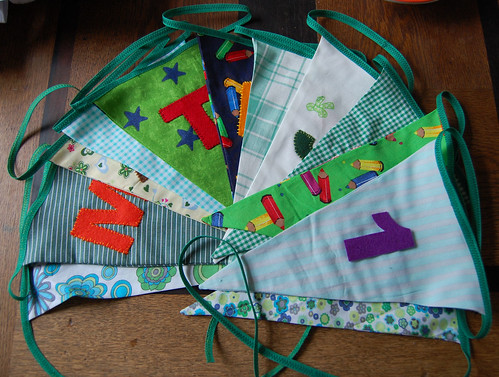
This garland carries a child's name in felt letters, and also an exchangeble number made of felt, which can be replaced for every birthday. All you need to do is cut out a new felt number representing the child's age.
What you'll need:
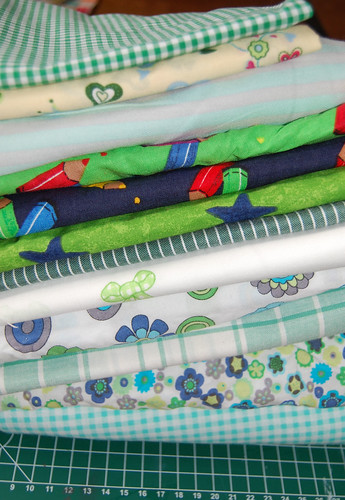
- fabric for the flags
- bias tape or some other ribbon or tape (the same length as you want the garland to be)
- a bit of velcro
- cardboard (for the flag's template)
- paper (for the letter's and number's template)
- colorful bits of felt
- silk embroidery thread (or sewing thread)
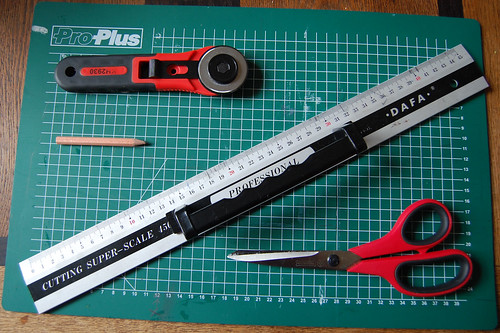
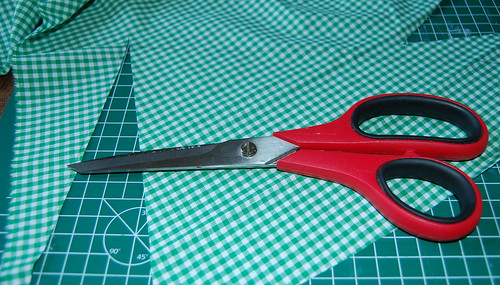
- siccors (possibly a separate one for both the paper and the fabric)
- ruler (optional)
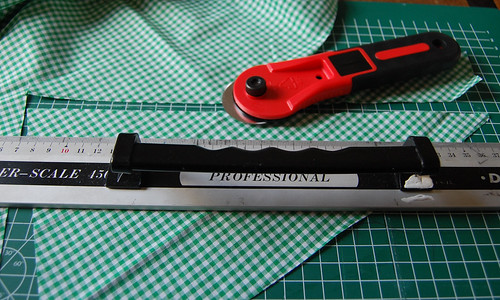
- circular cutter (optional)
- cutting mat (optional)
- pencil
- math triangle (optional)
- sewing machine (optional)
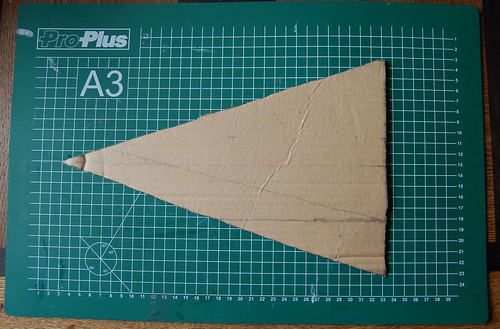
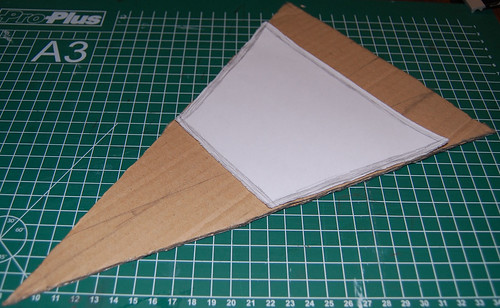
The first step is to figure out how long you want your garland to become, and what size the flags should be. I wanted my flags to be quite large, so I cut out a cardboard template of about 20 cm wide and 30 cm long.
Now lay your cardboard template on the fabric and trace it with a pencil, making sure you're drawing in the wrong side of the fabric.

Use siccors or a circular cutter with a ruler to cut out the triangle. Repeat this step until you have 2 triangles to make 1 flag. Ofcourse it's also possible to fold you fabric over so you can cut out 2 triangles at once. Especially easy to do when you're using a circular cutter.
Now you'll have to calculate how many flags are needed. When you're using a short name, like Max, it may be wise to add some text by repeating the name, or adding something like "Max 4 years". But if the name you're using is, for instance, Martijn and he's turning 6, you may use a flag for each letter (that's 7), 1 for the number, 1 for the space between the name and the number and 2 for the spaces at the beginning and the end, making a total of 11 flags.
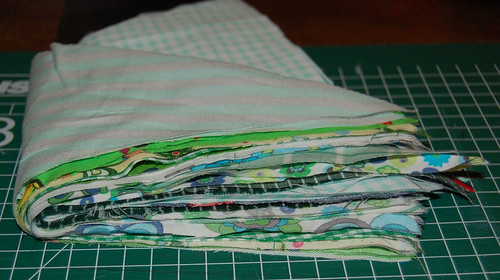
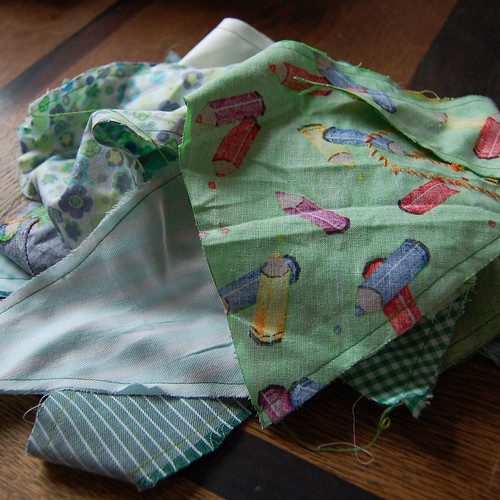
For my garland I needed 12 flags, and I liked using a different fabric for each one, all in shades of green. But ofcourse you could also choose to use 2 fabrics in different colors, or whatever you like.
At this point you need to decide how large you want the letters to be. I cut out a template that was about 9 cm wide at the smallest, and about 12 cm high. I needed my letters to fit inside this shape (remembering about half a cm of seam allowance on the sides!)
At first I tried to draw the letters myself, but that turned out to be a lot harder than I thought, so I ended up printing out an extremely large typeface (I think it was 270 pt). Re-check the sizes at this point, make some final adjustments and then cut the letters out of the paper.

Now cut out all your letters and numbers out of felt (don't forget possible repeats at this point). If you want you lettering to be double-sides, cut everything out twice. Then pin your letters to your fabric triangles.
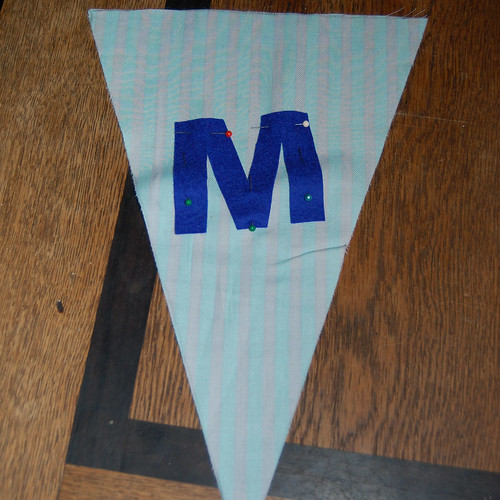
If you want double-sided lettering, the best thing to do at this point is to lay out all your triangles in the order you want them, and then pin all the letters to the right triangles. This way you avoid making mistakes later. (ofcourse I stupidly skipped this step but to clarify here's a little sketch)

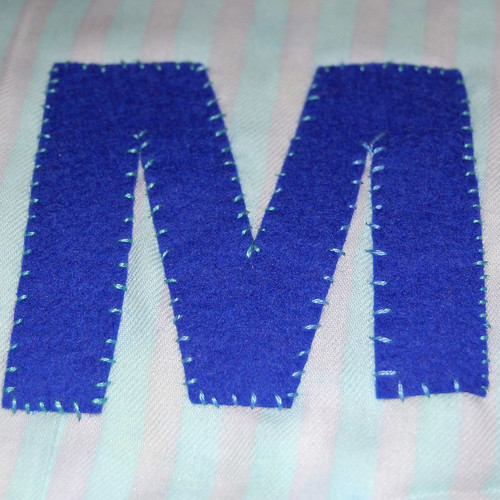
Sew the felt letters to the triangles. I like the patchwork-y effect of using rather crude stitching in a nice bright shade of embroidery silk.
On the triangle that is to hold the number, sew a small piece of velcro (the rough side). If you want all letters to be exchangeable, do this for every letter.
Check your felt letter fits onto the velcro, and also check it stays on securely. If it doesn't, sew a bit of the soft side of the velcro to the back of your letter.
Warning: I used self-adhesive velcro, but it didn't stick so I ended up sewing it on with a few stitches. If you do this too, be aware that both your needle and the remaining bit of thread will be covered in a sticky gluey mess and you can throw them out!


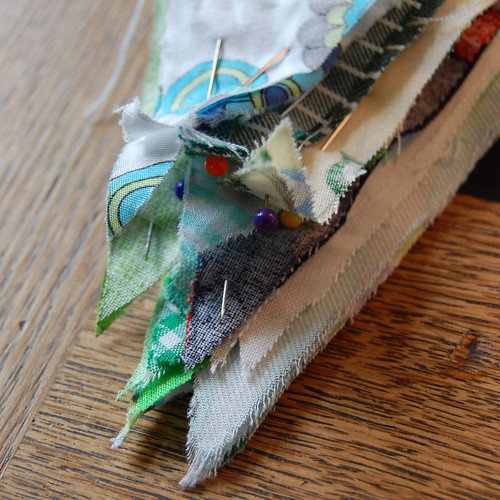
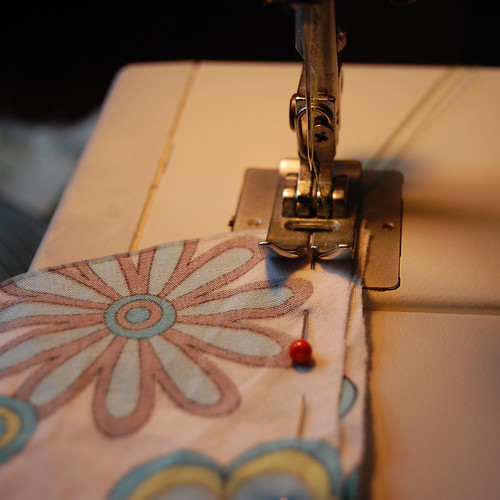
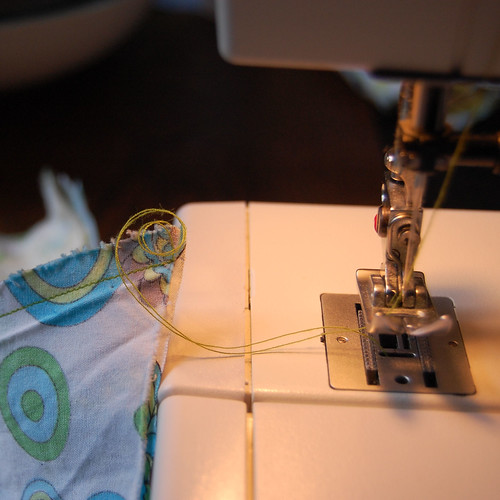
Time to bring out the sewing machine! (if you don't own one, you can also sew everything by hand). Pin the triangles right sides together, en remember to position the letters correctly.
Use a small running stitch and sew only the long diagonal sides together (don't bother zigzagging).
After stitching the first flag, don't cut your thread but just pull it out for a bit and continue with the next flag.
After stitching all the flags, cut off all te bits of thread.
Now but away some fabric at the bottom tip of the flag. This will give you a nice sharp point when it's turned.
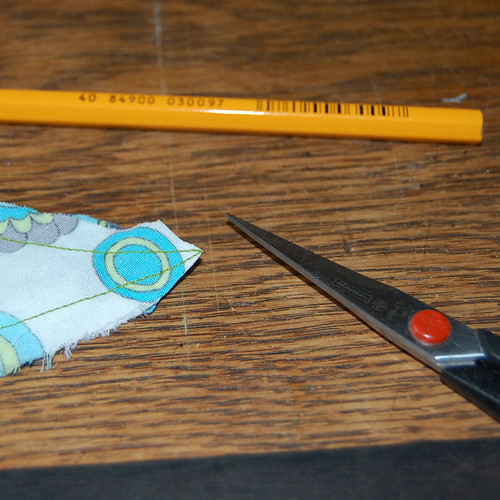
Turn the flag (using the pencil to push out the pointy bit) and cut the corners at the top away nice and straight. Cut off any other irregularities at the top end too.

Repeat for all flags.

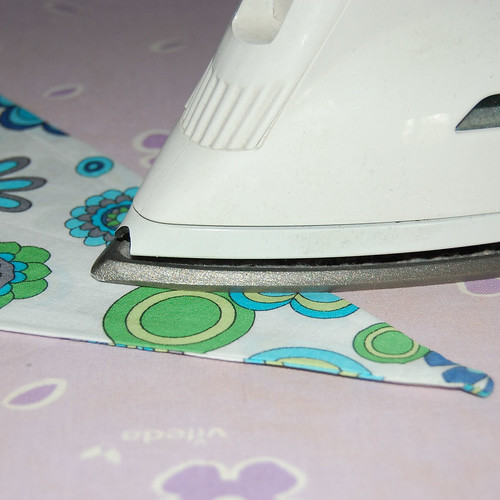
And iron them nice and smooth.
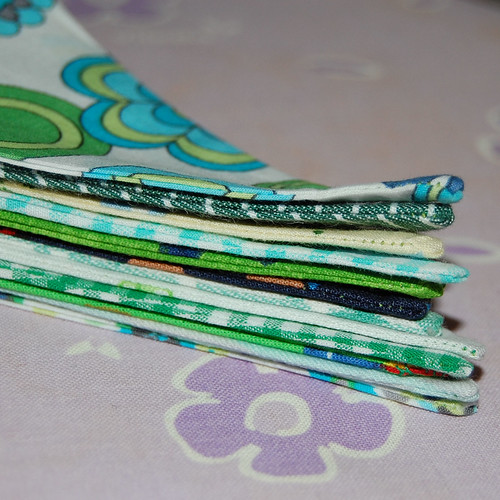
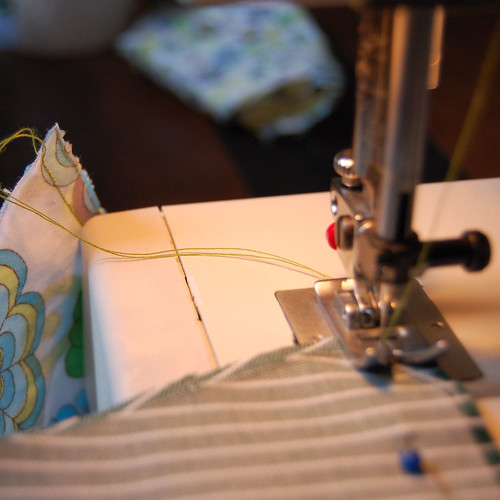
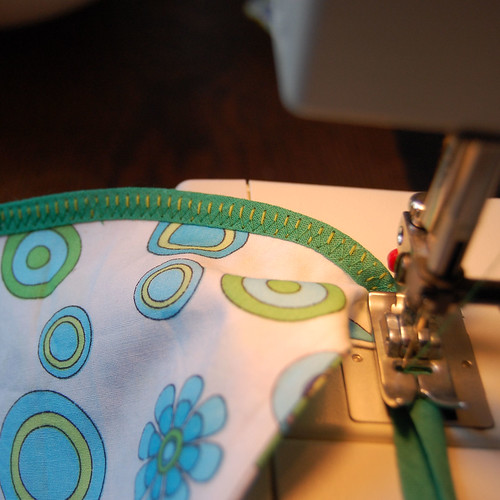
You've made flags! Now put them in a pile in the correct order and get out your bias tape. Start with an extra long piece of empty tape, so it will be easy to tie up the bunting. Select a wide zigzag stitch on your machine, put the beginning of the bias tape under your needle and now sew it closed for about 50 cm.

After 50 cm, pick up the first flag and place it in between the bias tape. Pin it closed and continue sewing. The flag will automatically become sandwiched in the bias tape.

Repeat this step for all your flags: just sew a piece of empty tape, and then add another flag. Remember checking now and then to make sure your flags are all facing the same direction (I got one wrong and had to tear it loose because the letters were facing the wrong way).
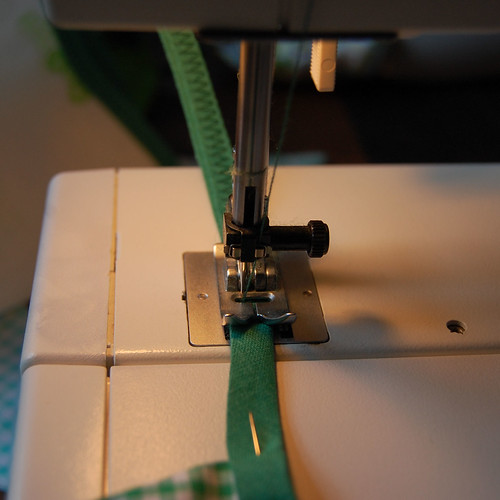
Make sure you space your flags out evenly along the garland (I made the spaces on the garland roughly as wide as the flags themselves), and also make sure you're left with enough bias tape to finish (if you don't it's no problem, just sew an new piece of bias tape to the old one).
Sew another 50 cm of empty bias tape closed at the end and tadaa! It's done!

I'm open for all comments!
Also any comments on the tute itselfs, since it's my first! (and english isn't my mother tongue so there will probaly be some mistakes)
EDIT: I realised later that the flag with the number would stand out less if it was finished with a blanket stitch all around (I have yet to do this myself so pics will follow in time!)
also posted at:
dianarambles seventhirtythree somedaycrafts
Wonderful submission! I will be featuring this in tomorrow's post!
ReplyDeleteDiana
Diana Rambles
Bento Blog Network