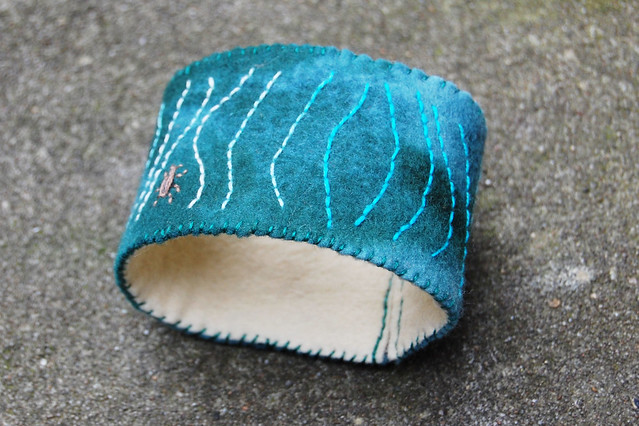
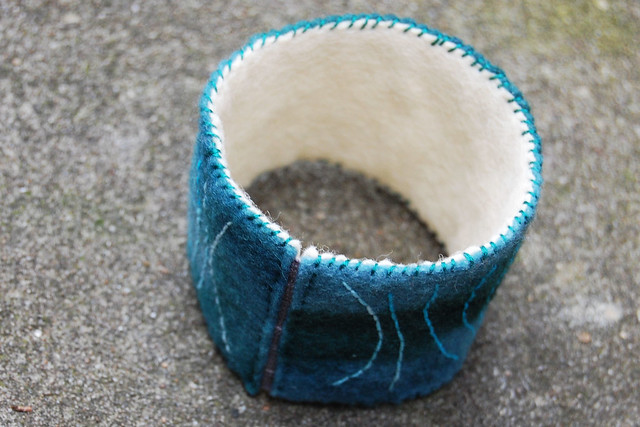
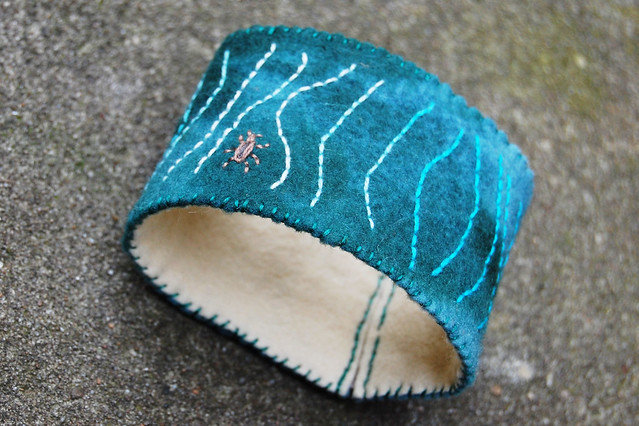
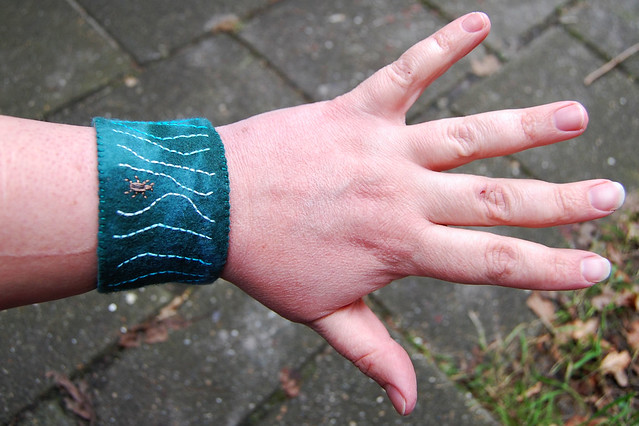
->I'm moving my blog; the new location of this post is Studio Paars - DIY: sew a felt and fabric toadstool
->Mijn blog verhuist; de nieuwe locatie van deze post is Studio Paars - DIY: naai een paddenstoel van vilt en stof
+=+=+=+=+=+=+=+=+=+=+=+=+=+
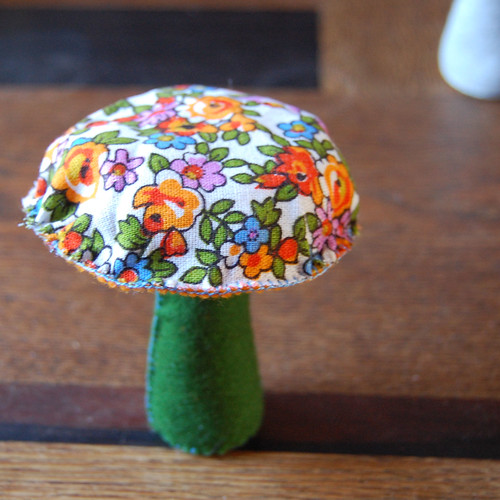
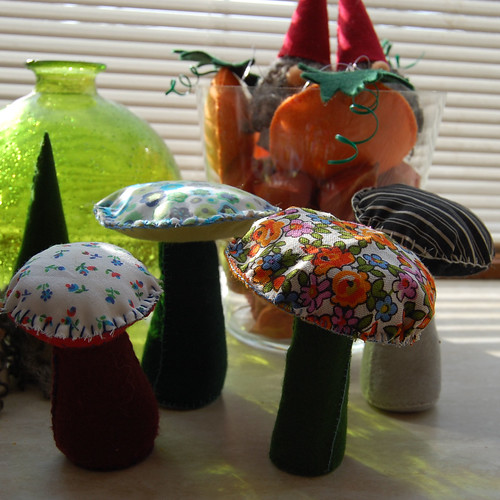
A while ago I showed
these mushrooms with a promise to explain how I made them. So even though it's been a while (two years!) here is the tutorial :)
Note: these aro
not toys. I let my boys play with them gently, and the mushrooms are ok with that, but they don't respond well to being tossed around or getting wet or dirty.
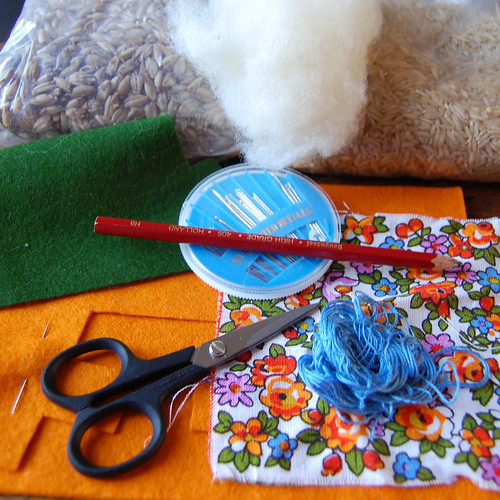
What I used to make them:
Eens heeeeel lang geleden liet ik hier deze paddestoeltjes zien, met daarbij de belofte dat ik eens een beschrijving ervan zou maken. Tsja en ook al is dat 2 jaar geleden (!), belofte maakt schuld. Dus bij deze :)
Opmerking: dit is geen speelgoed. Ik laat mijn jongens er wel voorzichtig mee spelen, en de paddestoeltjes kunnen daar ook wel tegen, maar ze kunnen er niet tegen als ze gegooid worden en ook niet als ze nat of vies worden.
Wat ik nodig had om deze te maken:
- some spelt (wheat)
- some wool for filling
- some rice
- some bits of felt
- needle
- pencil
- siccors
- embroidery thread
- some bits of fabric
- a couple of pins (not pictured)
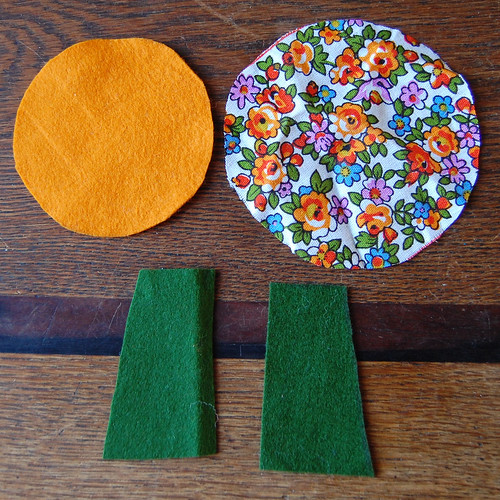
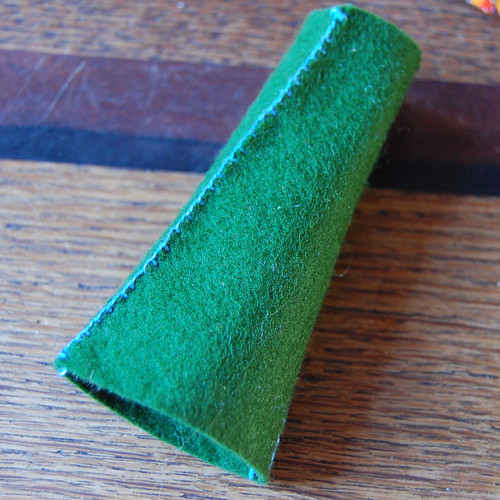
Cut the fabric into a circle, and the felt into a slightly smaller circle. Use cups, bowls, plates, cans etc. to draw around. I used a CD-rom for the fabric and a big roll of tape for the felt. Cut from the other colour of felt (for the stem) shapes similar to these:
- wat spelt
- wat vulwol
- wat rijst
- restjes vilt
- naald
- potlood
- schaar
- borduurgaren
- restje stof
- een paar spelden (niet op de foto)
Knip uit de stof een circel, en uit het vilt een wat kleinere circel. Gebruik als mal kopjes, schaaltjes, bordjes, blikken enz. Ik gebruikte voor de stof een CD-rommetje en voor het vilt een rol bruin plakband.
Knip uit de andere kleur vilt (voor de steel) ongeveer de vormen zoals hier:
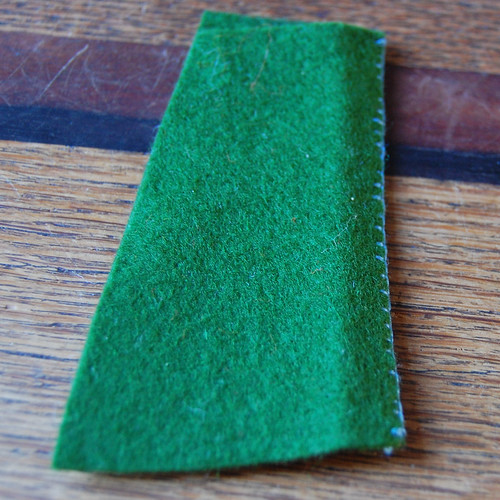
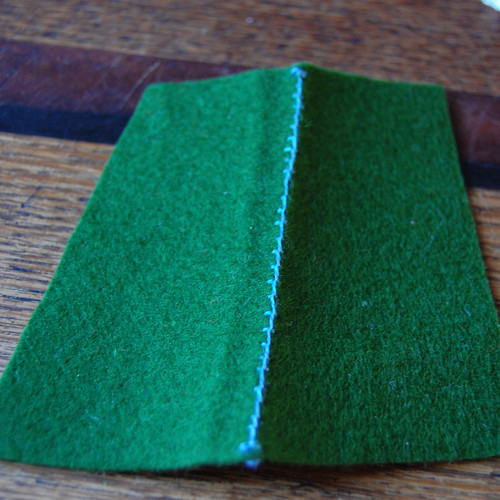
Use blanket stitch to sew the two parts of the stem together along the side seams:
Festonneer dan de twee delen van de steel aan elkaar langs de zijnaden:
First one side:
Eerst een:
Then the other:
Dan de ander:
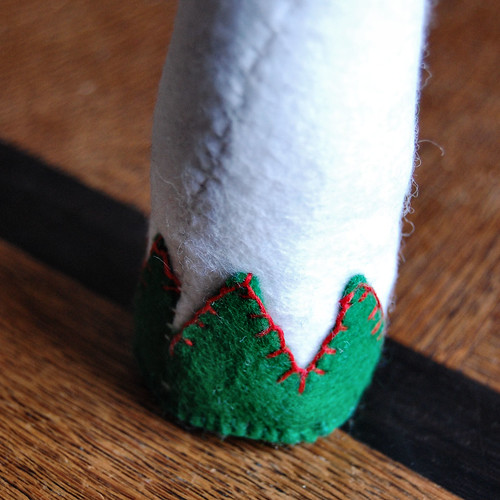
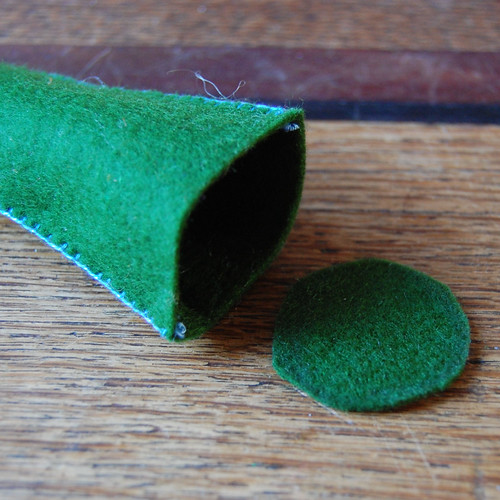
Cut a circle from the felt that approximately matches the size of the bottom (the wider side) of the stem:
Knip nu een circel uit het vilt die ongeveer overeen komt met de bodem (de dikkere kant) van de steel:
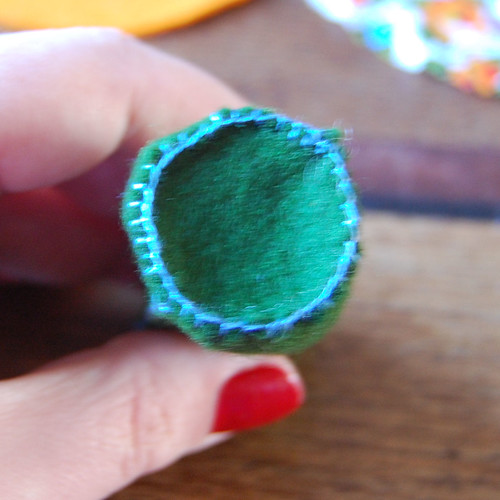
And use blanket stitch to attach it to the stem:
En festonneer die vast:
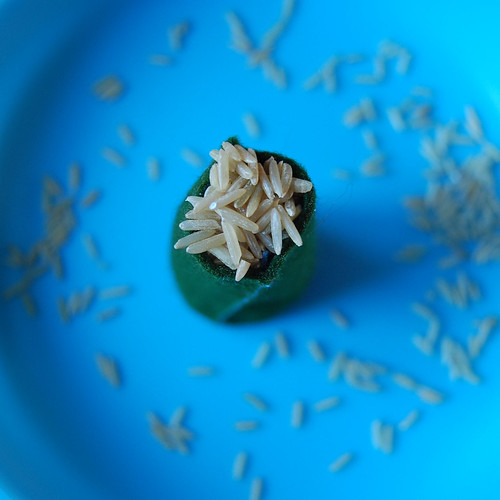
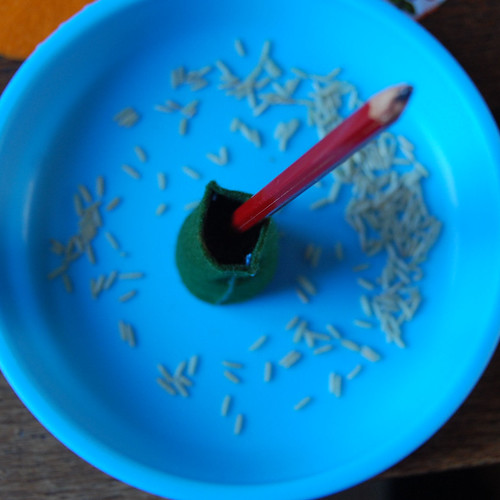
Now fill the stem with rice (I had a packet of rice that was passed the use-by date, but you could also use small pebbles or peas, whatever you happen to have laying around really):
Vul nu de steel niet te vol met rijst (ik had een pak rijst liggen dat over de datum was, maar je kan ook steentjes gebruiken of erwten, wat je maar hebt liggen eigenlijk):
Push it down with the back of a pencil:
Stamp het aan met de achterkant van een potlood:
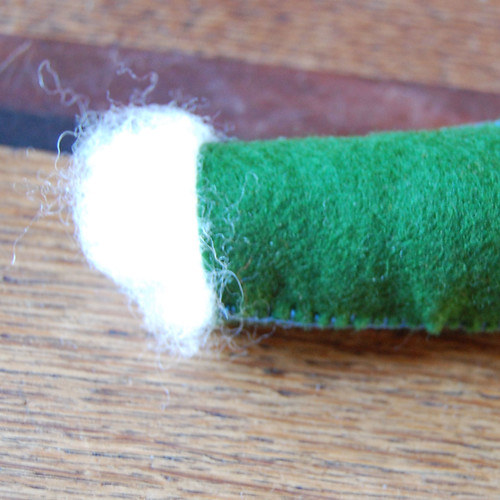
And then add a bit of wool to keep everything in place (you could also use a bit of cotton wool or something else):
En stop er daarna nog een plukje wol in om alles op z'n plek te houden (je zou hier ook een propje watten o.i.d. voor kunnen gebruiken):
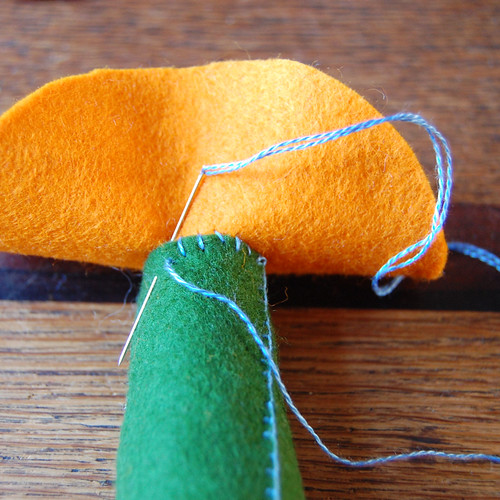
Now place the felt circle on top of the stem:
Leg nu de vilten onderkant van de hoed op de bovenkant van de steel:
And sew it into place:
Naai hem met overhandse steken rondom vast aan de steel:
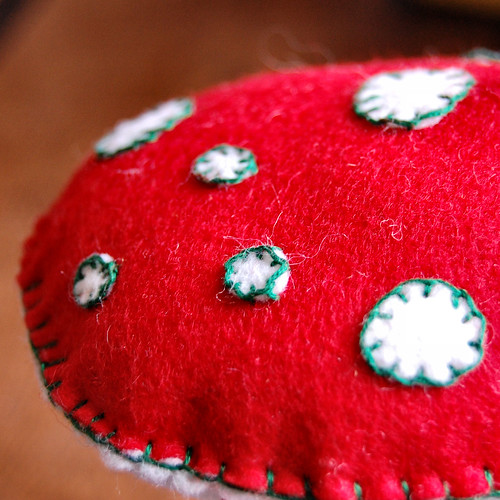
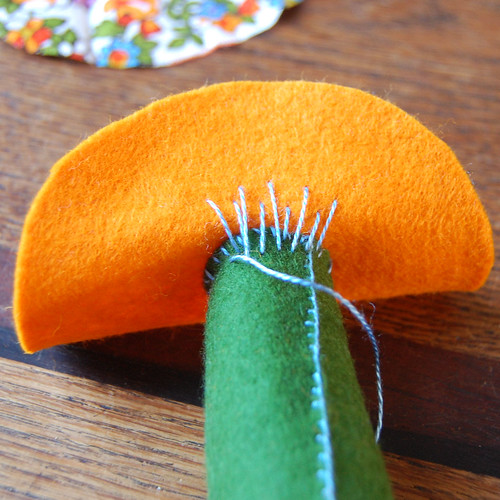
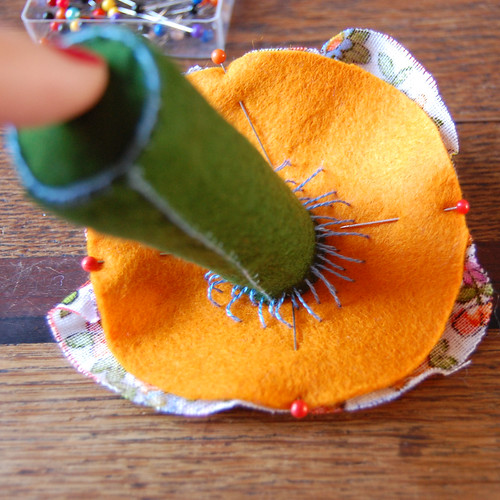
Using large stitches, make the spores on the bottom of the cap:
Maak nu, weer met een overhandse steek, de sporen op de onderkant van de hoed:
Pin the top (fabric) of the cap to the bottom (felt). Because the top is larger you need to gather the fabric a bit as you sew it to the felt:
Speld nu de bovenkant van de hoed (van stof) op de vilten onderkant van de hoed. Aangezien de bovenkant groter is moet je de stof wat verdelen en rimpelen terwijl je hem vastzet:
Using blanket stitch again, sew along the edge of the cap but leave an opening to fill it through later:
Festonneer langs de buitenkant van de hoed maar laat een stukje open om te kunnen vullen:
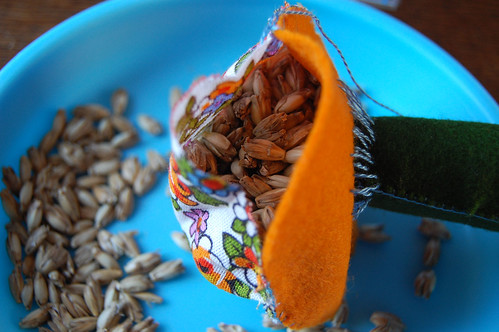
Now fill the cap with spelt. I had it laying around and I like the texture and the sound of it, and also that it is very lightweight and doesn't maken you mushroom fall over (but you could use something else if you prefer):
Vul nu de hoed met spelt. Ik had dit toevallig liggen en ik vind het een leuk resultaat geven; het knispert en voelt heel apart aan maar het is wel heel licht dus je paddestoel wordt niet topzwaar (maar je kan natuurlijk ook iets anders gebruiken):
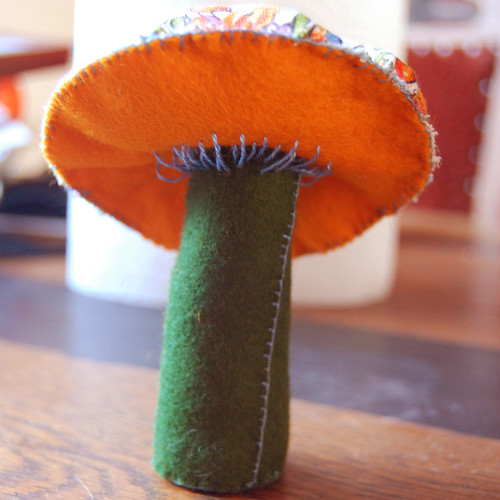
Close the gap and tadaa! Done!
Festonneer het overgebleven stukje ook dicht en klaar!
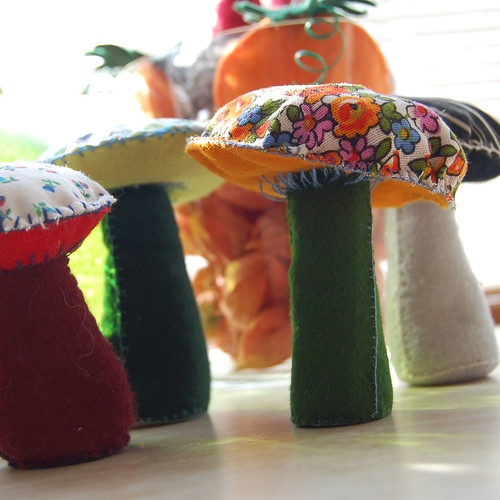
With it's little friends:
Met z'n vriendjes: