This blog has moved to: www.studio-paars.nl

September 25, 2013

* Big news!


I'm moving my blog; the new location of this post is: Studio Paars - Big news!

Mijn blog verhuist; de nieuwe locatie van deze post is: Studio Paars - Groot nieuws!

======================================================

Well... big news for me anyway :)
In a couple of weeks I'm doing my first ever (real) craft market! I'm so excited - and more than a little terrified as well.

I did a couple craft fairs a few years ago, but those were tiny (I did a couple of libraries and a retirement home) and also free of charge for the vendors. This one I have to pay for my stall so I will at least need to sell that much haha! And it's a full day - the others were only a couple of hours.

Like I said, I'm really excited and also worried that a. I'll sell nothing; b. my stall will be dull; c. I won't have nearly enough stuff to fill it; and so on...

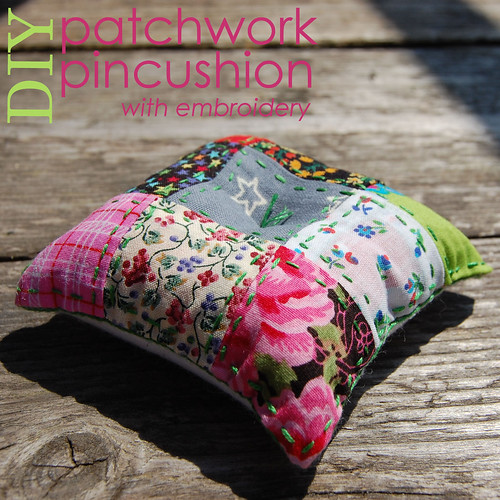
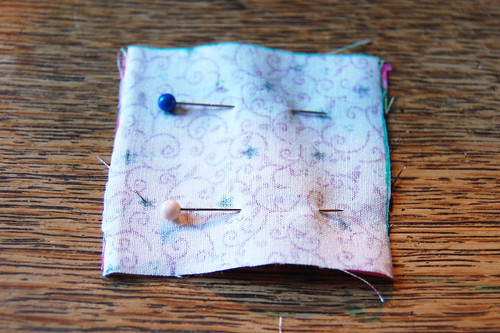
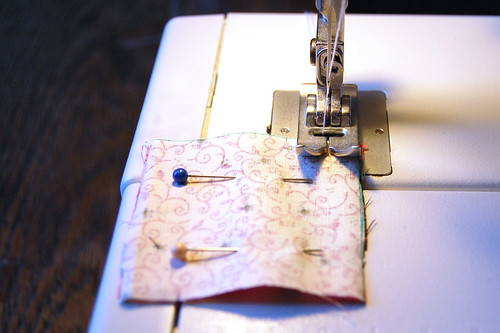
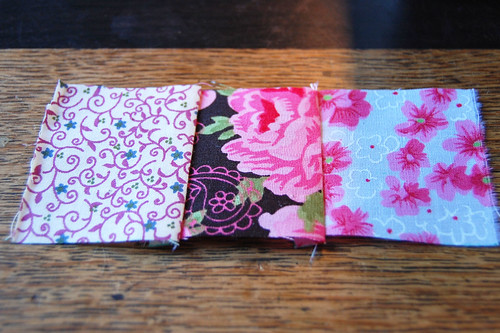
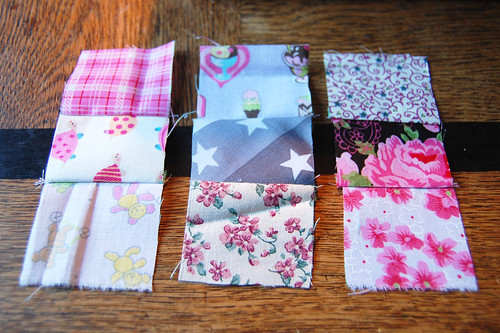
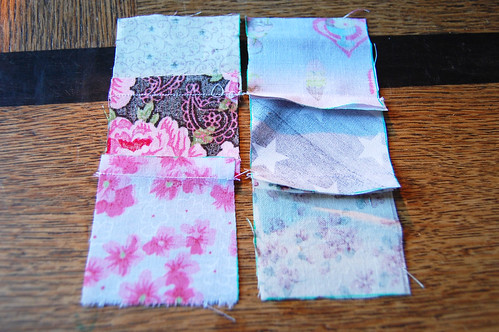
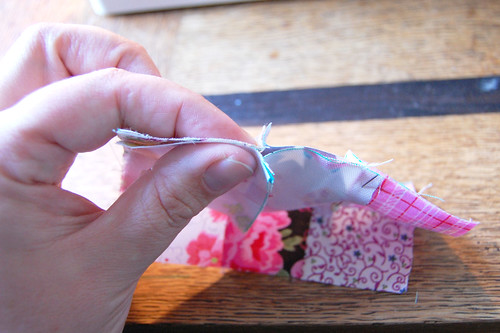
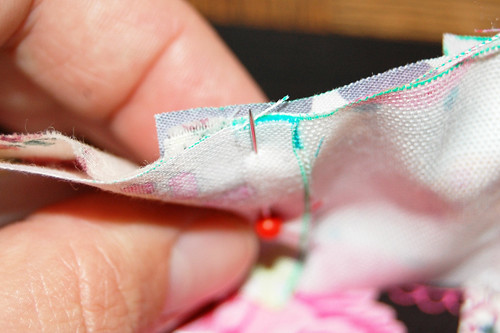
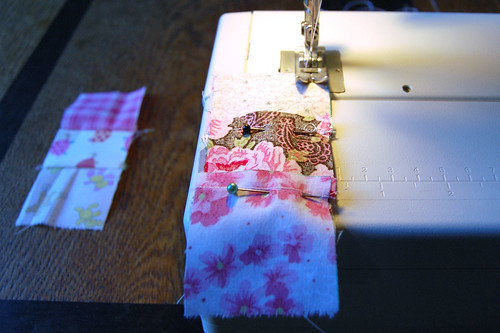
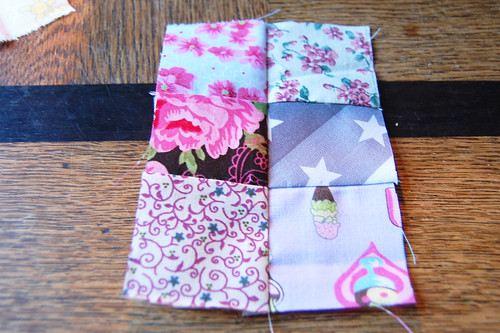
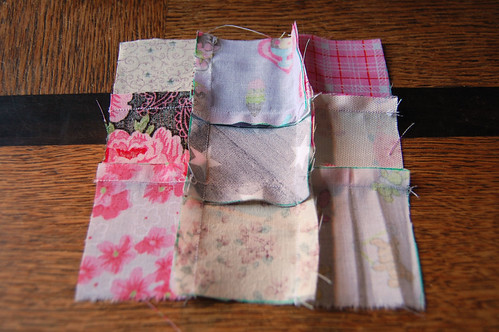
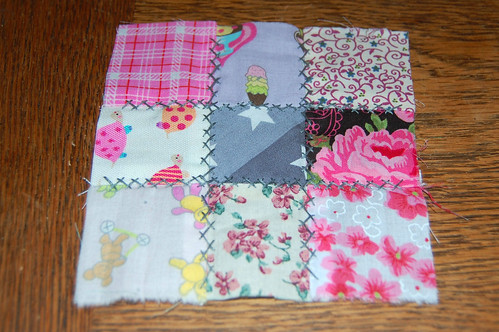
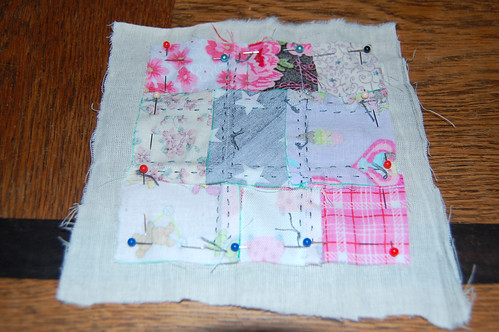
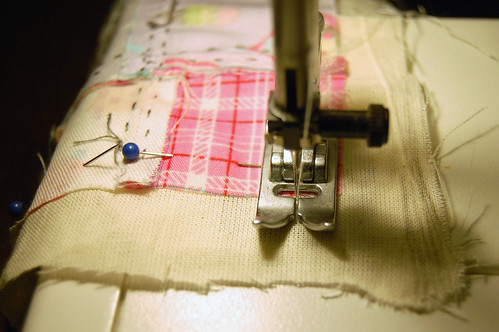
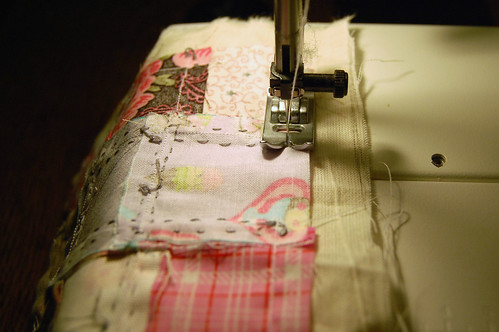
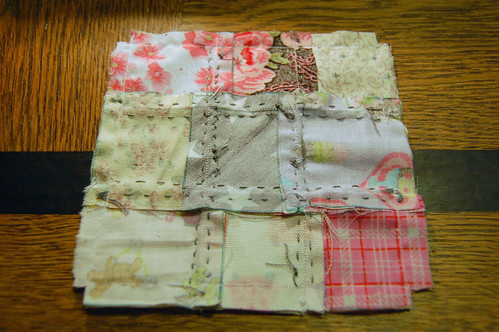
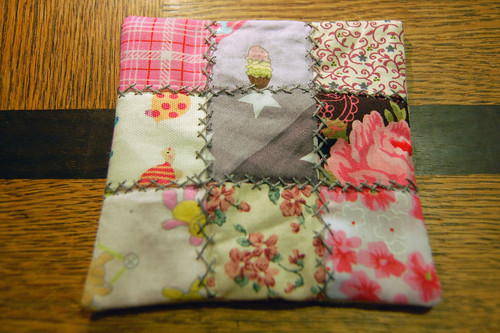
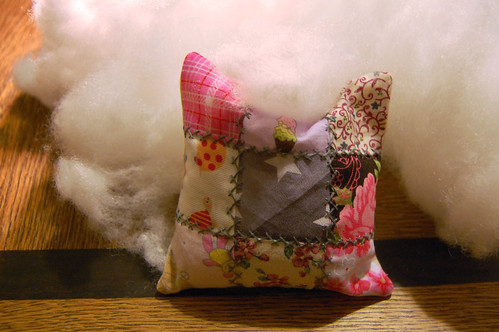
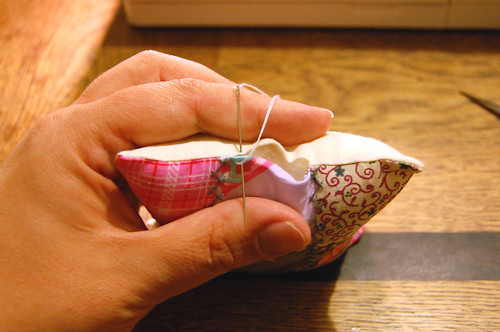
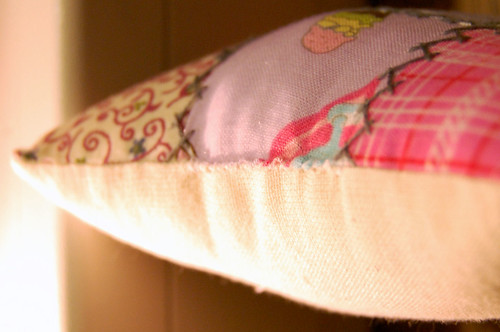
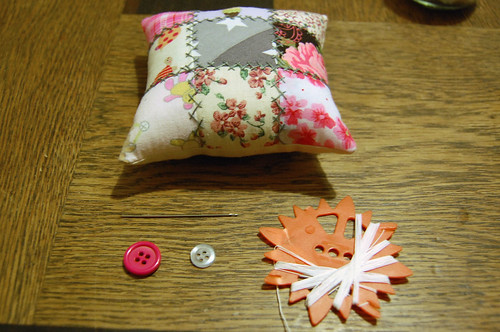
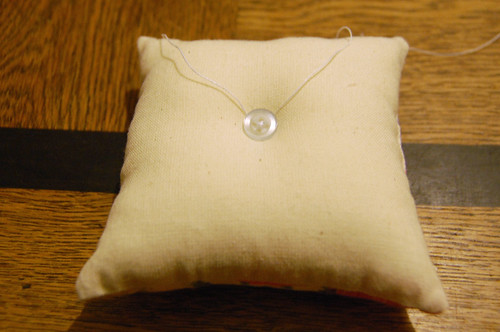
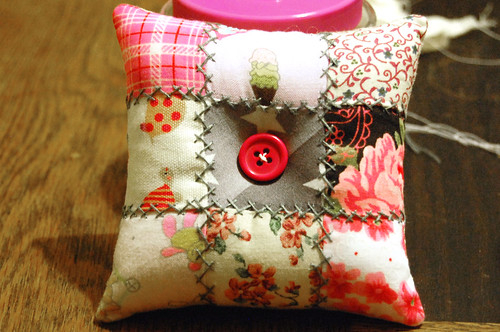
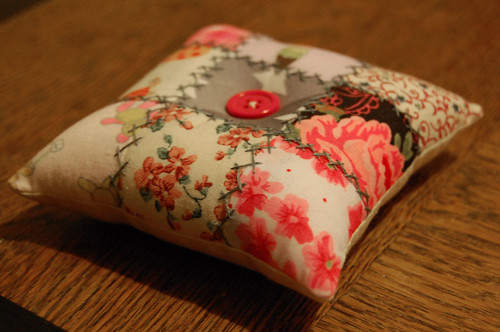
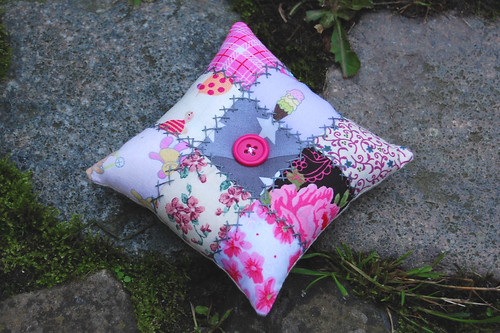
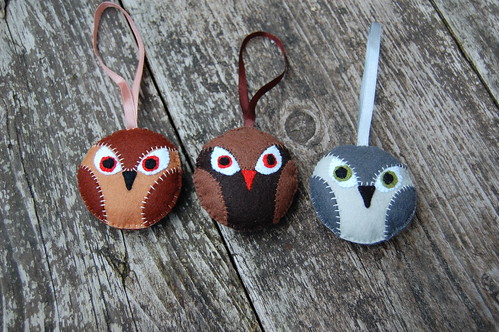
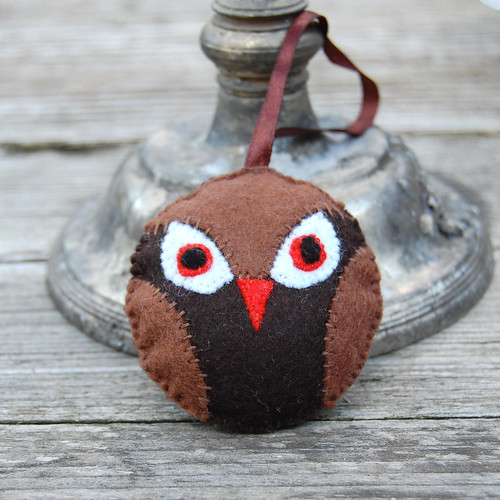
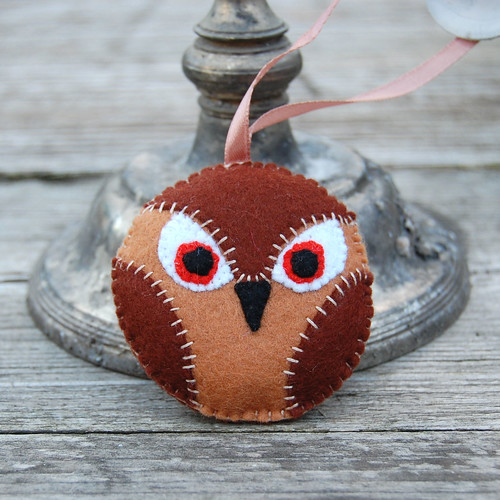
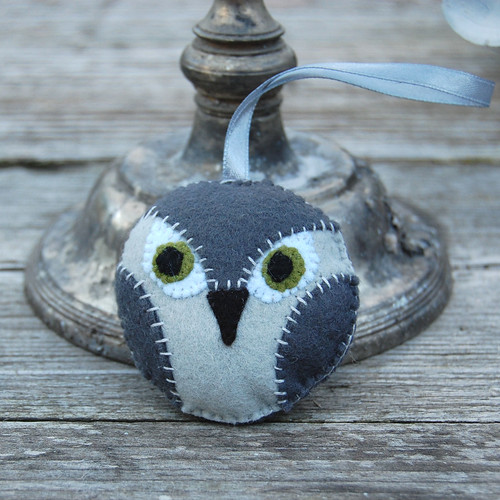
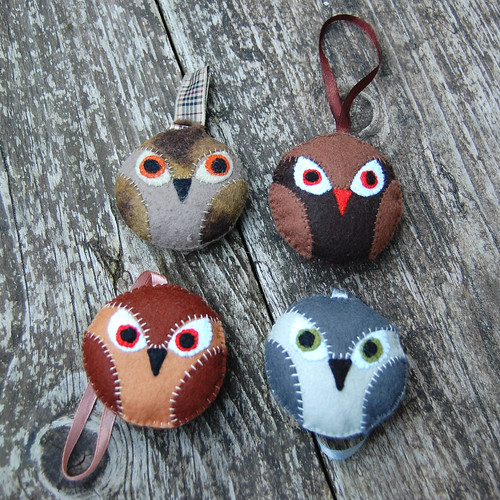
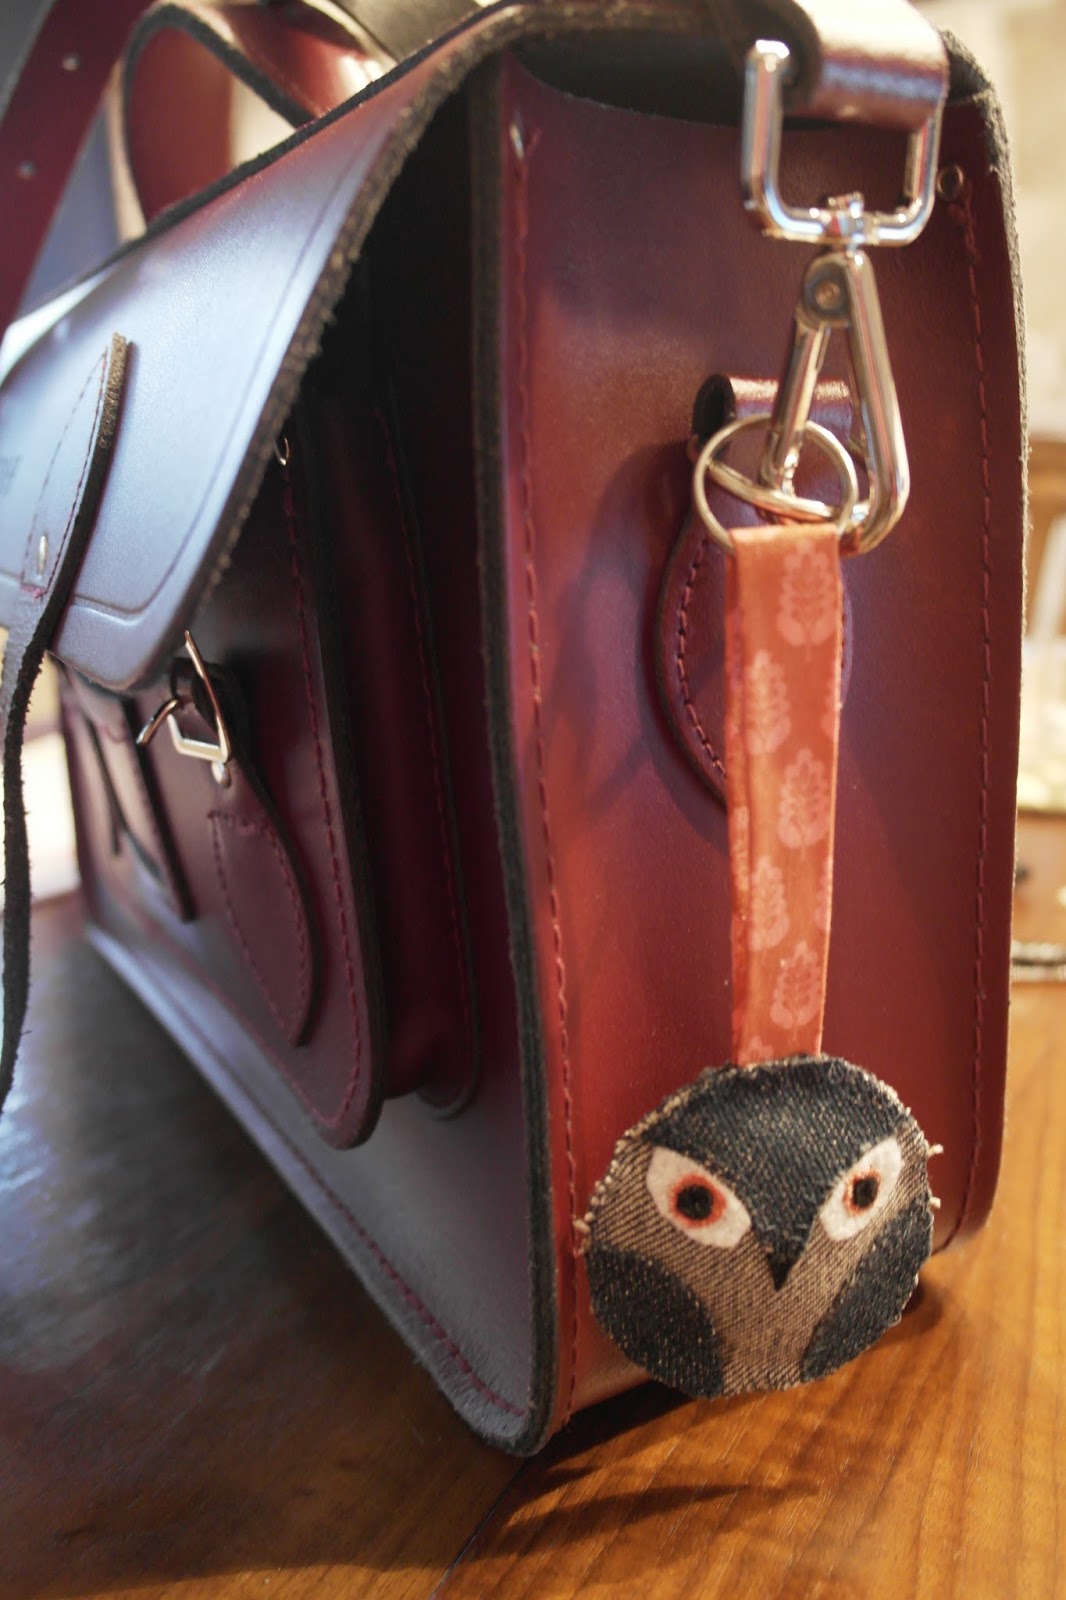
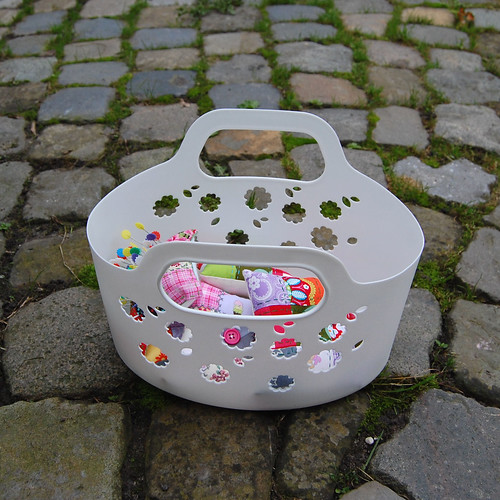
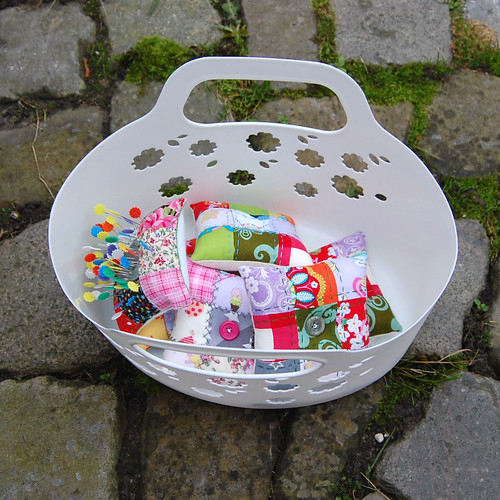
Anyway, for now I will just have to start crafting like crazy to make as much stuff as possible. Here is a little start: the pincushions I made so far. The idea is to fill up the entire basket with these colourfull little things.

Does anyone have any tips for me? Because I really want to make this a success!

pincushions
pincushions
pincushions

Nouja... groot nieuws voor mij toch in elk geval!
Over een paar weken ga ik mijn eerste (echte) creamarkt doen! Ik vind het super spannend - en toch ook wel nogal een beetje doodeng.

Een paar jaar geleden heb ik er een paar gedaan, maar dat waren bibliotheken en bejaardenhuizen: en paar uurtjes en zonder kosten. Dit wordt een hele dag én ik moet betalen voor mijn plekje, dus dat moet ik minimaal terug verdienen haha!

Zoals ik al zei, ik vind het super spannend en maak me uiteraard zorgen of ik a. wel wat verkoop; b. een suffe kraam heb; c. mijn kraam wel vol genoeg krijg; enzovoorts enzovoorts...

Maar goed. Nu moet ik eerst maar eens als een dolle gaan knutselen om zoveel mogelijk spullen te maken. Hier een beginnetje: de speldekussentjes die ik tot nu toe heb gemaakt. Het idee is om het hele mandje te vullen met deze vrolijke kleurige dingetjes.

Iemand nog tips voor me? Ik wil echt heel graag dat het een succes wordt!

P.S.: de nederlandse versie van de tutorial houden jullie nog even tegoed - maar hij komt er echt hoor!

September 22, 2013

* DIY: tutorial for an embroidered patchwork pincushion

->I'm moving my blog; the new location of this post is Studio Paars - DIY: sew an embroidered patchwork pincushion
->Mijn blog verhuist; de nieuwe locatie van deze post is Studio Paars - DIY: maak een geborduurd patchwork speldekussen

+=+=+=+=+=+=+=+=+=+=+=+=+=+

Lately I have been making lots more of my little patchwork pincushions (will show them all here soon) and had a lot of fun with them, in choosing the prints, embroidery and buttons for each one. So I thought maybe it would be nice to make a tutorial for them. They're not hard to make at all so they would make a perfect beginners DIY project.

DSC_4372

What you will need:

- some fabric scraps
- regular needle
- regular thread
- large tapestry needle
- extra strong thread
- embroidery floss
- ruler
- small piece of thin cardboard
- pen or pencil
- scissors
- filling
- 2 buttons

0DSC_5790

Pick your fabrics. You will need 9 squares of app. 5 cm2 (about 2") and one larger square for the back. You can use small scraps for this, but I didn't have any so I just picked out some matching colours from my stash.

0DSC_5792

Use your ruler to mark out a 5 cm2 square on your cardboard and cut to create a template (I already made mine some time ago so there's no picture of this step).
Lay out your fabric, right side down. Position the template on the wrong side of the fabric and trace around it. Now cut it out (don't bother with seam allowances or complicated stuff like that).

0DSC_5811


Repeat this step until you have 9 squares.

0DSC_5825

Carefully line up 2 of your squares wrong sides out and pin.

0DSC_5827

Now sew them together.
NOTE FOR  MACHINE SEWING: position your fabric with the starting point right underneath the needle (no backstitching required) and with the side of your fabric lining up with the side of your foot. This way it is easy to keep a constant seam width.
NOTE FOR  HAND SEWING: the simplest way to keep a constant seam width is to measure and mark out a line over which to sew.

0DSC_5835

Add another square to the 2 you've just sewn to make a strip of 3 squares.

0DSC_5837

Repeat the above steps to make 2 more strips so you have a total of 3 (all 9 squares used up).

0DSC_5839

Lay 2 of the strips side by side, right sides down. Finger-press the seams flat, making sure you press the seams of one of the strips up and the other one down.

Now position the strips right sides together and position and pin very carefully like instructed in the images below:

0DSC_5849 0DSC_5853 0DSC_5858

(this is to make sure the edges of your squares will line up neatly later)

0DSC_5845

Sew together in the same way as before.

0DSC_5847

Now you have 2 strips attached like this. Repeat the previous steps...

0DSC_5859

... and you have all 3 strips sewn together.

0DSC_5869

Finger press the seams outward like pictured here.

0DSC_5883

And now for the really fun part: pick out some embroidery floss, choose a stitch pattern and embellish the patchwork squares any way you like! Take a look here to see some of the patterns I've used.

0DSC_5887

Next, take a piece of plain fabric (for the back) and cut out a rough square, slightly larger than your patchwork piece. Pin right sides together and stitch, making sure you leave an opening for turning.

0DSC_5889

Backstitch at the start and at the end.

0DSC_5893

When you reach a corner, stitch all the way to the end of your top fabric as shown here, and backstitch to where you need to make the turn.

0DSC_5895

Backstitching at the end. Don't forget to leave a gap!

0DSC_5904

Cut away the excess backing fabric and snip away little squares at the corners.

0DSC_5911

Turn right side out. This step may be a little fiddly: use a pencil to help push the fabric out if needed. If it looks a bit wrinkled that's OK! It will smooth out later all by itself.

0DSC_5916

Stuff it! A pincushion needs to be nice and firm so don't hold back on the stuffing. Just make sure you have a little room left for closing.

0DSC_5929

Thread a needle and close the remaining gap. There are lots of tutorials out there for invisible closings so feel free to use those; however they don't work for me so I just close with a small overhand stitch instead.

0DSC_5933

This is what it looks like.

0DSC_5947

Now for the last step: take your tapestry needle, heavy duty thread and buttons.

0DSC_5960

Position your pretty button in the middle of the top.

0DSC_5962

And your plain old button in the middle of the bottom. Stick your needle all the way through the pincushion so that you fix both buttons in place at the same time. Make 2 passes, then pull the thread really really tight and secure it with a bunch of knots (hide these behind the bottom button).

0DSC_5968

And it's done! One pretty little pincushion :)
(I will make some better pics when it's light out tomorrow!)

0DSC_5973

EDIT: new pics added - since it's so gloomy outside still a bit dark though...

pincushion 33
pincushion 32
pincushion 31


I would love to see what you make with my tutorials so please let me know if you've used any!
Any questions about this tutorial: post them in the comments section and I will do my best to answer.


The small print: do not copy any of my text or pictures and claim them as your own. Do not sell my patterns and/or tutorials. Pinning and linking is fine, wonderful even, but please make sure there is a link back to me.

September 16, 2013

Polymer clay earrings?!

DaWanda organised a bloggers competition for which I signed up. You would receive a surprise package with which to make something. I was expecting anything (or at least I thought so!) but what I didn't expect was a packet of polymer clay: Fimo Air Light to be precise. Well now there is something way outside my comfort zone...
But I went ahead and experimented with it which was kind of fun. I played with shapes and textures and colours, and in the end I decided I had better stick to something familiar and use it to make jewellery. So I made some beads and painted them, then assembled these simple earrings.
What I like about the Fimo beads is that they look very substantial but are actually super lightweight.

Now, since it's a competition I am asking everyone to please go and VOTE! Whichever entry receives the most 'likes' on DaWanda's facebook page by September 23rd wins! You can cast your vote here: facebook. (voting has ended)


HGK3
HGK3, a photo by HGK handmade on Flickr.
HGK4
HGK4, a photo by HGK handmade on Flickr.
HGK1
HGK1, a photo by HGK handmade on Flickr.
HGK2
HGK2, a photo by HGK handmade on Flickr.

DaWanda heeft een bloggerswedstrijd georganiseerd waar ik aan mee heb gedaan. Je zou een verrassingspakketje in de post krijgen, waar je dan iets mee moest maken. Ik verwachtte van alles maar dus geen polymeerklei: Fimo Air Light om precies te zijn. Nou dat was wel even buiten mijn comfort zone...
Maar ik ben toch gaan experimenteren ermee, en dat was ook best leuk. Ik heb lekker gespeeld met vorm, textuur en kleur, en uiteindelijk besloot ik te blijven bij wat ik ken en er een sieraad mee te maken. Dus kleide ik wat kralen, verfde ze en maakte deze oorbellen.
Wat fijn is aan de Fimo is dat de oorbellen er substantieel uitzien maar eigenlijk superlicht zijn.

Maar, omdat het een wedstrijd is vraag ik hierbij iedereen of alsjeblieft te gaan STEMMEN! Degene die vóór 23 september de meeste 'likes' op DaWanda's facebook pagina krijgt wint! Stemmen kan hier: facebook. (stemmen is niet meer mogelijk)


September 12, 2013

* Update on the owls


I'm moving my blog; the new location of this post is: Studio Paars

Mijn blog verhuist; de nieuwe locatie van deze post is: Studio Paars

======================================================

EDIT: click here to go to the latest post on my little owl pattern or here to purchase directly.

EDIT: klik hier om naar het laatste nieuws over mijn uiltjespatroon te gaan of hier om direct te kopen.

owl medallions - new
owl medallions - new, a photo by HGK handmade on Flickr.
There has been a lot of response to my request for pattern testers: thank you all for your interest!

I had a couple of very good suggestions that I will certainly use and update my pattern with. One of these was to increase the size of the smallest pattern parts, and another good one was to number the pattern pieces.
The pattern (and the kits) will be available soon, either here on my blog or in my DaWanda shop: please check back for updates.

Since I plan to start doing some (smallish) craft shows this winter I decided I had to make a couple more myself, and here they are (so far anyway :). I like how they look with different colours of felt:

Ik heb veel reacties gehad op mijn oproep voor patroontesters: bedankt allemaal!
Er zaten een aantal goede suggesties tussen de reacties die ik zeker ga gebruiken. Het patroon en de pakketjes zullen binnenkort beschikbaar zijn hier op mijn blog en/of in mijn DaWanda winkel dus kijk regelmatig even voor het laatste nieuws.
Zelf heb ik er ook nog maar een paar gemaakt:

owl medallion dark
owl medallion dark, a photo by HGK handmade on Flickr.

owl medallion light
owl medallion light, a photo by HGK handmade on Flickr.

owl medallion grey
owl medallion grey, a photo by HGK handmade on Flickr.

And together with my 'original' one (quite worn from hanging from my car keys all this time!):

all together now
all together now, a photo by HGK handmade on Flickr.

I also love seeing how they turn out when made by others :) Here are a few examples I got back from some of my wonderful pattern testers:

Hier een paar van de creaties van anderen met MIJN patroon! Hoe stoer is dat :D

by Marit from happysmallthings

by Diane from lavenderdreams


by T'onna from usscrafty

by Anne-Marie from littleredhome
Thanks again lovely ladies!

Nogmaals dank lieve dames!


EDIT: my mum made this one! It's a snowy owl made from white-grey 'fairy' felt. And the ribbon was a gift from my sister's trip to Sweden :)

EDIT: deze is door mijn moeder gemaakt! Het is een sneeuwuil van grijswit sprookjesvilt. En het bandje was een kadotje van mijn zus na een vakantie in Zweden :)