This blog has moved to: www.studio-paars.nl

May 24, 2015

* DIY: vintage button necklace


I'm moving my blog; the new location of this post is: Studio Paars

Mijn blog verhuist; de nieuwe locatie van deze post is: Studio Paars

======================================================


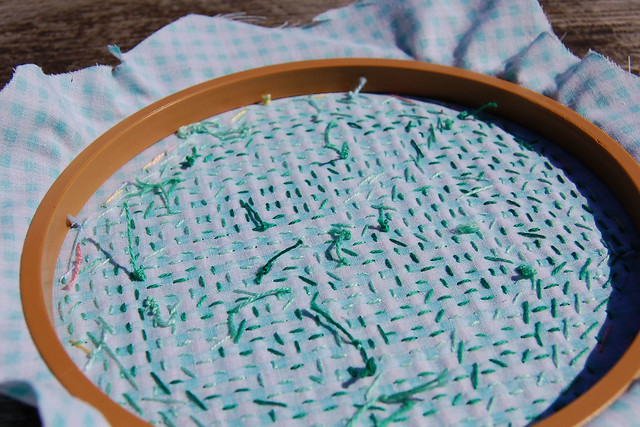
A couple of days ago I posted this on Instagram:

Een paar dagen geleden liet ik dit zien op Instagram:

Een foto die is geplaatst door Audrey B. / Studio Paars (@audrey_studiopaars) op

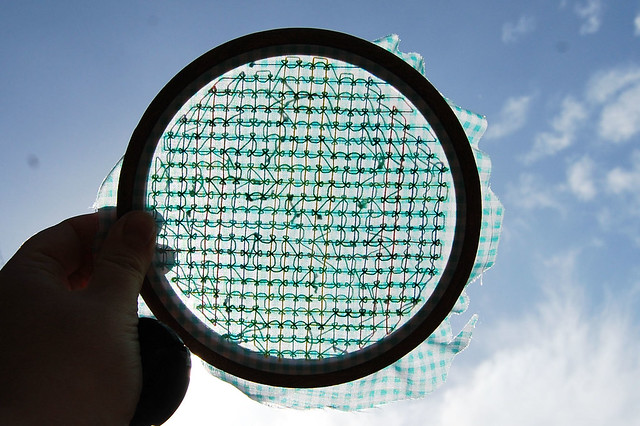
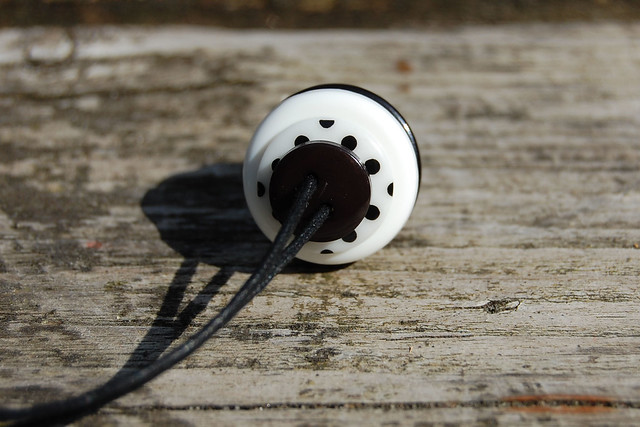
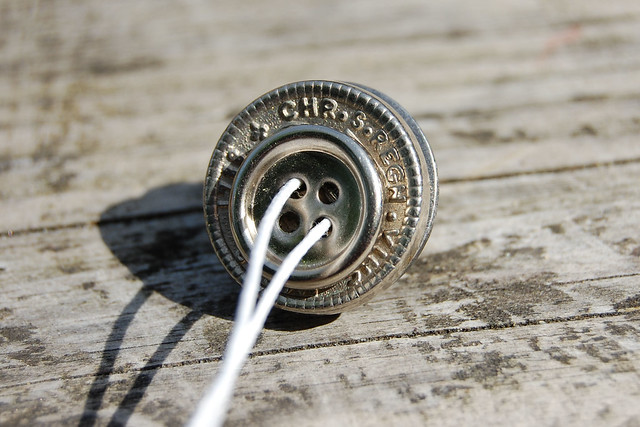
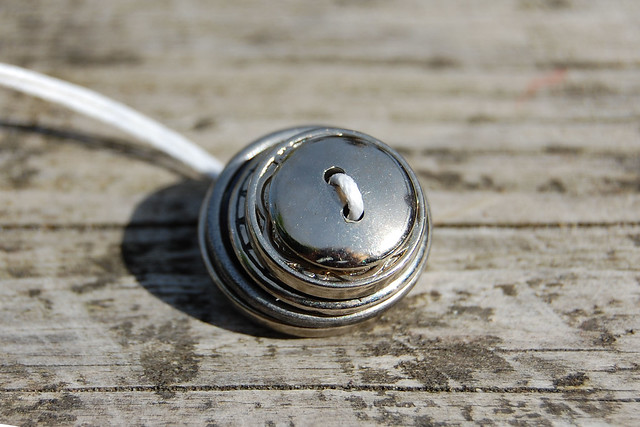
Here is what I made that day:

Dit is wat ik maakte die dag:
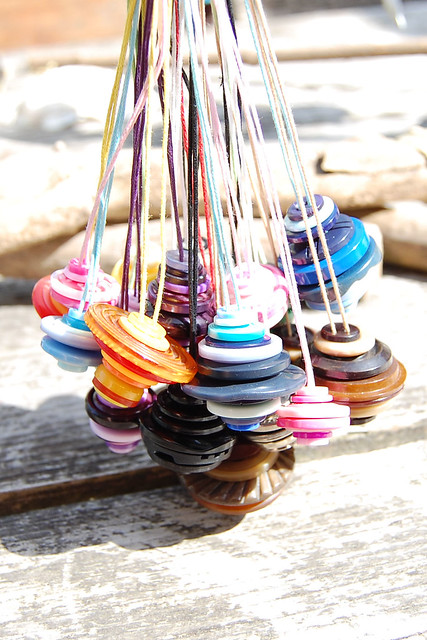
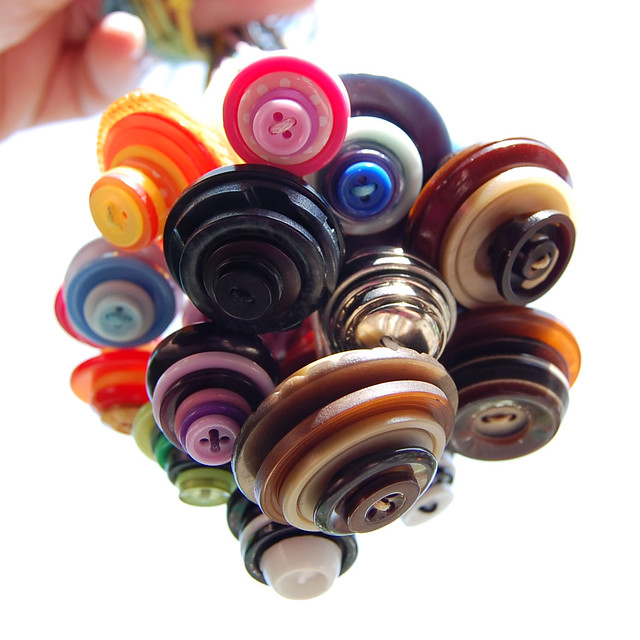
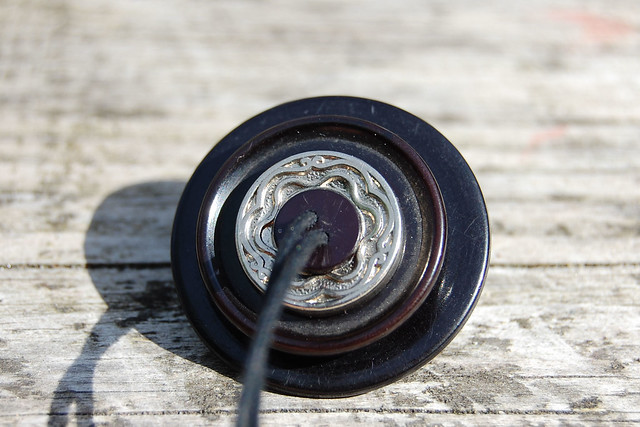
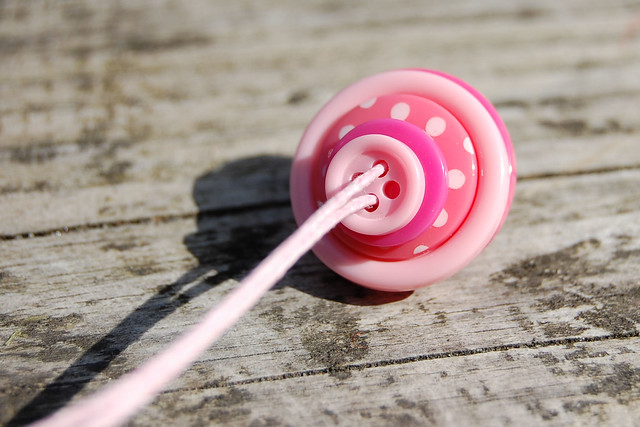
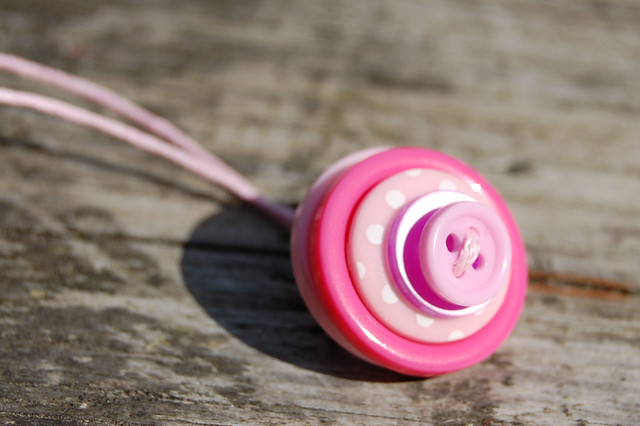
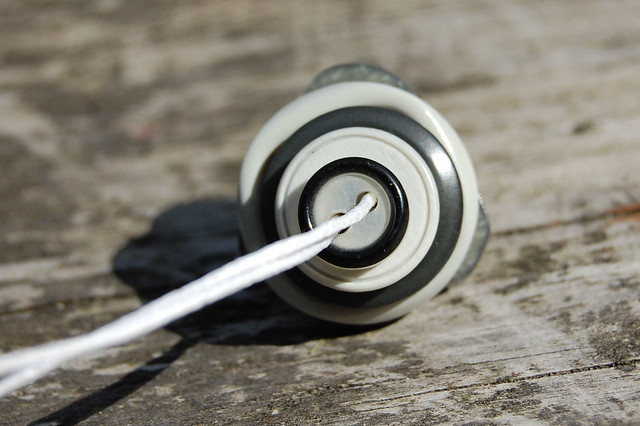
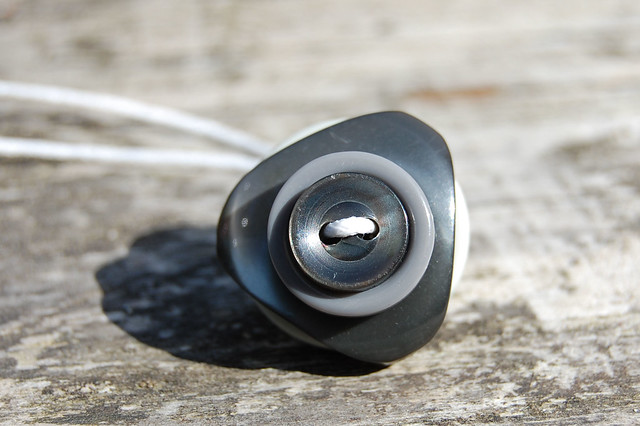
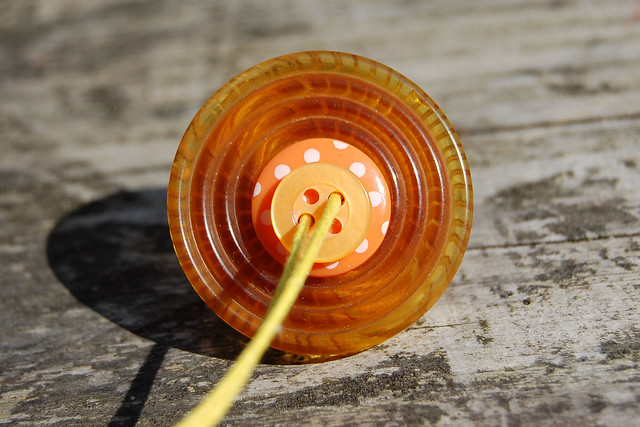
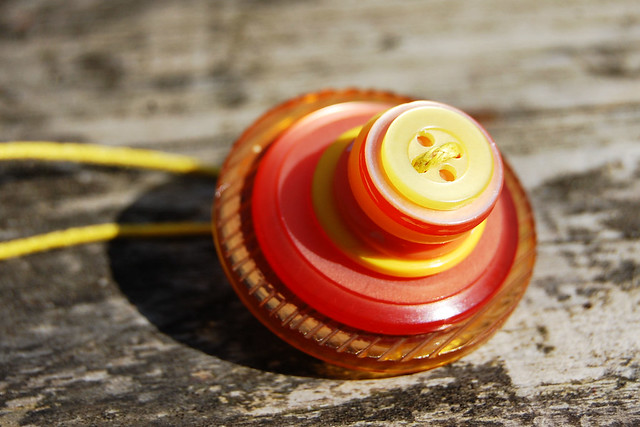
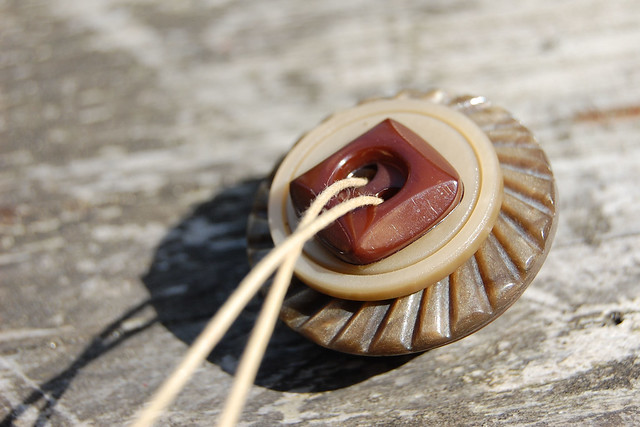
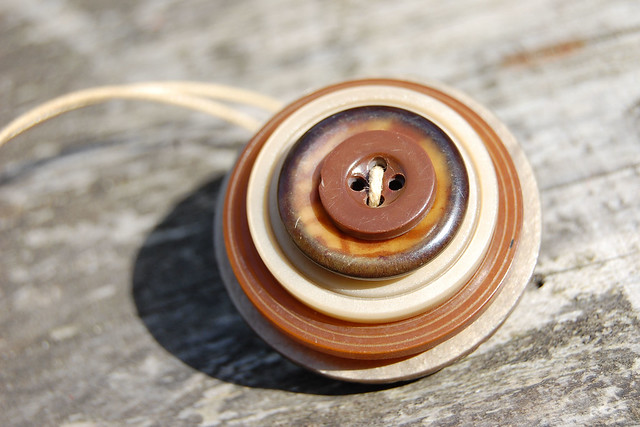
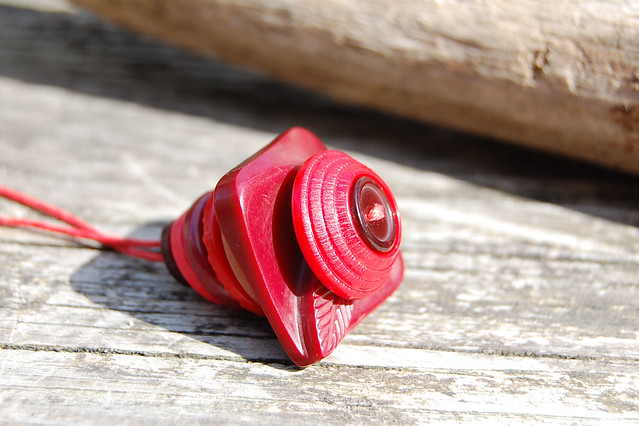
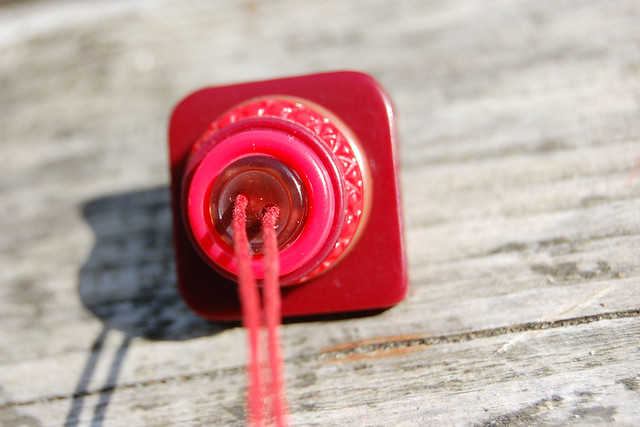
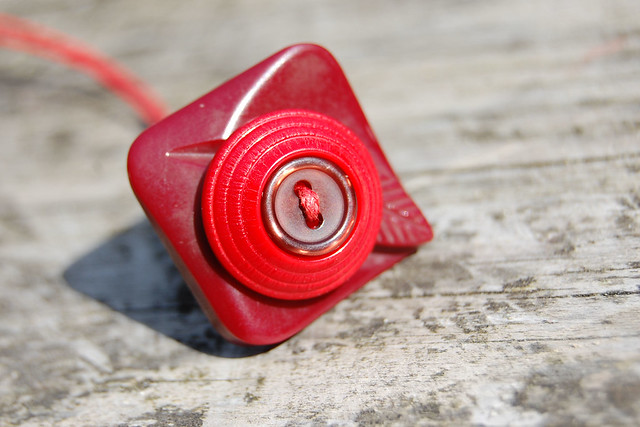
all1

Button necklaces!
They are really easy to make, and so much fun! You could easily make these with kids too. Just choose some pretty buttons and string them. I used waxed cotton cord in matching colors, but you could use yarn, linen, hemp or silk if you're feeling super fancy. The hardest part is choosing the buttons!
I used a mixture of new buttons and vintage ones. Some of those are quite old and I think some might be bakelite. They get to stand out now, instead of being buried in the bottom of my button jars.

Knopenkettingen!
Supermakkelijk te maken, en superleuk! Je kan ze makkelijk met kinderen maken, of gewoon zelf. Kies een paar mooie knopen en rijg ze aan een touwtje. Ik gebruikte katoenen waxkoord in bijpassende kleurtjes, maar je kan ook wol gebruiken, linnen of hennep koord of (als je echt heel chic wil doen) zijde. Het moeilijkste is om de knopen te kiezen!
Ik gebruikte vintage en nieuwe knopen door elkaar. Sommige zijn heel oud en ik denk dat er een paar van bakeliet tussen zitten. Nu stelen ze de show, in plaats van onderin mijn knopenpotten te blijven liggen.

all2

I'm thinking of having a little givewaway for some of these. What do you think?

Ik denk erover om een giveaway te doen voor een paar van ze, wat denk jij?

black_top

black_bottom

pink_top

pink_bottom

grey_top

grey_bottom

orange_top

orange_ bottom

brown_top

brown_bottom

red

red_top

red_bottom

bnw_top

bnw_bottom

silver_top

silver_bottom


May 14, 2015

* Instagram & Embroidery: the Couched Filling Stitch


I'm moving my blog; the new location of this post is: Studio Paars

Mijn blog verhuist; de nieuwe locatie van deze post is: Studio Paars

======================================================

Hello there :) I am happy to *finally* be able to invite you to my Instagram feed!
My phone hated the IG app but eventually I convinced it to make it work. So that's where I have been these past few days. I am still discovering some of the features but I like that it is simple and fast, so I expect to be posting lots of WIP-shots there.
So if you would like to, come have a look! Leave your name in the comments if you would like me to do the same. I am @audrey_studiopaars over there.

Hallo :) Ik ben zo blij dat ik *eindelijk* mensen mijn Instagram feed kan laten zien!
Mijn telefoon had geloof ik een hekel aan de IG app, maar na heel veel proberen is het me toch gelukt om hem werkend te krijgen. Dus daar was ik de afgelopen dagen. Ik heb nog niet alles helemaal door maar ik vind het leuk dat het zo makkelijk en snel is, dus ik denk dat ik daar veel WIP-foto's zal plaatsen.
Dus als je zin hebt, kom even bij me kijken! Zet je naam in de comments als je wilt dat ik ook bij jou langskom. Ik ben daar @audrey_studiopaars.

Couched Filling Stitch - #2

Anyway. I did a little embroidery inspired by this post on the wonderful Feeling Stitchy blog. This is called the Couched Filling Stitch and it is very easy - follow the link to their post for a very detailed tutorial.
I used some gingham fabric (which also meant I didn't need to draw any lines) and played with multocoloured thread.

Maar goed. Ik heb een beetje geborduurd, geïnspireerd door deze post op het super Feeling Stitchy blog. Het heet "the Couched Filling Stitch" (geen idee wat de nederlandse naam is) en het is heel eenvoudig - volg de link naar hun post voor een uitgebreide tutorial (in het engels maar met duidelijke foto's).
Ik gebruikte ruitjesstof (dus hoefde ik ook geen lijntjes te tekenen) en speelde wat met multikleurig garen.

Couched Filling Stitch - #1

A WIP shot.

Een WIP (Work In Progress - Werk In Uitvoering) foto.

Couched Filling Stitch - WIP

Couched Filling Stitch - close up

Close up:

Couched Filling Stitch - even closer

The back:

De achterkant: 

Couched Filling Stitch - back

And I kind liked the way it looked against the light:

En ik vond het er heel grappig uitzien tegen het licht:

Couched Filling Stitch - see through