This blog has moved to: www.studio-paars.nl

November 4, 2013

* Owl pattern - finally online!


I'm moving my blog; the new location of this post is: Studio Paars

Mijn blog verhuist; de nieuwe locatie van deze post is: Studio Paars

======================================================


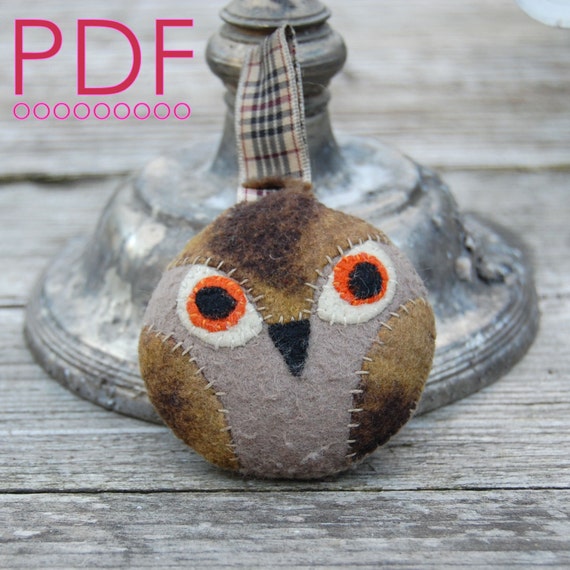
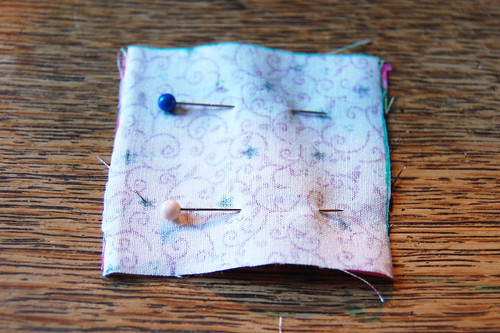
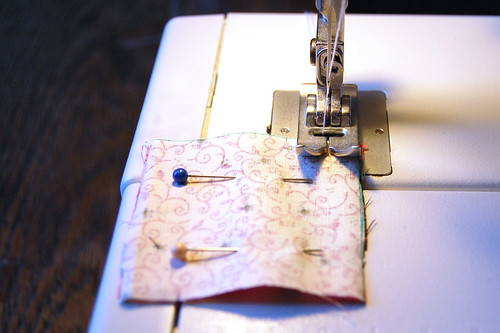
After all the help I got testing the pattern I FINALLY got around to finishing the pdf and putting the pattern online!
I had a hard time deciding whether or not to make it available as a free download, but in the end I decided against it. So now it's for sale in my etsy shop for only € 2,50 here!
I plan to make many more patterns and some of these I will make available for free here on my blog. I am also in the process of making complete kits for the owls, and I have a couple of them that I made myself and that would like new homes. So watch for updates!

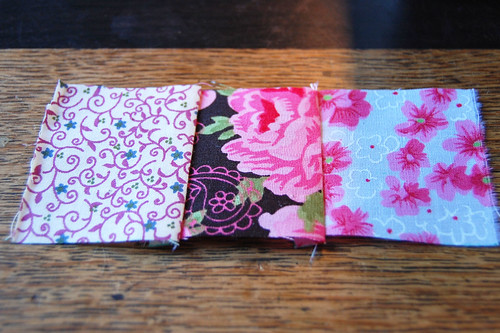
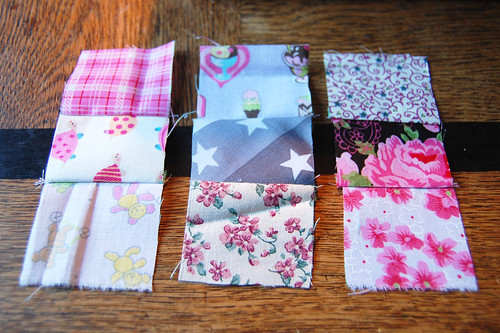
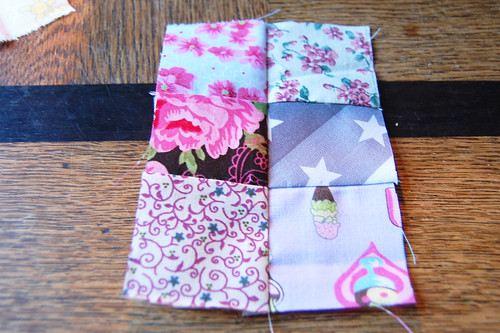
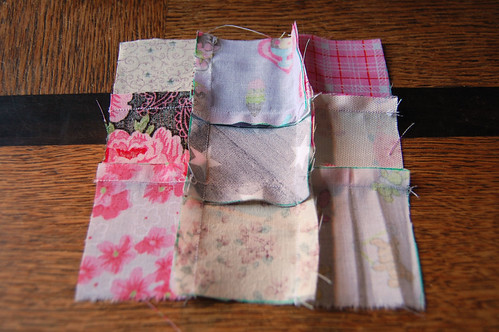
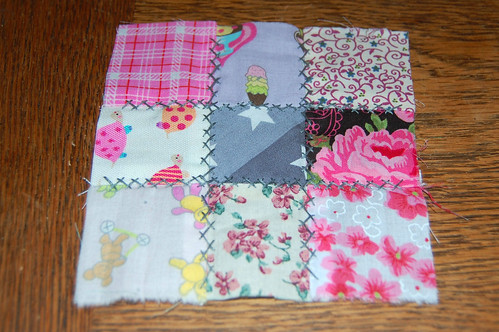
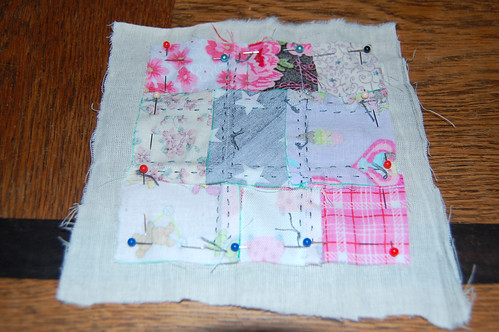
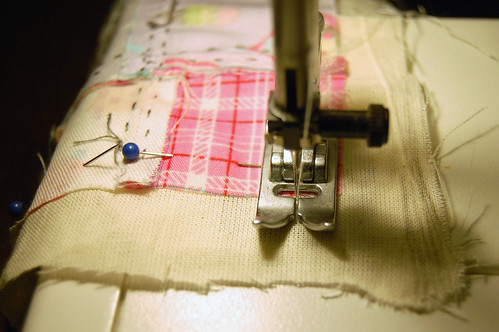
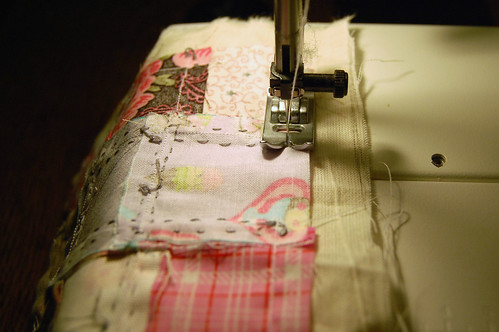
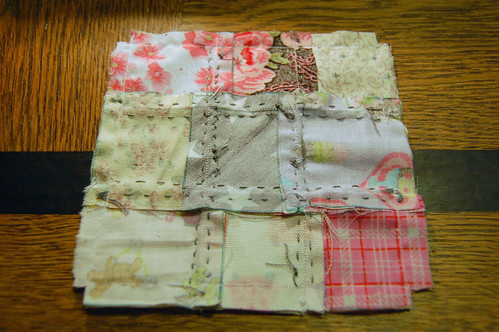
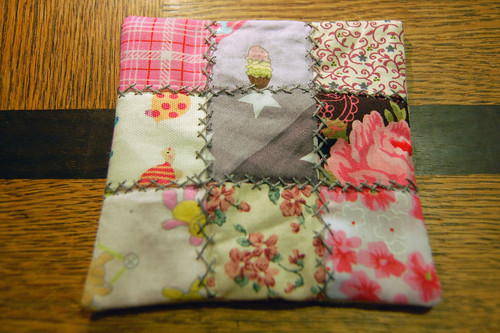
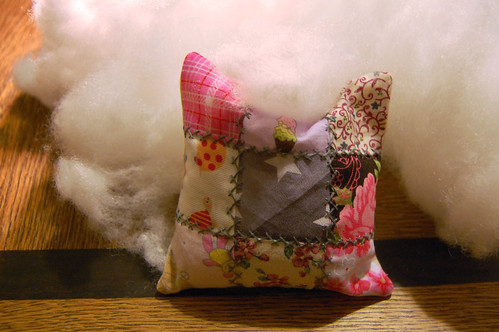
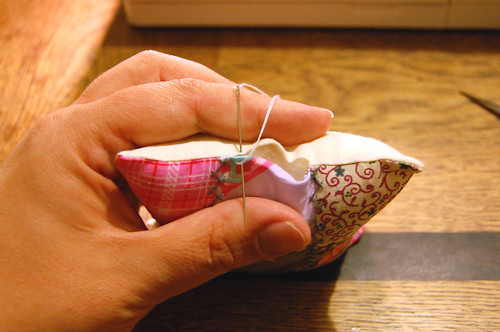
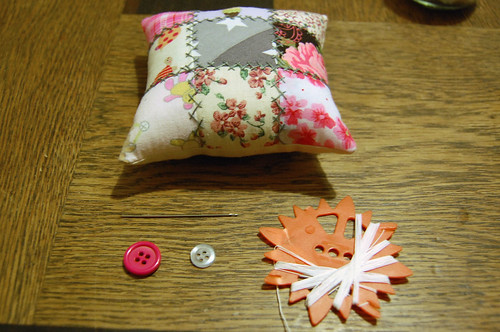
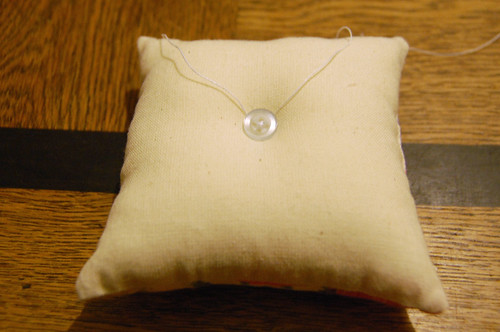
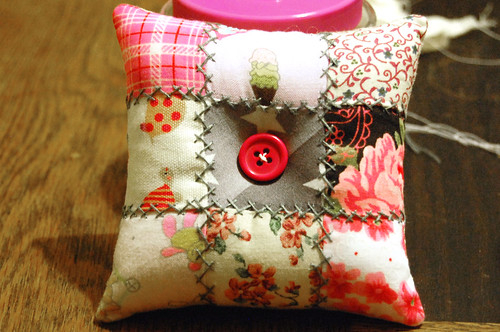
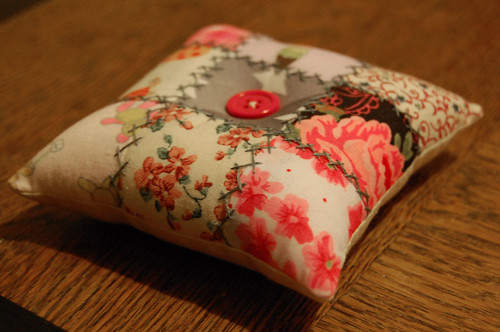
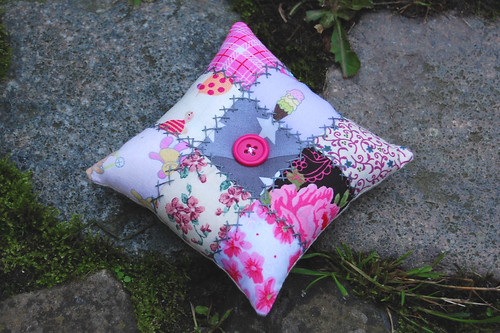
On the crafty front I have been having a bad case of startitis: I keep starting new projects (crocheting, sewing, another patchwork blanket even!) but nothing is getting finished just yet. Maybe tomorrow... if I can stick to it long enough ;)
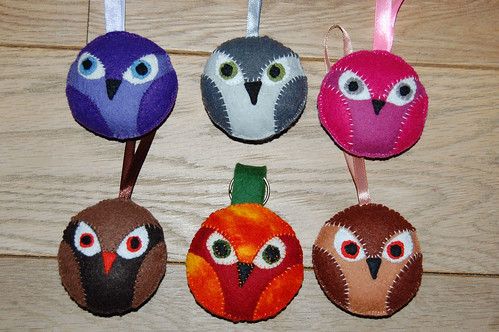
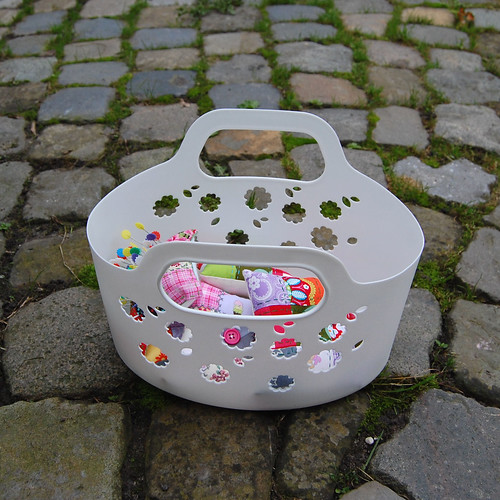
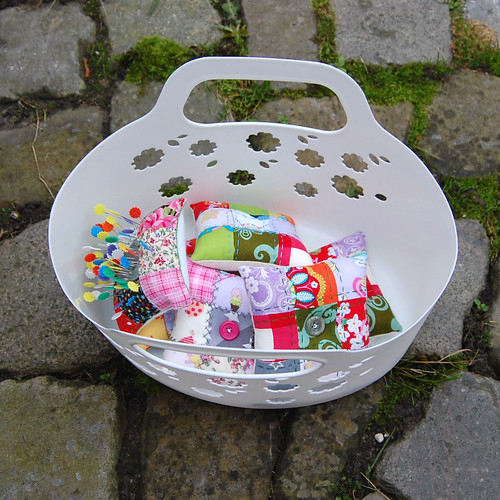
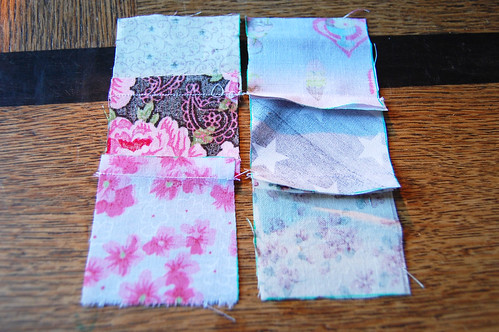
owls ready for crafty market
Na alle hulp die ik kreeg bij het testen van mijn patroon heb ik nu EINDELIJK de pdf afgemaakt en staat ie online!
Ik vond het een moeilijke beslissing maar uiteindelijk heb ik ervoor gekozen om hem niet gratis op mijn blog te zetten maar te verkopen voor maar € 2,50 hier via mijn Etsy shop.
Ik ben van plan om nog veel meer patronen te maken en sommige daarvan zullen hier op mijn blog gratis te downloaden zijn.
Ook ben ik bezig met het maken van DHZ-kits van de uiltjes, en ik heb er hier ook nog een paar liggen die ik zelf heb gemaakt en die nog een nieuw thuis zoeken. Dus blijf in de buurt voor updates!

Op knutselgebied ben ik op het moment heel veel aan het beginnen en niets afmaken (haken, naaien, zelfs een nieuwe patchworkdeken!) Misschien dat ik morgen iets af heb en kan laten zien... als ik mezelf er lang genoeg op kan focussen tenminste ;)


October 29, 2013

And here it is...

... my new identity! Or rather, my blog's new identity.
I decided I needed to clear things up a little, so now I named my (personal) crafty blog Audrey B. (since that's my name :) and use that same name everywhere: for my FlickR, Pinterest etc.
Studio Paars is the name of my business (officially now - yay!) for teaching workshops and selling handmade items.
There will be a bit of an overlap now and then but I will just deal with that when it happens.
I updated all the icons and the links in the top right corner - feel free to check them out!

On a completely unrelated topic, I posted a year ago about how excited I was to have 100 followers on my Pinterest page - and now there are 1000! WOW! I mean, how did that happen?
Thank you to all my followers, new and old! *hug*


Hier is ie dan: de nieuwe versie van mijn blog!
Ik heb alles een beetje opgeschoond, dus nu heet mijn persoonlijke crafty blog Audrey B. (want zo het ik nou eenmaal :) en die naam gebruik ik verder overal, zoald op FlickR, Pinterest enz.
Studio Paars is de naam van mijn bedrijfje (nu ook officieel - yay!) in het geven wan creatieve workshop en het verkopen van handgemaakte dingen.
Soms zal er een kleine overlap zijn maar ik zie wel hoe ik dat oplos wanneer het zich voordoet.
Alle icoontjes rechtsboven zijn ook ge-update dus probeer ze maar uit!

Een volkomen ander onderwerp: een jaar geleden plaatste ik een berichtje over hoe leuk ik het vond om 100 volgers te hebben op mijn Pinterest pagina - en nu zijn het er meer dan 1000! WAUW! Wat is er gebeurd?
Een dikke *knuffel* voor iedereen die mij volgt  ♥ 

October 20, 2013

* Changes appearing around here


I'm moving my blog; the new location of this post is: Studio Paars - Changes appearing around here

Mijn blog verhuist; de nieuwe locatie van deze post is: Studio Paars - Er gaat hier iets veranderen

======================================================

Just popping in for a quick post: I will tell you all about my first craft show soon,and also I still owe a dutch version of my last tutorial.
But for now I wanted to share the news that I officially started my own business last week! I'm really excited about it, and already I realise I underestimated the amount of time it takes up. So that's the reason I'm manking some changes: I now have way too many websites, blogs and facebook pages to keep up with and I want to wrap them all together a little more transparantly. Not completely sure how I'm going to do that though :) And when.

Anyway, here's a new felt pendant necklace I made. This time I embroidered both sides instead of just one. It's available in my DaWanda shop (and coming soon to my all new Etsy shop too!)

Felt pendant necklace 'Plum' (front)
Ik kom eventjes langs voor een snel berichtje. Binnenkort vertel ik alles over mijn eerste creamarkt en ik vergeet ook niet de nederlandse versie van mijn vorige tutorial.
Maar voor nu alleen even het nieuwtje dat ik officieel mijn eigen bedrijf ben begonnen! Ik bleef steeds een beetje hangen in de hobbysfeer maar nu ga ik het serieuzer aanpakken. Ik merk al meteen dat er best wel meer werk in gaat zitten als je alles netjes bij moet houden haha! Maar dit is de reden dat er wat dingen zullen veranderen hier: ik heb veel te veel webbpagina's, blogs en facebook pagina's om te onderhouden, dus dat moet allemaal wat overzichtelijker. Alleen weet ik nog niet precies hoe :) En wanneer.

Maar hoe dan ook: hier is een nieuwe vilten ketting. Deze keer heb ik beide zijden geboduurd in plaats van maar aan één kant. Hij staat al in mijn mijn DaWanda shop (en binnenkort ook in mijn spiksplinternieuwe Etsy shop!) 

Felt pendant necklace 'Plum' (back)

September 25, 2013

* Big news!


I'm moving my blog; the new location of this post is: Studio Paars - Big news!

Mijn blog verhuist; de nieuwe locatie van deze post is: Studio Paars - Groot nieuws!

======================================================

Well... big news for me anyway :)
In a couple of weeks I'm doing my first ever (real) craft market! I'm so excited - and more than a little terrified as well.

I did a couple craft fairs a few years ago, but those were tiny (I did a couple of libraries and a retirement home) and also free of charge for the vendors. This one I have to pay for my stall so I will at least need to sell that much haha! And it's a full day - the others were only a couple of hours.

Like I said, I'm really excited and also worried that a. I'll sell nothing; b. my stall will be dull; c. I won't have nearly enough stuff to fill it; and so on...

Anyway, for now I will just have to start crafting like crazy to make as much stuff as possible. Here is a little start: the pincushions I made so far. The idea is to fill up the entire basket with these colourfull little things.

Does anyone have any tips for me? Because I really want to make this a success!

pincushions
pincushions
pincushions

Nouja... groot nieuws voor mij toch in elk geval!
Over een paar weken ga ik mijn eerste (echte) creamarkt doen! Ik vind het super spannend - en toch ook wel nogal een beetje doodeng.

Een paar jaar geleden heb ik er een paar gedaan, maar dat waren bibliotheken en bejaardenhuizen: en paar uurtjes en zonder kosten. Dit wordt een hele dag én ik moet betalen voor mijn plekje, dus dat moet ik minimaal terug verdienen haha!

Zoals ik al zei, ik vind het super spannend en maak me uiteraard zorgen of ik a. wel wat verkoop; b. een suffe kraam heb; c. mijn kraam wel vol genoeg krijg; enzovoorts enzovoorts...

Maar goed. Nu moet ik eerst maar eens als een dolle gaan knutselen om zoveel mogelijk spullen te maken. Hier een beginnetje: de speldekussentjes die ik tot nu toe heb gemaakt. Het idee is om het hele mandje te vullen met deze vrolijke kleurige dingetjes.

Iemand nog tips voor me? Ik wil echt heel graag dat het een succes wordt!

P.S.: de nederlandse versie van de tutorial houden jullie nog even tegoed - maar hij komt er echt hoor!

September 22, 2013

* DIY: tutorial for an embroidered patchwork pincushion

->I'm moving my blog; the new location of this post is Studio Paars - DIY: sew an embroidered patchwork pincushion
->Mijn blog verhuist; de nieuwe locatie van deze post is Studio Paars - DIY: maak een geborduurd patchwork speldekussen

+=+=+=+=+=+=+=+=+=+=+=+=+=+

Lately I have been making lots more of my little patchwork pincushions (will show them all here soon) and had a lot of fun with them, in choosing the prints, embroidery and buttons for each one. So I thought maybe it would be nice to make a tutorial for them. They're not hard to make at all so they would make a perfect beginners DIY project.

DSC_4372

What you will need:

- some fabric scraps
- regular needle
- regular thread
- large tapestry needle
- extra strong thread
- embroidery floss
- ruler
- small piece of thin cardboard
- pen or pencil
- scissors
- filling
- 2 buttons

0DSC_5790

Pick your fabrics. You will need 9 squares of app. 5 cm2 (about 2") and one larger square for the back. You can use small scraps for this, but I didn't have any so I just picked out some matching colours from my stash.

0DSC_5792

Use your ruler to mark out a 5 cm2 square on your cardboard and cut to create a template (I already made mine some time ago so there's no picture of this step).
Lay out your fabric, right side down. Position the template on the wrong side of the fabric and trace around it. Now cut it out (don't bother with seam allowances or complicated stuff like that).

0DSC_5811


Repeat this step until you have 9 squares.

0DSC_5825

Carefully line up 2 of your squares wrong sides out and pin.

0DSC_5827

Now sew them together.
NOTE FOR  MACHINE SEWING: position your fabric with the starting point right underneath the needle (no backstitching required) and with the side of your fabric lining up with the side of your foot. This way it is easy to keep a constant seam width.
NOTE FOR  HAND SEWING: the simplest way to keep a constant seam width is to measure and mark out a line over which to sew.

0DSC_5835

Add another square to the 2 you've just sewn to make a strip of 3 squares.

0DSC_5837

Repeat the above steps to make 2 more strips so you have a total of 3 (all 9 squares used up).

0DSC_5839

Lay 2 of the strips side by side, right sides down. Finger-press the seams flat, making sure you press the seams of one of the strips up and the other one down.

Now position the strips right sides together and position and pin very carefully like instructed in the images below:

0DSC_5849 0DSC_5853 0DSC_5858

(this is to make sure the edges of your squares will line up neatly later)

0DSC_5845

Sew together in the same way as before.

0DSC_5847

Now you have 2 strips attached like this. Repeat the previous steps...

0DSC_5859

... and you have all 3 strips sewn together.

0DSC_5869

Finger press the seams outward like pictured here.

0DSC_5883

And now for the really fun part: pick out some embroidery floss, choose a stitch pattern and embellish the patchwork squares any way you like! Take a look here to see some of the patterns I've used.

0DSC_5887

Next, take a piece of plain fabric (for the back) and cut out a rough square, slightly larger than your patchwork piece. Pin right sides together and stitch, making sure you leave an opening for turning.

0DSC_5889

Backstitch at the start and at the end.

0DSC_5893

When you reach a corner, stitch all the way to the end of your top fabric as shown here, and backstitch to where you need to make the turn.

0DSC_5895

Backstitching at the end. Don't forget to leave a gap!

0DSC_5904

Cut away the excess backing fabric and snip away little squares at the corners.

0DSC_5911

Turn right side out. This step may be a little fiddly: use a pencil to help push the fabric out if needed. If it looks a bit wrinkled that's OK! It will smooth out later all by itself.

0DSC_5916

Stuff it! A pincushion needs to be nice and firm so don't hold back on the stuffing. Just make sure you have a little room left for closing.

0DSC_5929

Thread a needle and close the remaining gap. There are lots of tutorials out there for invisible closings so feel free to use those; however they don't work for me so I just close with a small overhand stitch instead.

0DSC_5933

This is what it looks like.

0DSC_5947

Now for the last step: take your tapestry needle, heavy duty thread and buttons.

0DSC_5960

Position your pretty button in the middle of the top.

0DSC_5962

And your plain old button in the middle of the bottom. Stick your needle all the way through the pincushion so that you fix both buttons in place at the same time. Make 2 passes, then pull the thread really really tight and secure it with a bunch of knots (hide these behind the bottom button).

0DSC_5968

And it's done! One pretty little pincushion :)
(I will make some better pics when it's light out tomorrow!)

0DSC_5973

EDIT: new pics added - since it's so gloomy outside still a bit dark though...

pincushion 33
pincushion 32
pincushion 31


I would love to see what you make with my tutorials so please let me know if you've used any!
Any questions about this tutorial: post them in the comments section and I will do my best to answer.


The small print: do not copy any of my text or pictures and claim them as your own. Do not sell my patterns and/or tutorials. Pinning and linking is fine, wonderful even, but please make sure there is a link back to me.