This blog has moved to: www.studio-paars.nl

Showing posts with label patchwork_pincushion. Show all posts

January 30, 2014

* Craft Fair

->I'm moving my blog; the new location of this post is Studio Paars - Craft fair
->Mijn blog verhuist; de nieuwe locatie van deze post is Studio Paars - Crea markt

+=+=+=+=+=+=+=+=+=+=+=+=+=+

So, I neglected to tell everything about my little craft fair back in october. It was probably because I had some mixed feelings about it: money-wise it was pretty much a disaster with me selling basically nothing, but it was a positive experience with a lot of leassons learned and also suprisingly very friendly interactions with the other sellers. As it turns out crafty people really are a friendly bunch :)

Now I've decided to sign up for the next one in march. My reasoning being a). I can't really do much worse; b). I want to improve my stall and c). I would like to get more experienced so it will become a smaller step to do other fairs that are farther away (this one is just a tiny thing in a local shopping mall visited mainly by elderly people who are mainly interested in making cards).

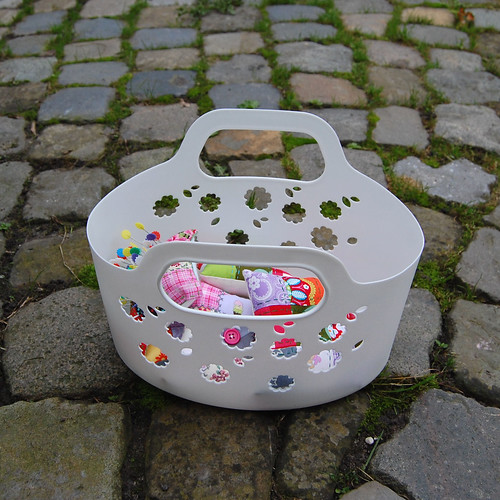
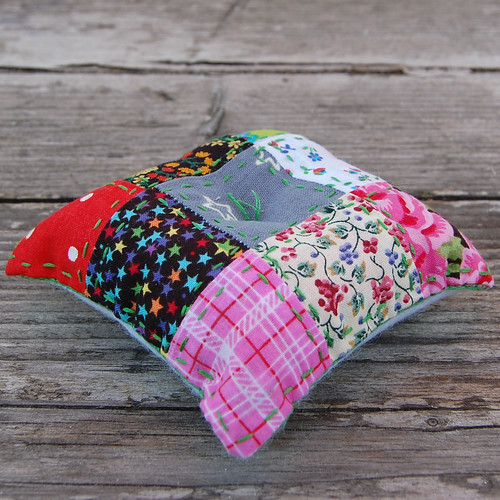
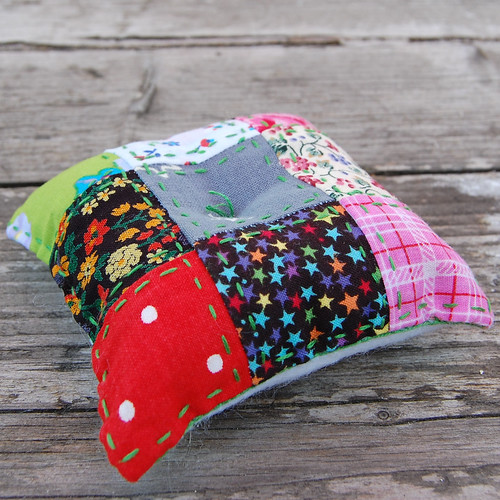
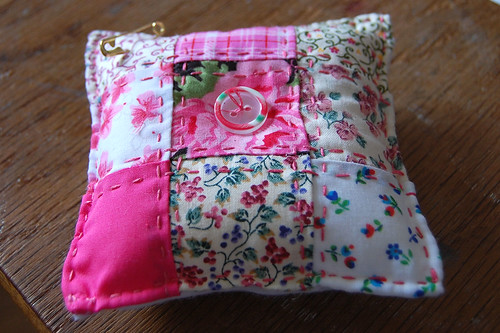
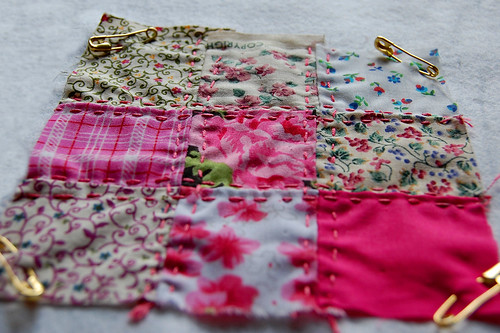
Next time I will try to remember to make some good pics of my stall, so I can ask for your feedback on it. I did make some pics of the stuff I brought though, see below (let me know what you think!). In the meantime I need to start making more stuff! Again!


Nou, ik heb dus geen verslag gedaan van mijn ervaringen met het creamarktje dat ik had gedaan in oktober. Waarschijnlijk omdat ik er nogal gemengde gevoelens over had: financieel was het een ramp en heb ik praktisch niets verkocht, maar verder was het een heel positieve ervaring waarvan ik veel heb geleerd en op weg ben geholpen door mijn bijzonder vriendelijke en behulpzame mede-verkopers. Crea-mensen zijn echt wel heel aardig :)

Ik heb inmiddels besloten om me ook in te schrijven voor de volgende keer in maart. Mijn redenen om het weer te proberen zijn a). veel slechter dan de eerste keer kan het niet gaan b). ik wil de opzet van mijn kraam verbeteren en c). ik wil wat meer ervaring opbouwen zodat het de stap kleiner maakt om ook eens een grotere markt wat verder weg te doen (dit is een lokaal marktje in een winkelcentrum dat voornamelijk wordt bezocht door ouderen die vooral interesse hebben in het maken van kaarten).

De volgende keer zal ik wat goede foto's van mijn kraam nemen zodat ik jullie om feedback kan vragen. Ik heb wel wat foto's van wat van de spullen die ik had meegenomen (laat me weten wat je ervan vindt!). Ondertussen moet ik een heleboel dingen gaan maken! Alweer!

pincushions
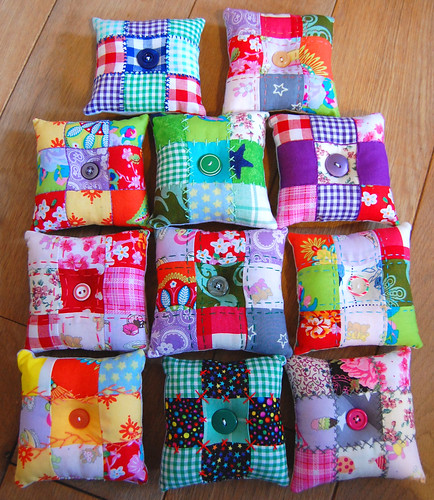
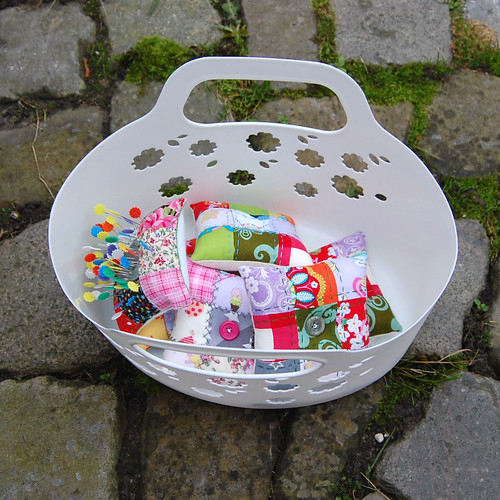
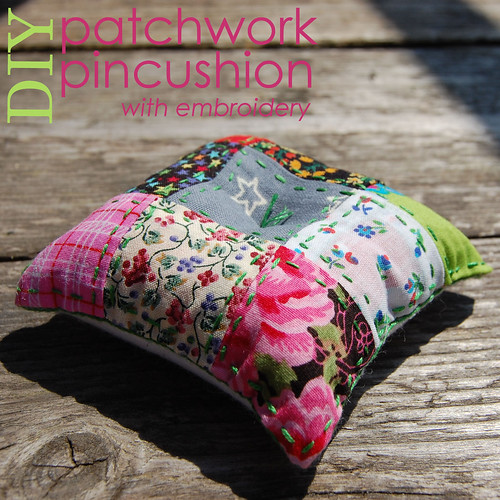
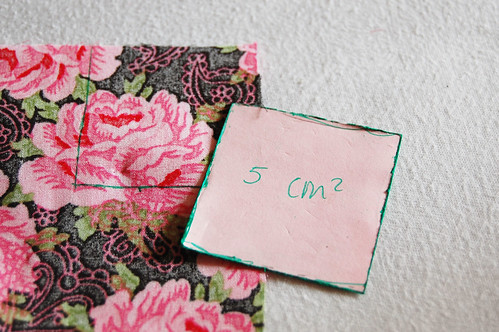
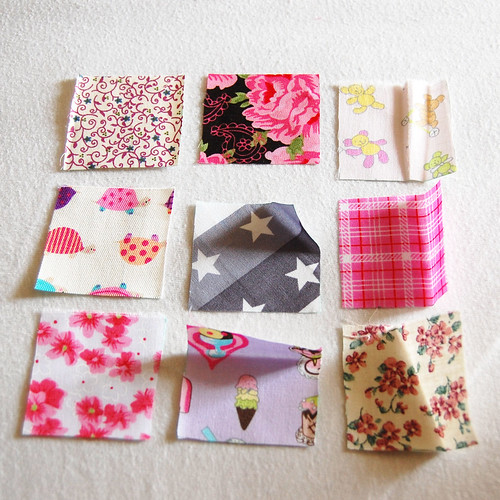
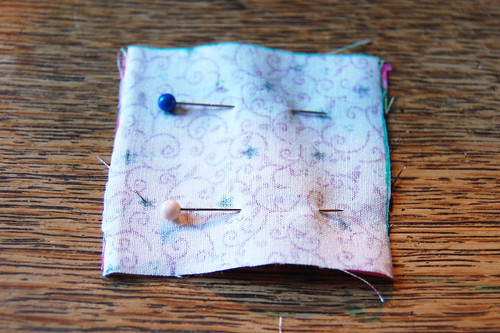
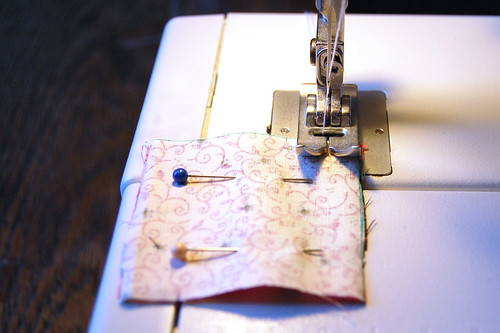
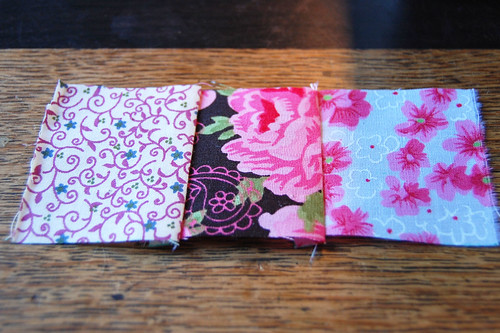
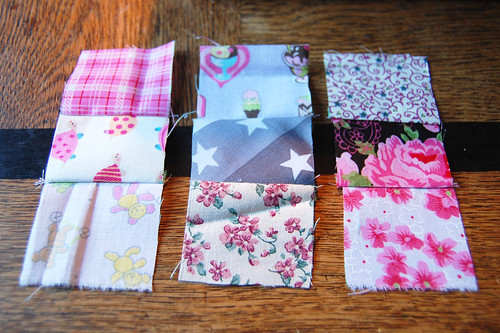
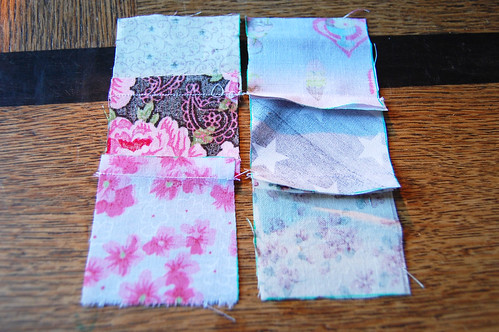
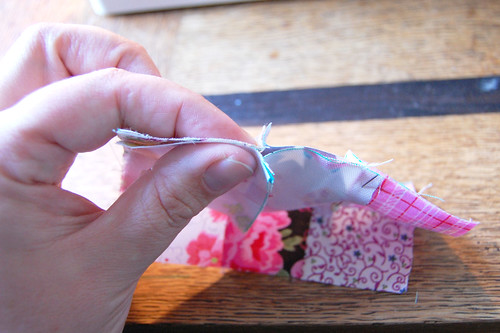
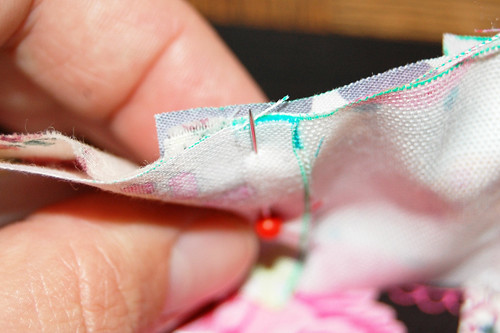
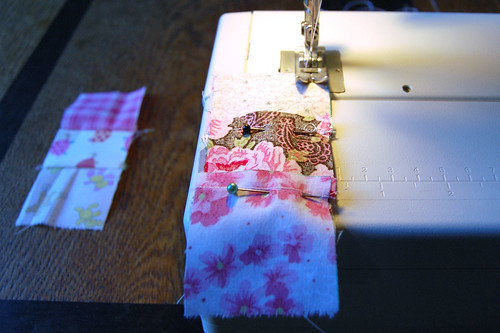
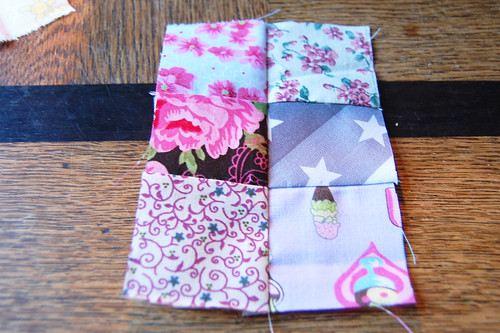
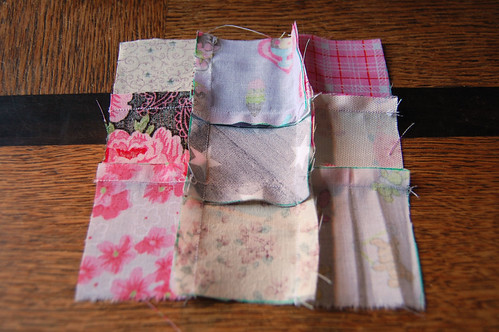
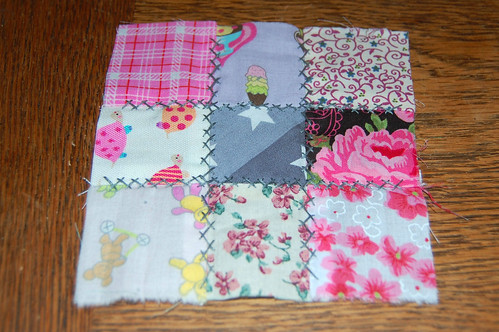
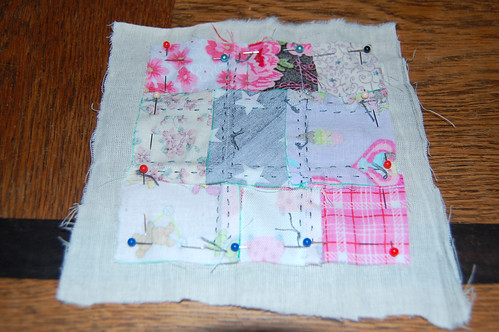
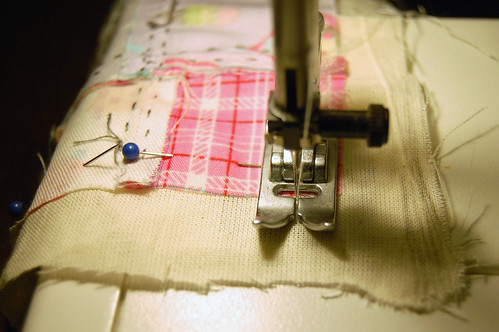
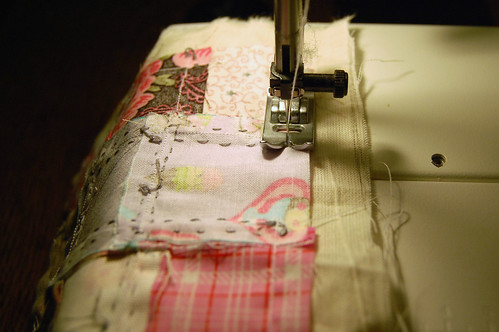
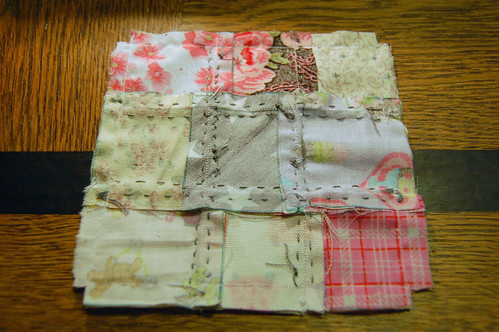
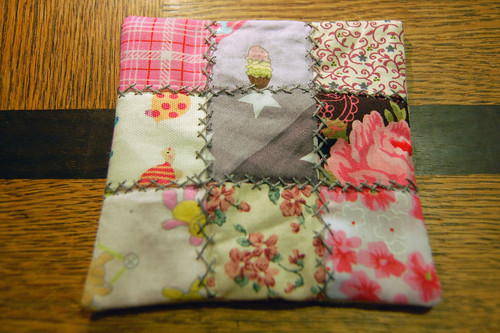
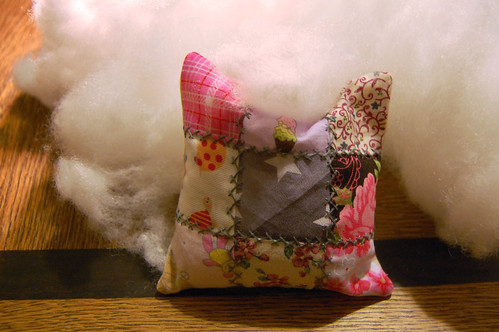
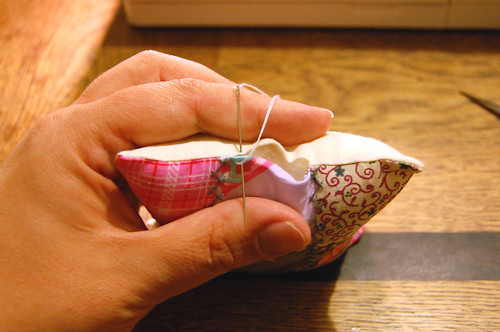
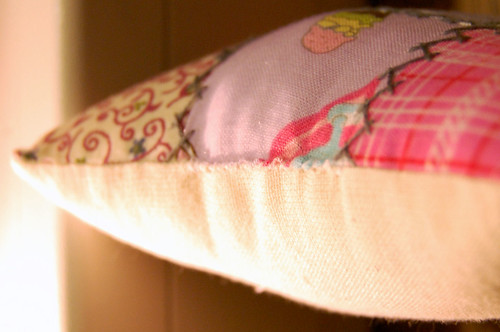
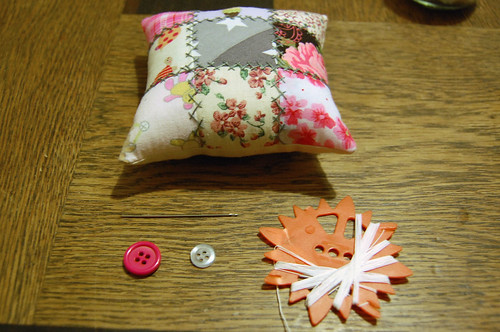
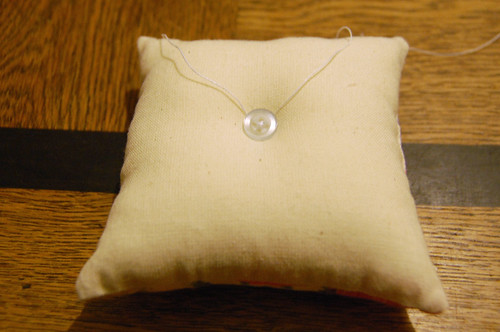
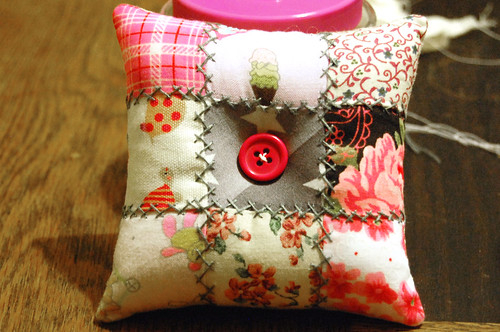
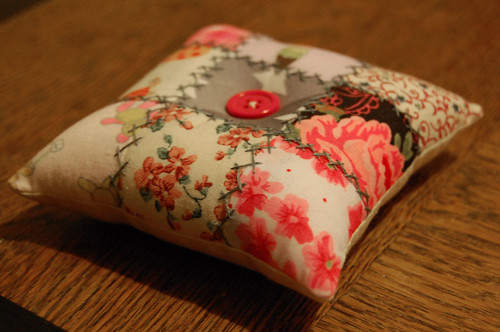
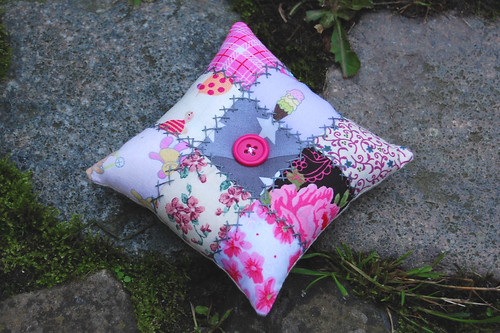
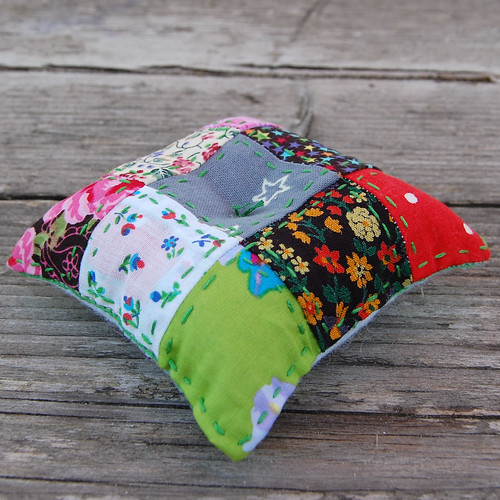
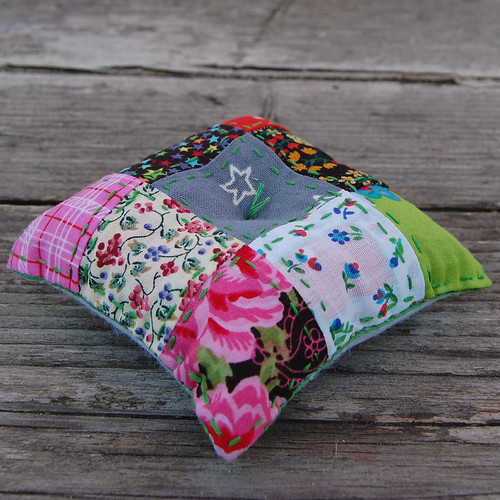
pincushions, a photo by Studio Paars on Flickr.

beaded jewellery suitcase
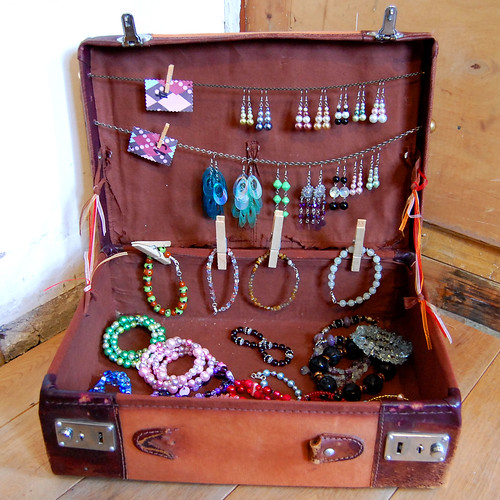
beaded jewellery suitcase, a photo by Studio Paars on Flickr.

bookmarks
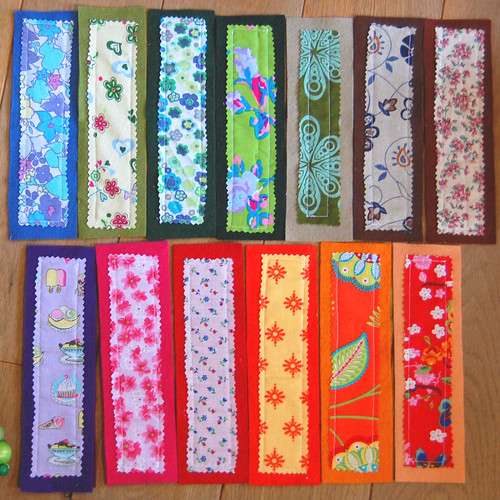
bookmarks, a photo by Studio Paars on Flickr.

necklaces
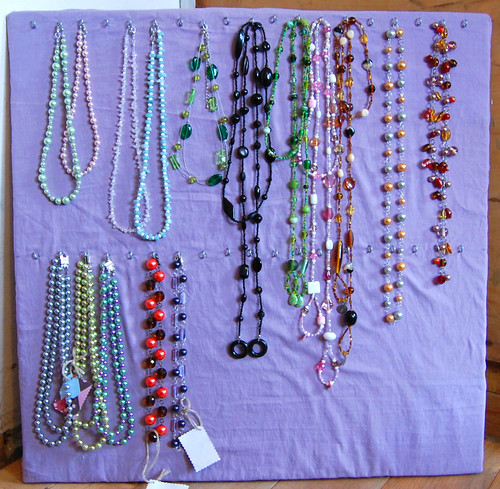
necklaces, a photo by Studio Paars on Flickr.

felt jewellery
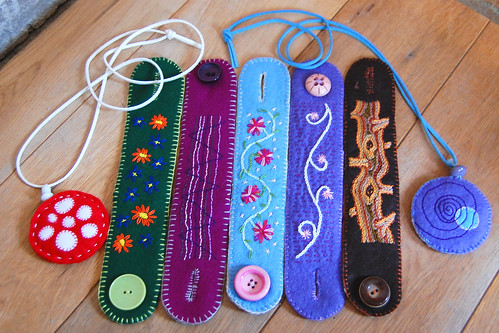
felt jewellery, a photo by Studio Paars on Flickr.

September 25, 2013

* Big news!


I'm moving my blog; the new location of this post is: Studio Paars - Big news!

Mijn blog verhuist; de nieuwe locatie van deze post is: Studio Paars - Groot nieuws!

======================================================

Well... big news for me anyway :)
In a couple of weeks I'm doing my first ever (real) craft market! I'm so excited - and more than a little terrified as well.

I did a couple craft fairs a few years ago, but those were tiny (I did a couple of libraries and a retirement home) and also free of charge for the vendors. This one I have to pay for my stall so I will at least need to sell that much haha! And it's a full day - the others were only a couple of hours.

Like I said, I'm really excited and also worried that a. I'll sell nothing; b. my stall will be dull; c. I won't have nearly enough stuff to fill it; and so on...

Anyway, for now I will just have to start crafting like crazy to make as much stuff as possible. Here is a little start: the pincushions I made so far. The idea is to fill up the entire basket with these colourfull little things.

Does anyone have any tips for me? Because I really want to make this a success!

pincushions
pincushions
pincushions

Nouja... groot nieuws voor mij toch in elk geval!
Over een paar weken ga ik mijn eerste (echte) creamarkt doen! Ik vind het super spannend - en toch ook wel nogal een beetje doodeng.

Een paar jaar geleden heb ik er een paar gedaan, maar dat waren bibliotheken en bejaardenhuizen: en paar uurtjes en zonder kosten. Dit wordt een hele dag én ik moet betalen voor mijn plekje, dus dat moet ik minimaal terug verdienen haha!

Zoals ik al zei, ik vind het super spannend en maak me uiteraard zorgen of ik a. wel wat verkoop; b. een suffe kraam heb; c. mijn kraam wel vol genoeg krijg; enzovoorts enzovoorts...

Maar goed. Nu moet ik eerst maar eens als een dolle gaan knutselen om zoveel mogelijk spullen te maken. Hier een beginnetje: de speldekussentjes die ik tot nu toe heb gemaakt. Het idee is om het hele mandje te vullen met deze vrolijke kleurige dingetjes.

Iemand nog tips voor me? Ik wil echt heel graag dat het een succes wordt!

P.S.: de nederlandse versie van de tutorial houden jullie nog even tegoed - maar hij komt er echt hoor!

September 22, 2013

* DIY: tutorial for an embroidered patchwork pincushion

->I'm moving my blog; the new location of this post is Studio Paars - DIY: sew an embroidered patchwork pincushion
->Mijn blog verhuist; de nieuwe locatie van deze post is Studio Paars - DIY: maak een geborduurd patchwork speldekussen

+=+=+=+=+=+=+=+=+=+=+=+=+=+

Lately I have been making lots more of my little patchwork pincushions (will show them all here soon) and had a lot of fun with them, in choosing the prints, embroidery and buttons for each one. So I thought maybe it would be nice to make a tutorial for them. They're not hard to make at all so they would make a perfect beginners DIY project.

DSC_4372

What you will need:

- some fabric scraps
- regular needle
- regular thread
- large tapestry needle
- extra strong thread
- embroidery floss
- ruler
- small piece of thin cardboard
- pen or pencil
- scissors
- filling
- 2 buttons

0DSC_5790

Pick your fabrics. You will need 9 squares of app. 5 cm2 (about 2") and one larger square for the back. You can use small scraps for this, but I didn't have any so I just picked out some matching colours from my stash.

0DSC_5792

Use your ruler to mark out a 5 cm2 square on your cardboard and cut to create a template (I already made mine some time ago so there's no picture of this step).
Lay out your fabric, right side down. Position the template on the wrong side of the fabric and trace around it. Now cut it out (don't bother with seam allowances or complicated stuff like that).

0DSC_5811


Repeat this step until you have 9 squares.

0DSC_5825

Carefully line up 2 of your squares wrong sides out and pin.

0DSC_5827

Now sew them together.
NOTE FOR  MACHINE SEWING: position your fabric with the starting point right underneath the needle (no backstitching required) and with the side of your fabric lining up with the side of your foot. This way it is easy to keep a constant seam width.
NOTE FOR  HAND SEWING: the simplest way to keep a constant seam width is to measure and mark out a line over which to sew.

0DSC_5835

Add another square to the 2 you've just sewn to make a strip of 3 squares.

0DSC_5837

Repeat the above steps to make 2 more strips so you have a total of 3 (all 9 squares used up).

0DSC_5839

Lay 2 of the strips side by side, right sides down. Finger-press the seams flat, making sure you press the seams of one of the strips up and the other one down.

Now position the strips right sides together and position and pin very carefully like instructed in the images below:

0DSC_5849 0DSC_5853 0DSC_5858

(this is to make sure the edges of your squares will line up neatly later)

0DSC_5845

Sew together in the same way as before.

0DSC_5847

Now you have 2 strips attached like this. Repeat the previous steps...

0DSC_5859

... and you have all 3 strips sewn together.

0DSC_5869

Finger press the seams outward like pictured here.

0DSC_5883

And now for the really fun part: pick out some embroidery floss, choose a stitch pattern and embellish the patchwork squares any way you like! Take a look here to see some of the patterns I've used.

0DSC_5887

Next, take a piece of plain fabric (for the back) and cut out a rough square, slightly larger than your patchwork piece. Pin right sides together and stitch, making sure you leave an opening for turning.

0DSC_5889

Backstitch at the start and at the end.

0DSC_5893

When you reach a corner, stitch all the way to the end of your top fabric as shown here, and backstitch to where you need to make the turn.

0DSC_5895

Backstitching at the end. Don't forget to leave a gap!

0DSC_5904

Cut away the excess backing fabric and snip away little squares at the corners.

0DSC_5911

Turn right side out. This step may be a little fiddly: use a pencil to help push the fabric out if needed. If it looks a bit wrinkled that's OK! It will smooth out later all by itself.

0DSC_5916

Stuff it! A pincushion needs to be nice and firm so don't hold back on the stuffing. Just make sure you have a little room left for closing.

0DSC_5929

Thread a needle and close the remaining gap. There are lots of tutorials out there for invisible closings so feel free to use those; however they don't work for me so I just close with a small overhand stitch instead.

0DSC_5933

This is what it looks like.

0DSC_5947

Now for the last step: take your tapestry needle, heavy duty thread and buttons.

0DSC_5960

Position your pretty button in the middle of the top.

0DSC_5962

And your plain old button in the middle of the bottom. Stick your needle all the way through the pincushion so that you fix both buttons in place at the same time. Make 2 passes, then pull the thread really really tight and secure it with a bunch of knots (hide these behind the bottom button).

0DSC_5968

And it's done! One pretty little pincushion :)
(I will make some better pics when it's light out tomorrow!)

0DSC_5973

EDIT: new pics added - since it's so gloomy outside still a bit dark though...

pincushion 33
pincushion 32
pincushion 31


I would love to see what you make with my tutorials so please let me know if you've used any!
Any questions about this tutorial: post them in the comments section and I will do my best to answer.


The small print: do not copy any of my text or pictures and claim them as your own. Do not sell my patterns and/or tutorials. Pinning and linking is fine, wonderful even, but please make sure there is a link back to me.

June 11, 2013

* Patchwork pincushion #2


I'm moving my blog; the new location of this post is: Studio Paars - Patchwork pincushion #2

Mijn blog verhuist; de nieuwe locatie van deze post is: Studio Paars - Patchwork speldenkussen #2

======================================================

So I am having a bit of a patchwork crush at the moment... a new blanket will be starting soon, but in the meantime I am enjoying these really small pincushions. This here is #2 (I like how it looks totally different from every angle). When I have gotten a bit more practice I will make some for my shop I think (how many pincushions can one person really need?).
This one is machine pieced and hand embellished with some stitches.


Dussss... ik heb een beetje een patchwork tic op het moment. Binnenkort ga ik beginnen aan deken #2 maar in de tussentijd vind ik deze kleine speldekussentjes erg leuk om te maken. Dit is de tweede (ik vind het grappig dat hij er uit elke hoek zo anders uitziet). Als ik wat meer geoefend heb zal ik er een paar voor mijn shop maken (want hoeveel speldekussens kan één mens nou helemaal gebruiken?).
Deze is met de machine in elkaar gezet en met de hand versierd met wat steekjes.
 
patchwork pincushion #2
patchwork pincushion #2, a photo by HGK handmade on Flickr.

patchwork pincushion #2
patchwork pincushion #2, a photo by HGK handmade on Flickr.

patchwork pincushion #2
patchwork pincushion #2, a photo by HGK handmade on Flickr.

patchwork pincushion #2
patchwork pincushion #2, a photo by HGK handmade on Flickr.

June 7, 2013

Patchwork pincushion

This ended up as a pincushion (as one of you suggested!). I thought it would be too big but it ended up a nice size. And it was finished just in time to serve as a gift for Mother's Day as well :)


Dit werd uiteindelijk een speldekussen (zoals voorgesteld door één van jullie!). Ik had verwacht dat het veel te groot zou worden maar het was toch wel een leuk maatje. En ook nog eens net op tijd klaar om te kunnen dienen als Moederdagkado :)

pink patchwork pincushion
pink patchwork pincushion, a photo by HGK handmade on Flickr.

May 9, 2013

Little patches of pink

This morning I got to do a little stitching in the sun while the boys were enjoying themselves in the garden. I'm experiencing a bit of a patchwork crush lately and this is just some experimenting. I sewed some patches together and then quilted them onto a piece of felt. I like how it feels; the colours & prints are a bit too much for my usual taste though. Now I'm trying to figure out what to do with it...


Vanochtend kon ik lekker een beetje naaien in het zonnetje terwijl de jongens in de tuin speelden. Ik heb een beetje een patchwork-bevlieging de laatste tijd en dit is een experimentje. Het zijn wat vierkantjes aan elkaar genaaid en doorgestikt op een lapje vilt. Het voelt lekker aan: echt als een quilt. De kleuren en patroontjes zijn wel een beetje overweldigend vind ik. Nu nog verzinnen wat ermee te doen...

Little patchwork WIP
Little patchwork WIP, a photo by HGK handmade on Flickr.