I'm moving my blog; the new location of this post is: Studio Paars
Mijn blog verhuist; de nieuwe locatie van deze post is: Studio Paars
======================================================
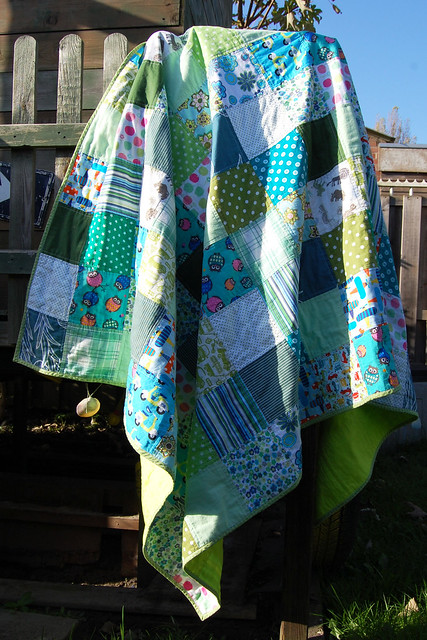
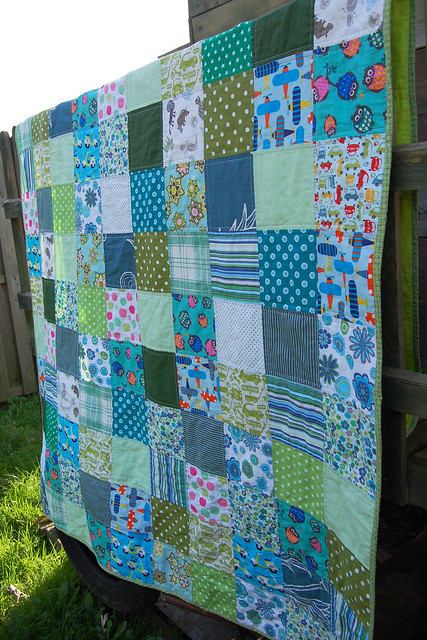
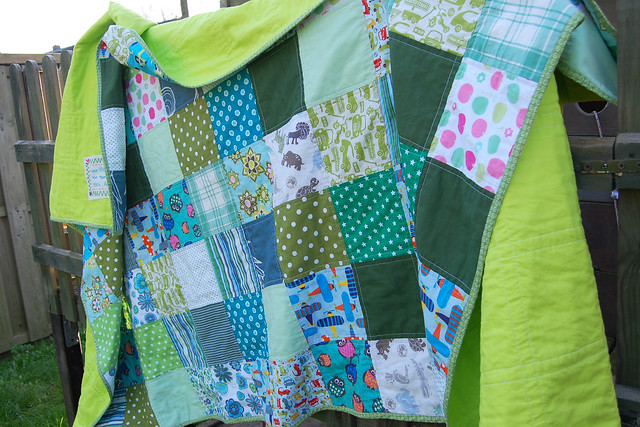
I finished it!
(click
here to see the whole lengthy process)
Actually, I finished it back in August, but Little Brother immediately carried it off to his bed so I didn't get around to photographing it until now. He absolutely loves it!
This has been the most rewarding thing I have ever made for my sons (despite that the one I made for Big Brother didn't turn out quite right) - they both enjoy their blankets so much.They got to choose the colours, help pick the fabrics and see me spend a lot (a
whole lot) of time making it, I think it makes them feel extra special. And me too: making something for a loved one feels good :)
Well, enough mushy talk. Here are lots of pictures!
Hij is klaar!
(Kleine Broer z'n patchwork deken bedoel ik dan - wil je het hele lange proces zien, klik dan hier)
Nouja, hij was in augustus al klaar, maar Kleine Broer ging er meteen mee vandoor en legde hem op zijn bed, dus ik heb nu pas eindelijk foto's kunnen maken. Hij is er zo gek op!
Dit is echt het meest dankbare dat ik ooit voor mijn zoontjes heb gemaakt (ook al is die van Grote Broer niet helemaal geworden zoals de bedoeling was) - ze zijn allebei dol op hun dekens. Ze mochten de kleur kiezen, helpen met de lapjes kiezen en ze zagen hoe ik er lang (echt heel lang) aan werkte; ik denk dat het ze extra speciaal laat voelen. En mij trouwens ook: iets maken voor iemand waarvan je houdt voelt gewoon heel goed :)
Okee, genoeg sentimenteel gedoe. Hier zijn heel veel foto's!
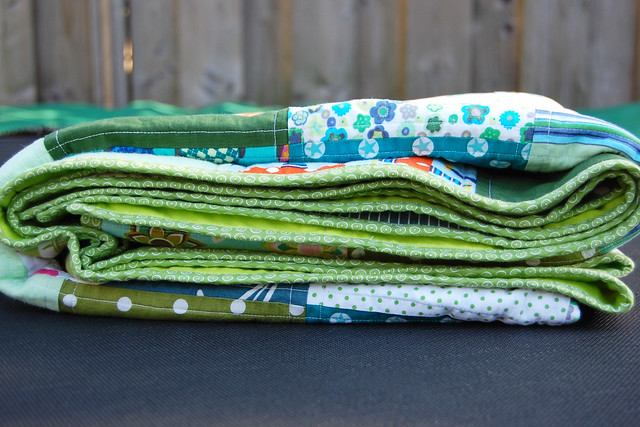
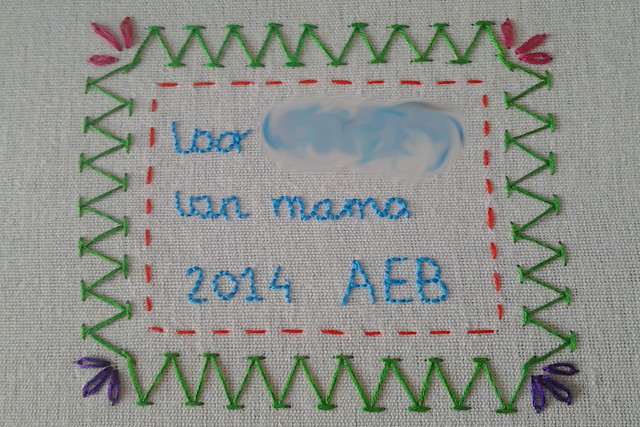
I embroidered a label and appliqued it to the back,
just as I did for Big Brother.
Ik borduurde een label en appliceerde het op de achterkant, net als voor Grote Broer.
Some tension issues with my sewing machine again *sigh*
Weer eens wat problemen met de draadspanning van mijn naaimachine *zucht*
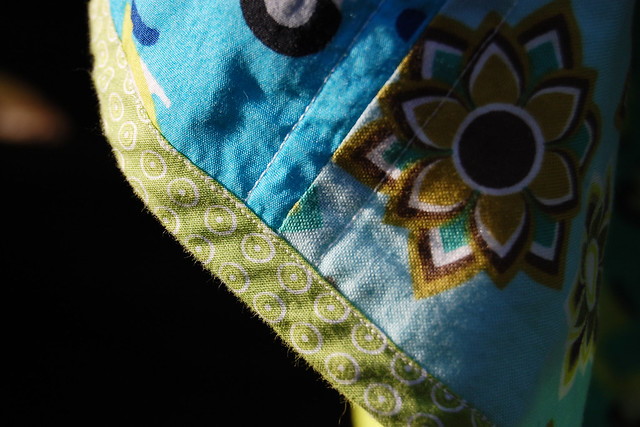
And this was my first time working with bias binding. I love this little print and the way it looks - it really finishes the blanket off. When I bought it I was worries it would be too narrow, but I think in the end it worked out just perfectly.
En dit is de eerste keer dat ik biasband gebruikte. Ik ben een beetje verliefd op dit groene bandje met dat kleine printje - maakt het echt helemaal af. Toen ik het kocht was ik bang dat het misschien te smal was voor een deken, maar uiteindelijk staat het perfect vind ik.
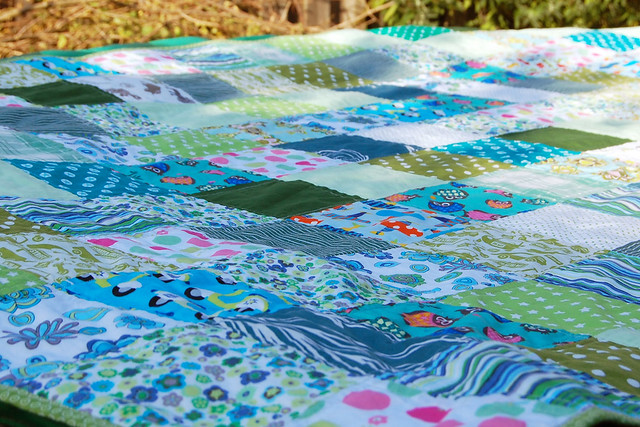
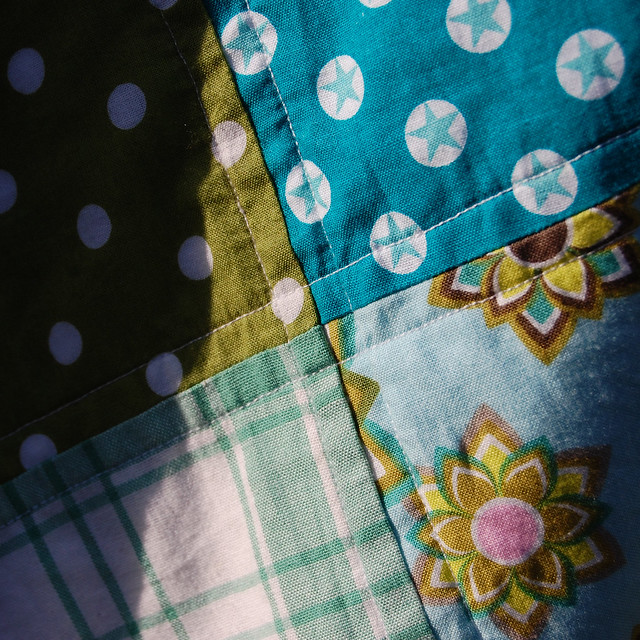
As for the technical details: I haven't measured the finished quilt but the squares measure 15x15 cm and I made 15 rows of 10 squares, so it should measure to a little over 140x220 cm (which is a standard blanket size).
I bought the binding, the wadding and some of the fabrics at our weekly market; the wadding is a thick cotton flannel. It makes the blanket nice and heavy but still relatively thin.
The backing was originally a duvet cover from Ikea which my mom got on sale and gave to me. I had it laying around for years until this seemed like the perfect project to use it on.
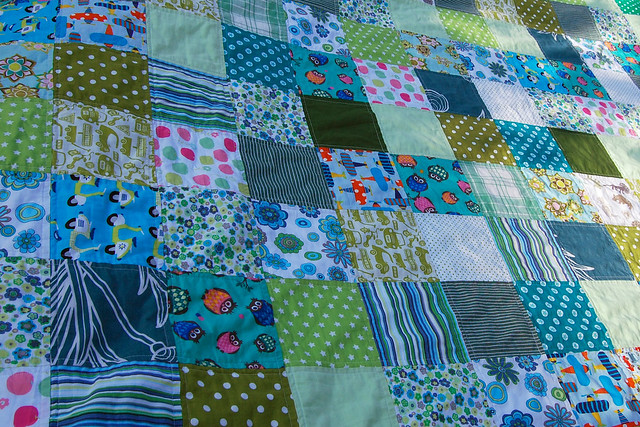
Fabrics are from my stash, my mom's and my sister's and even from my grandmother's. One is from and old fabric swap, and a few I got at a fabric market years ago. Several of the fabrics I also used for
Big Brother's blanket.
A few of the fabrics I got online: the green cars are Cruiser Blvd Cars Green by Sheri McCulley Studio for Riley Blake, the multi coloured cars are Cruiser Blvd Mini Blue by Sheri McCulley Studio for Riley Blake, and the airplanes are Ready Set Go Sky Airplanes by Ann Kelle for Robert Kaufman (all bought at
this Etsy shop) .There are others but I can't find the details on them.
Technische details: ik heb hem niet meer opgemeten, maar de vierkantjes zijn 15x15 cm en er zijn 15 rijen van 10 vierkantjes, dus de maat komt daarmee op iets meer dan 140x220 cm (een standaard dekbed maat).
De bias, de vulling en sommige stofjes kocht ik op de markt. De vulling is een dikke katoenen flanel: lekker zwaar maar niet super warm.
De achterkant was een dekbedovertrek van Ikea die mijn moeder afgeprijsd had gekocht en aan mij had gegeven. Het lag al een paar jaar in de kast en was perfect voor deze deken.
Stofjes komen uit mijn eigen voorraad, die van mijn moeder, mijn zus en zelfs nog van mijn oma. Eentje komt uit een oude lapjesswap, en een paar kocht ik een paar jaar geleden op een stoffenmarkt. Een aantal van de lapjes zit ook in de deken van Grote Broer.
Een paar stofjes kocht ik online: de groene autotjes zijn Cruiser Blvd Cars Green by Sheri McCulley Studio
for Riley Blake, de multi gekleurde autotjes zijn Cruiser Blvd Mini Blue by
Sheri McCulley Studio for Riley Blake, en de vliegtuigjes zijn Ready Set
Go Sky Airplanes by Ann Kelle for Robert Kaufman (allemaal gekocht bij deze Etsy winkel). Er waren er nog meer maar ik kan de bon niet meer vinden.


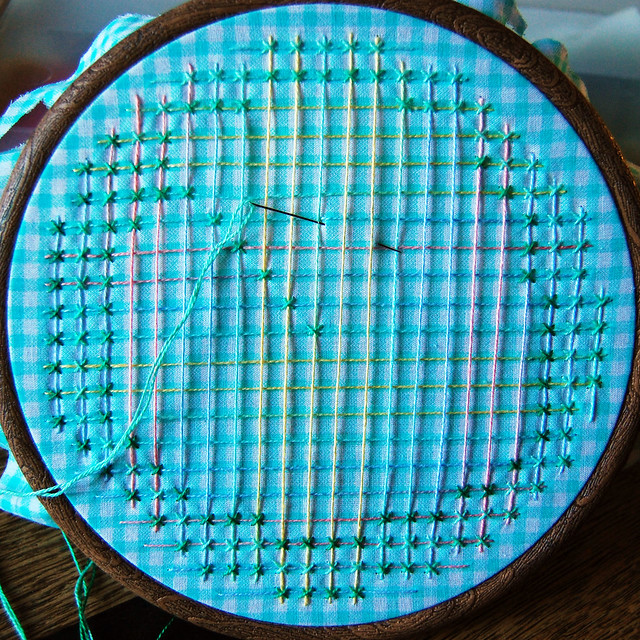

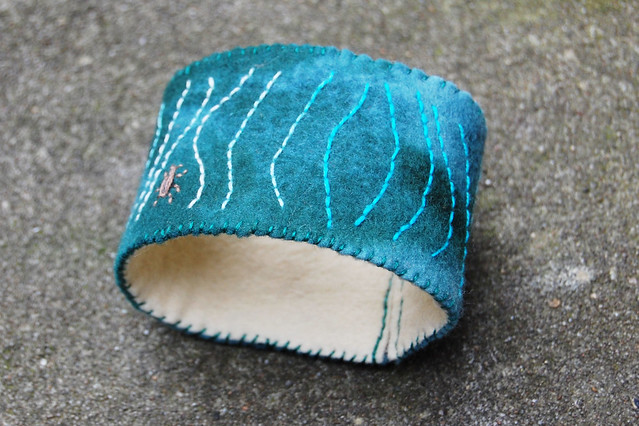

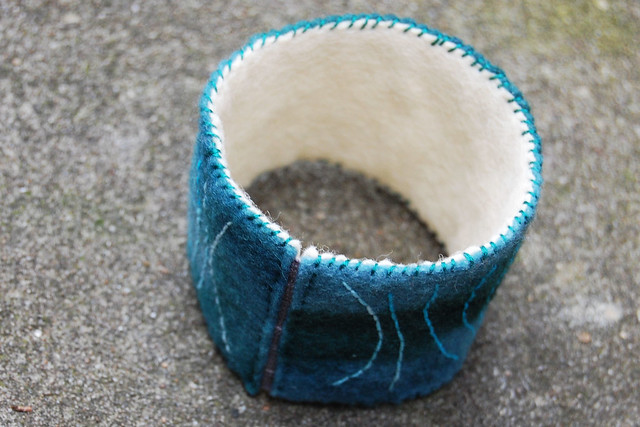
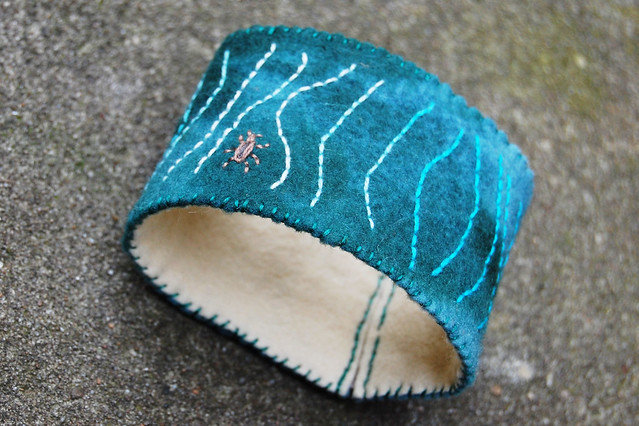
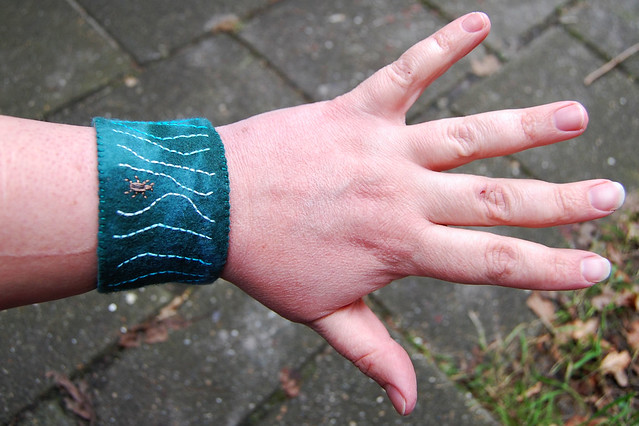
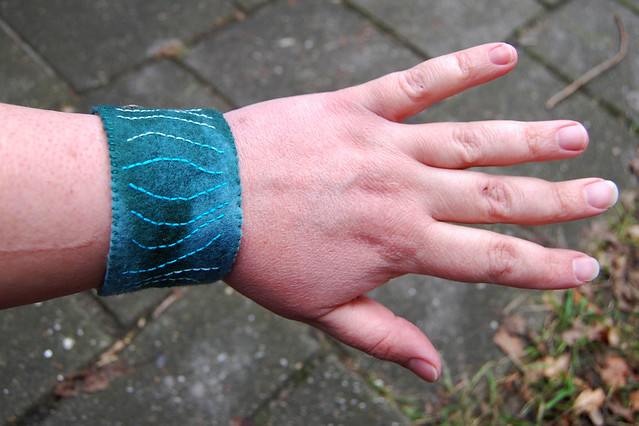

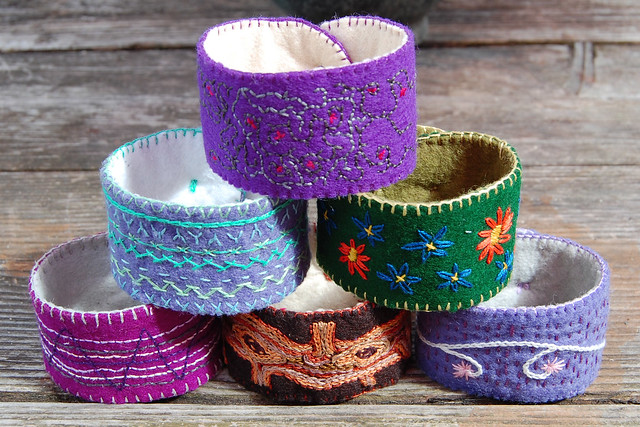
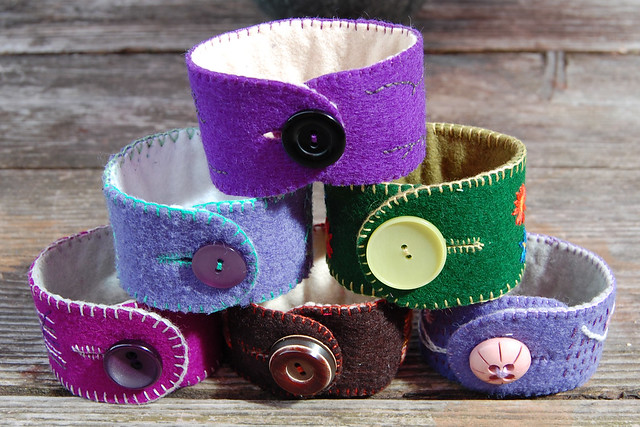
![embroidered felt cuff 'purple' [#9]](https://farm8.staticflickr.com/7502/15689459079_e4615e89a6_z.jpg)
![embroidered felt cuff 'purple' [#9]](https://farm9.staticflickr.com/8612/15687960968_4f72659bf3_z.jpg)
![embroidered felt cuff 'purple' [#9]](https://farm8.staticflickr.com/7477/15689702967_29ec0d254e_z.jpg)
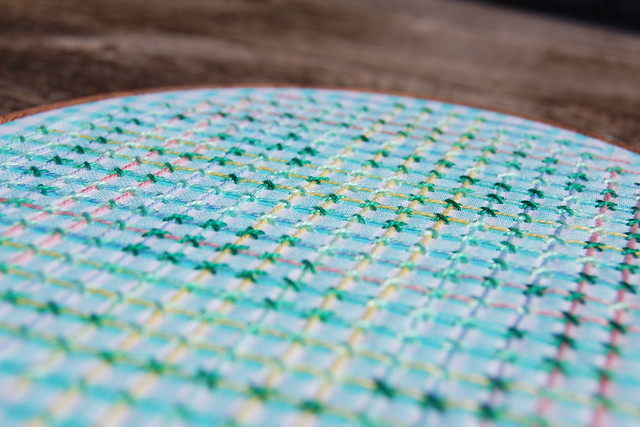
![embroidered felt cuff 'purple' [#9] close-up](https://farm8.staticflickr.com/7504/15849658716_6d7770afaf_z.jpg)
![embroidered felt cuff 'purple' [#9]](https://farm8.staticflickr.com/7501/15687960368_56f8e29e17_z.jpg)
![embroidered felt cuff 'purple' [#9]](https://farm8.staticflickr.com/7578/15873480301_fe009b4e66_z.jpg)