->I'm moving my blog; the new location of this post is Studio Paars - DIY: make an earring stand from a photo frame
->Mijn blog verhuist; de nieuwe locatie van deze post is Studio Paars - DIY: maak een oorbellenrekje van een fotolijst
+=+=+=+=+=+=+=+=+=+=+=+=+=+
(psssst.... remember to check out my Giveaway! )
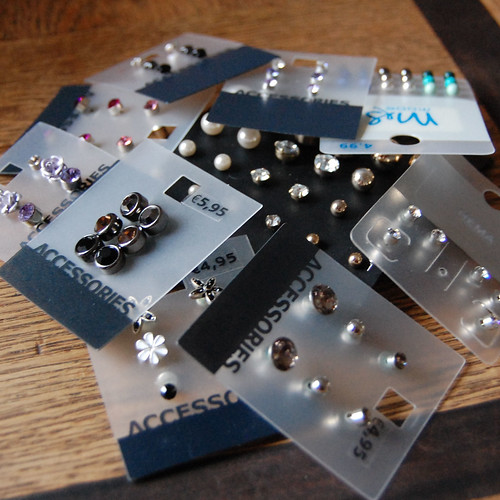
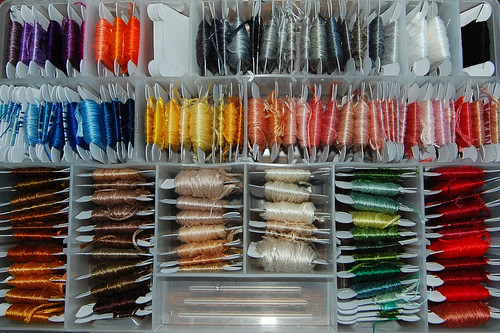
I have been thinking for a while about a way to organise my earrings; I have a ton of these tiny studs that I wear a lot and they look something like this:
And today the solution just hit me! (While sorting out the mess that keeps accumulating in our bedroom, of all things.) Ofcourse I had to go and make it straight away :)
So here is what you will need:
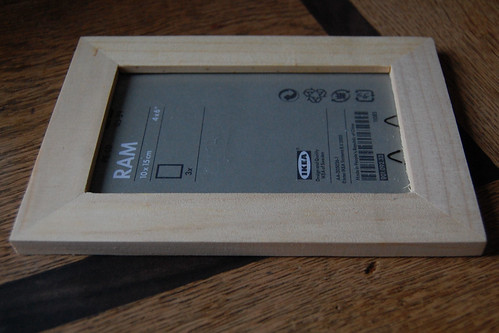
- a small picture frame
- a piece of felt
- some glue
- optional: some embellishments like paint, glue, paper, fabric, ribbon, beads, buttons, anything really!
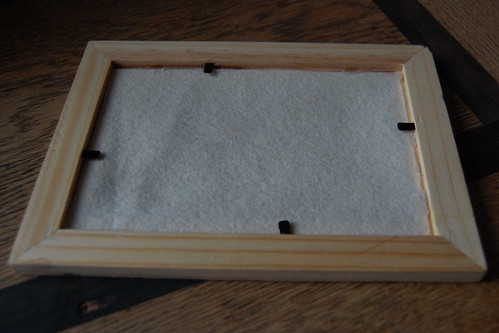
I used this el cheapo frame from Ikea. First take it apart to check if the glass isn't attached to the frame. This one only had a loose bit of clear plastic. Take everything out, leaving only the bare frame. Now embellish! Let your imagination go wild, or leave it blank, whatever you like. I used some
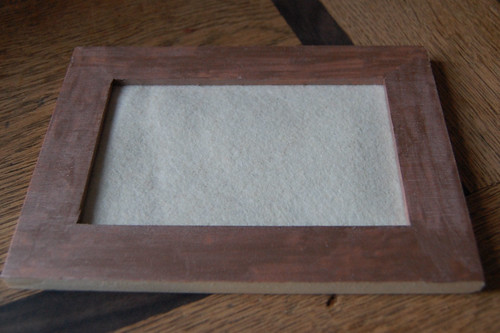
old nailpolish very exclusive paint to give mine some colour and some shine.
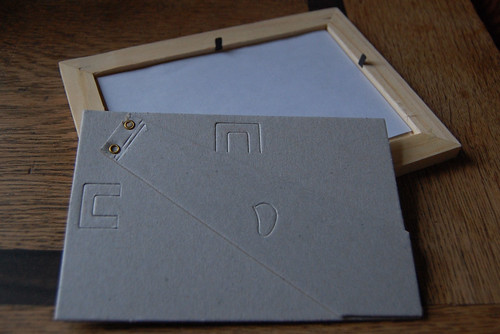
Now cut out a piece of felt to fit in the frame. Use the cardboard backing as a template.
Now carefully glue the felt in the frame. I applied the glue sparingly to the inside of the frame, placed the felt on top of the glue, and then I placed the cardboard backing back into the frame to give it some stability while it dried. After a few hours I carefully removed the backing
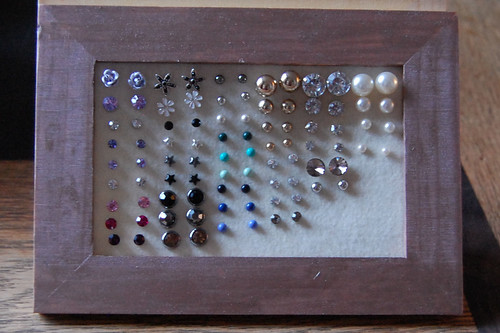
which had ofcourse become glued to the frame and ended up with this:
The front looked like this:
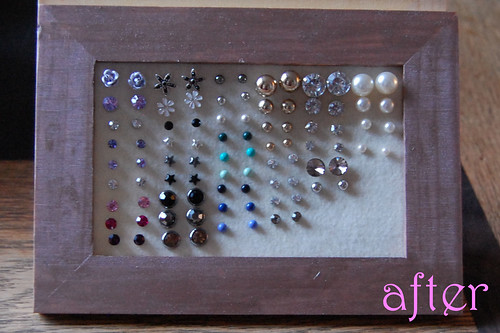
Now I only needed to pin all my studs through the felt. I actually had to push pretty hard (and now my fingers are sore!) but the felt
and the glue held just fine. I like how I can take them out and rearrange them however I want, but that there won't be any visible holes in the felt.
Ik liep al een tijdje te denken over een manier om mijn knopjes-oorbellen handig te organiseren (ze liggen nu in een grote berg) en vandaag had ik het opeens! Men neme een fotolijstje (deze is van Ikea); haal de achterkant, het 'ruitje' en alles wat er verder nog in zit eruit; versier het lijstje of niet (ik gebruikte heel professioneel *ahum* nagellak *ahum*); gebruik de kartonnen achterkant van het lijstje als mal om een stuk vilt uit te knippen; lijm het vilt in het lijstje; LAAT DROGEN (bijna vergeten!); en maak al je knopjes vast aan het vilt :)
Het leuke is dat je ze eruit kan halen en reorganiseren, maar je krijgt geen zichtbare gaatjes in het vilt!
also posted at: