I'm moving my blog; the new location of this post is: Studio Paars - Bunting made for craft market
Mijn blog verhuist; de nieuwe locatie van deze post is: Studio Paars - Vlaggenslingers gemaakt voor marktje
======================================================
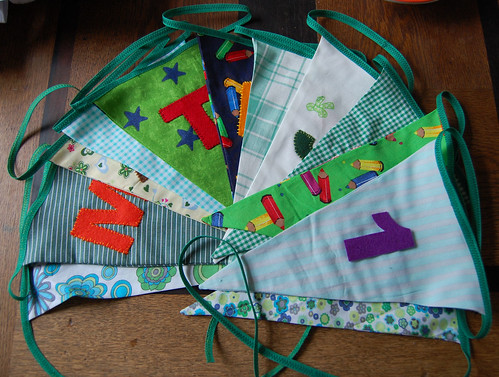
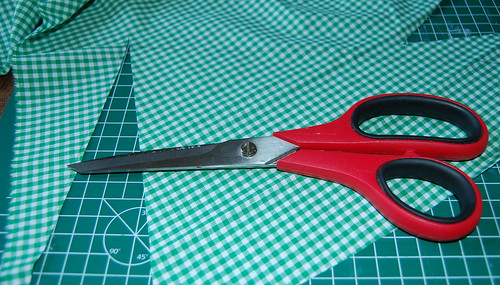
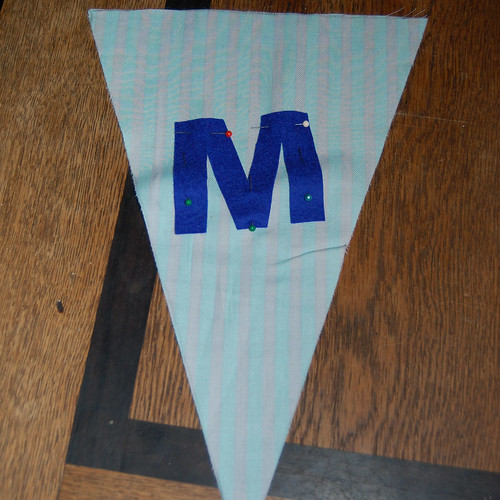
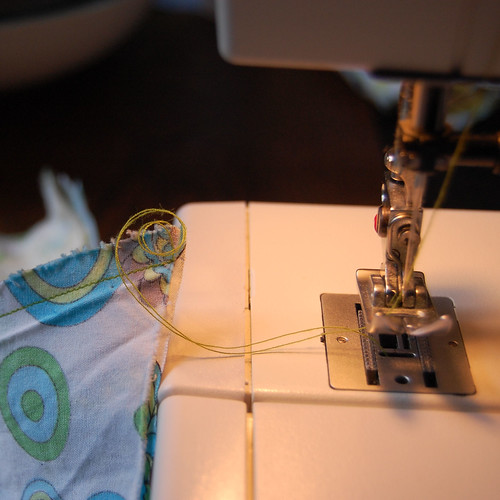
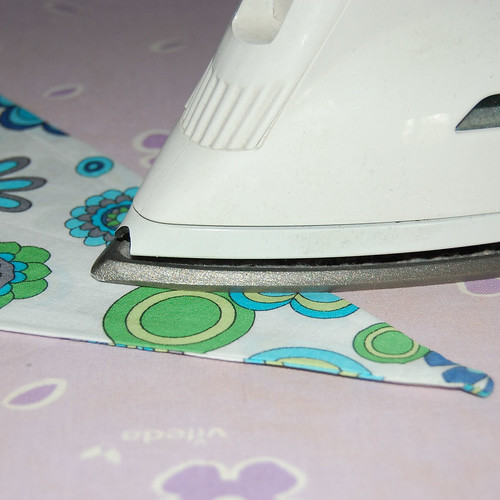
For the Craft Fair I did in october (for which I still owe you a report - sorry!) I made a bunch of these bunting lines.
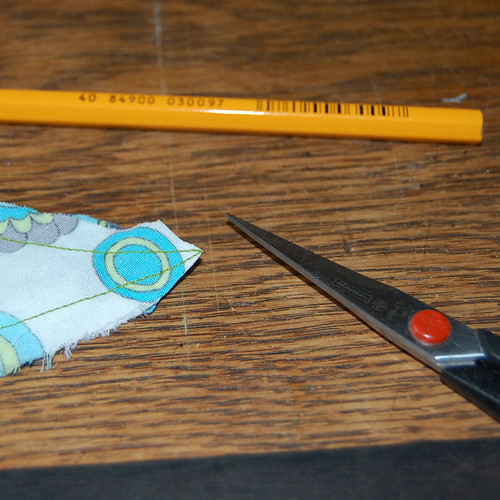
I liked them a lot but didn't sell any so now I am offering them for sale through either my etsy or dawanda shop, or just email me if you're interested.
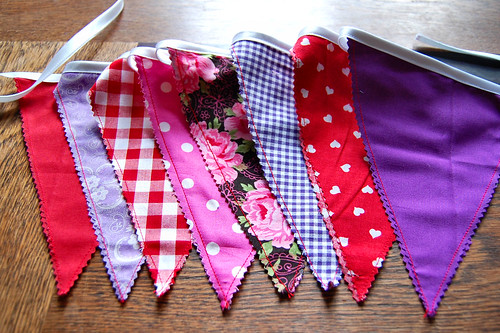
bunting, a photo by Studio Paars on Flickr.
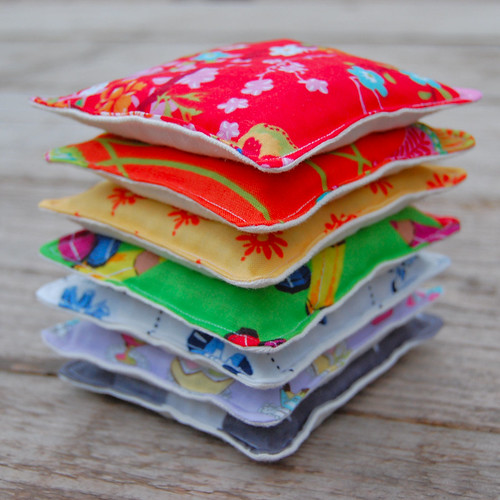
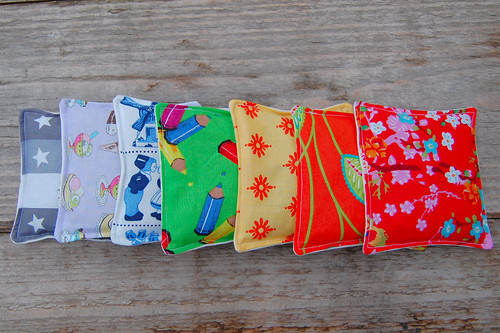
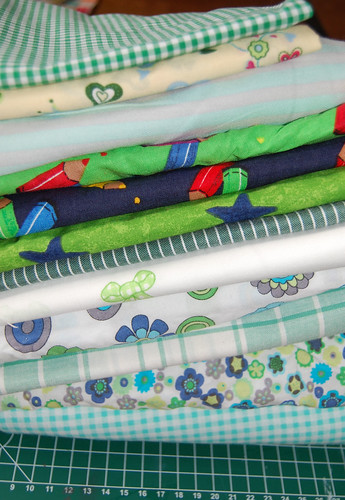
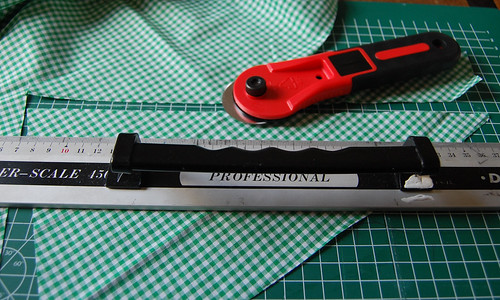
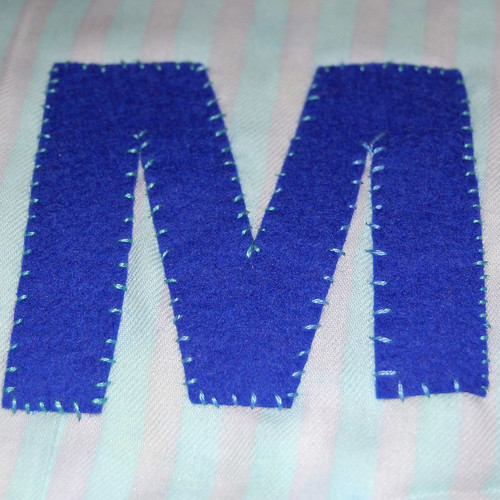
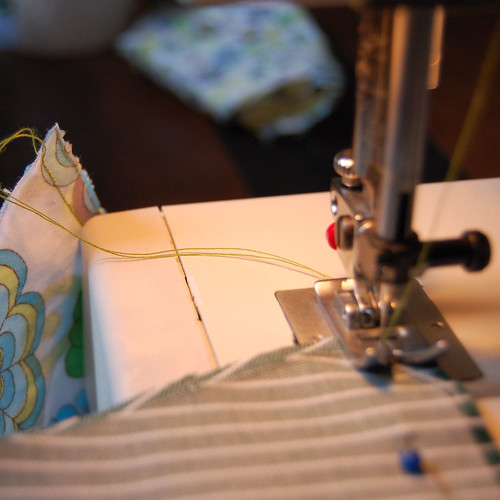
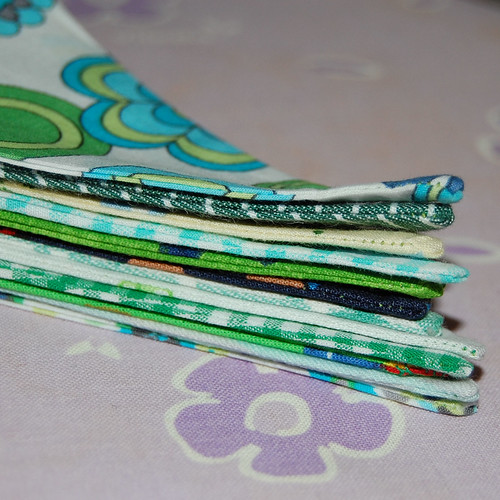
I made them in 2 colourways (well actually my mother helped out and ended up doing most of the stitching on these).
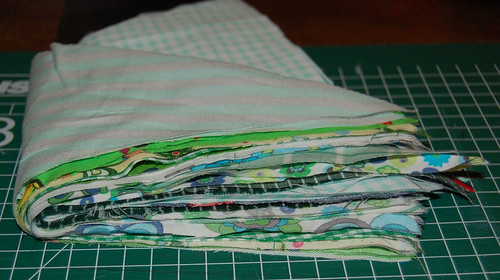
These measure over 2,5 meters in total, with 8 flags each that are about 20 cm long.
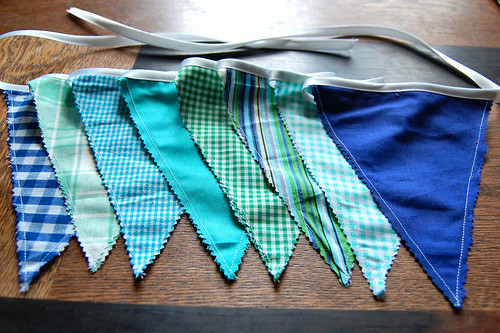
bunting, a photo by Studio Paars on Flickr.
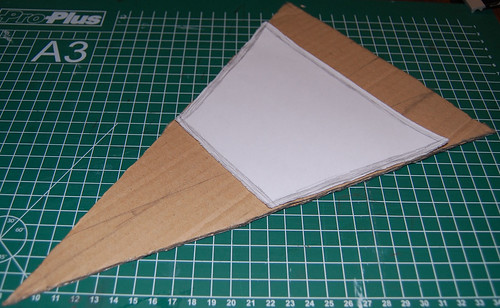
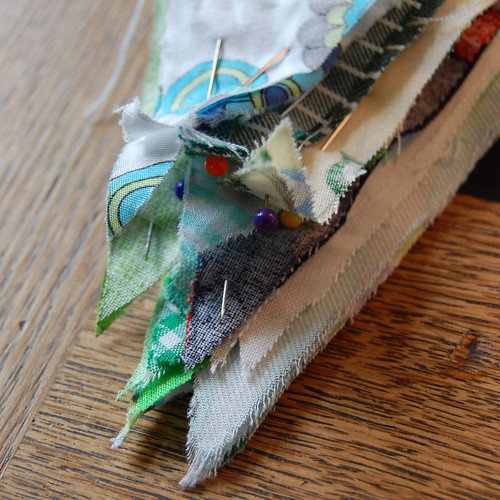
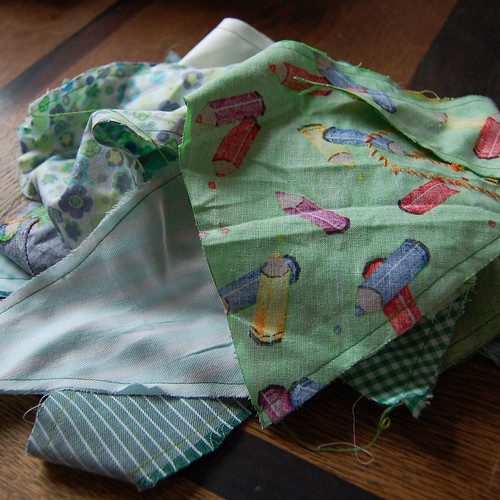
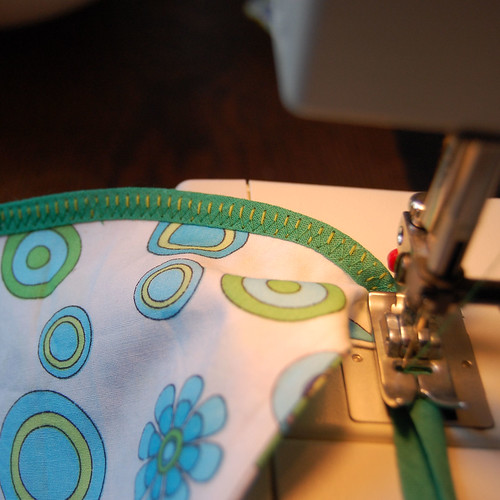
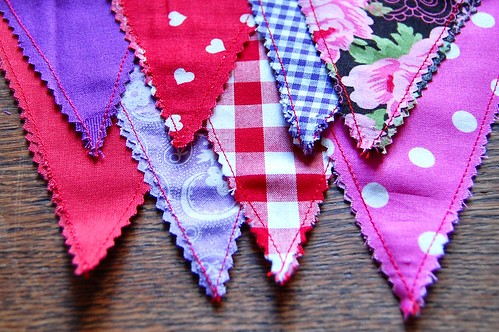
I am also taking commissions in case you want one especially made for someone.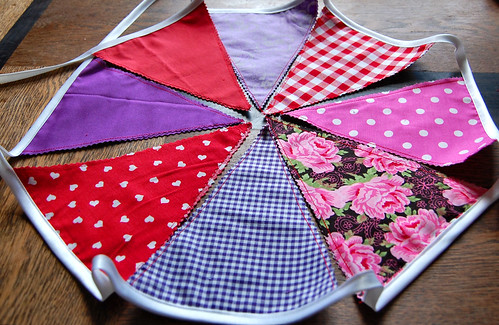
bunting, a photo by Studio Paars on Flickr.
Voor de Creamarkt die ik deed in oktober (en waarvan ik jullie nog steeds een verslag schuldig ben - sorry!) maakte ik een stel van deze vlaggenslingers.Ik vond ze zelf erg leuk maar ze zijn niet verkocht dus nu bied ik ze aan via mijn etsy en dawanda winkels en via marktplaats, of email me als je interesse hebt.

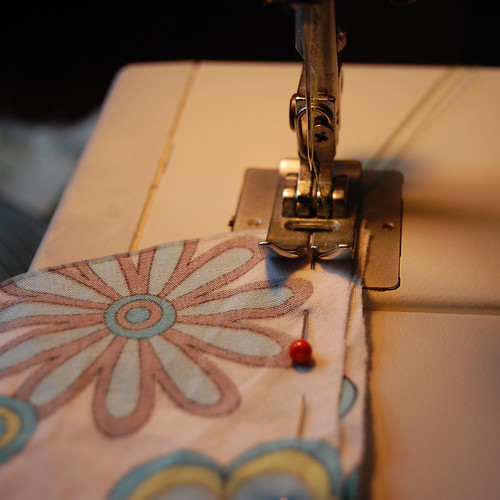
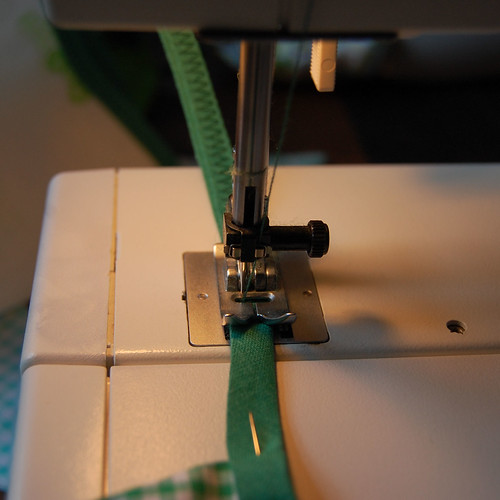
bunting, a photo by Studio Paars on Flickr.
Ik heb ze in 2 kleurstellingen gemaakt (eigenlijk heeft mijn moeder, die me hielp, het meeste naaiwerk gedaan).Ze zijn in totaal ruim 2,5 meter lang, met 8 vlaggen die elk ongeveer 20 cm hoog zijn.
bunting, a photo by Studio Paars on Flickr.
Het is ook mogelijk een slinger te bestellen die ik speciaal naar jouw wensen maak.
bunting, a photo by Studio Paars on Flickr.
also posted at:
aglimpseinside allthingswithpurpose annemarieshaakblog anoriginalbelle apeekintomyparadise artsyfartsymama atozebracelebrations avisiontoremember beacrafterxd becomingmartha blossomheartquilts bowdabrablog bystephanielynn cherishedhandmadetreasures classyclutter craftionary craftomaniac creatingmywaytosuccess creativejewishmom diyhomesweethome flamingotoes flourmewithlove funkypolkadotgiraffe gingersnapcrafts gluedtomycrafts handmadeharbour homecoming homework ishouldbemoppingthefloor katherinescorner kathewithane kitchentableart ladybugblessings lifeonlakeshoredrive lifewiththecrustcutoff livelaughrowe lovelycraftyhome madefrompinterest madincrafts moogly mostlyfoodandcrafts navywifeypetersaboardtheusscrafty ourdelightfulhome piecedpastimes quiltstory raegunramblings rainonatinroof raisingmemories rhinestonebeagle romanceonadime salttree serenityyou seventhirtythree sewcando sewcanshe sewlicioushomedecor shabbyartboutique simplysweethome skiptomylou somedaycrafts sugarbeecrafts sunscholars thebrambleberrycottage thecraftyblogstalker thededicatedhouse thewinthropchronicles threadingmyway tidymom
aglimpseinside allthingswithpurpose annemarieshaakblog anoriginalbelle apeekintomyparadise artsyfartsymama atozebracelebrations avisiontoremember beacrafterxd becomingmartha blossomheartquilts bowdabrablog bystephanielynn cherishedhandmadetreasures classyclutter craftionary craftomaniac creatingmywaytosuccess creativejewishmom diyhomesweethome flamingotoes flourmewithlove funkypolkadotgiraffe gingersnapcrafts gluedtomycrafts handmadeharbour homecoming homework ishouldbemoppingthefloor katherinescorner kathewithane kitchentableart ladybugblessings lifeonlakeshoredrive lifewiththecrustcutoff livelaughrowe lovelycraftyhome madefrompinterest madincrafts moogly mostlyfoodandcrafts navywifeypetersaboardtheusscrafty ourdelightfulhome piecedpastimes quiltstory raegunramblings rainonatinroof raisingmemories rhinestonebeagle romanceonadime salttree serenityyou seventhirtythree sewcando sewcanshe sewlicioushomedecor shabbyartboutique simplysweethome skiptomylou somedaycrafts sugarbeecrafts sunscholars thebrambleberrycottage thecraftyblogstalker thededicatedhouse thewinthropchronicles threadingmyway tidymom